Release: Sept 2, 2021
LOCAL
1. WeddingWire Partnership
We have partnered with WeddingWire to manage and ensure consistency of listings of the businesses on the platform.
MPC > Local > Listing Status
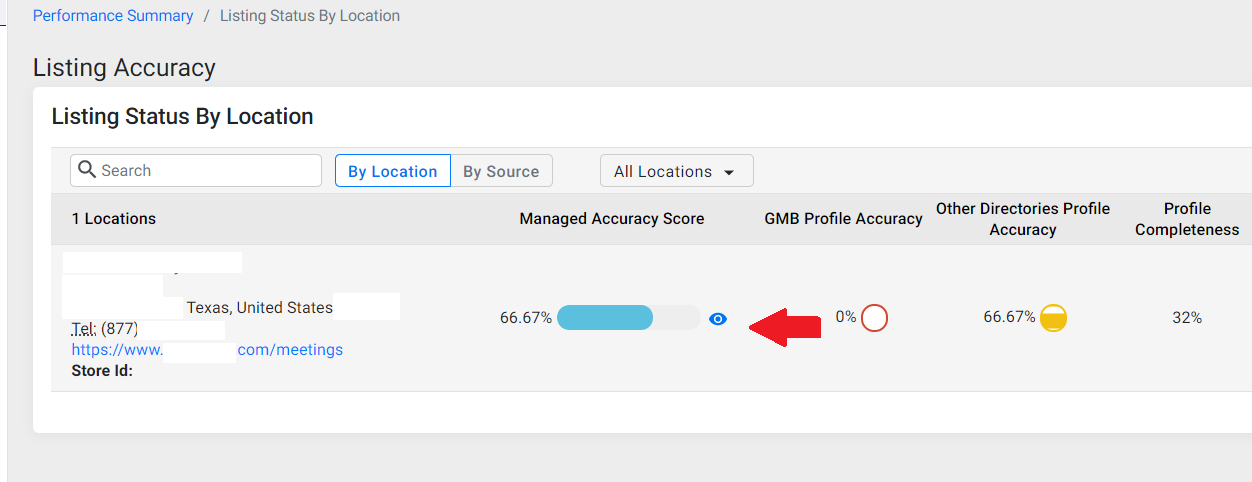
Step 1: From the listing status section navigate to the profile for which you want to check your wedding listing and click on the eye that appears next to the ‘Managed Accuracy Score’
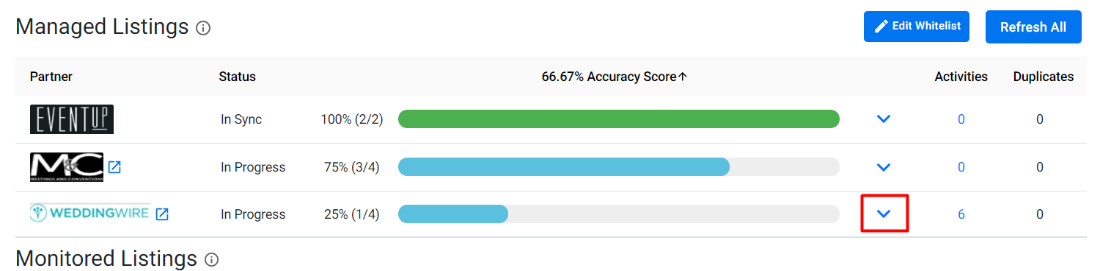
Expand the Wedding Wire in the ‘Managed Listings’ section to view your business details
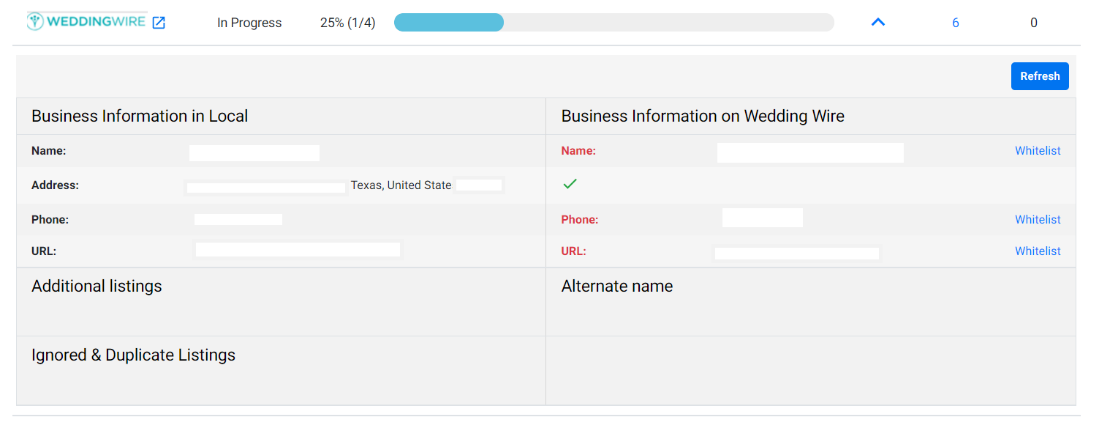
Information that does not match your Local listing will appear in red
2. Apple Keywords
Opportunity: Leverage rich data on Apple Maps for specific keywords.
Represents service and offerings.
Solution: You can now add keywords that are attributable to your business and provide a level of importance to them to support inquiries.
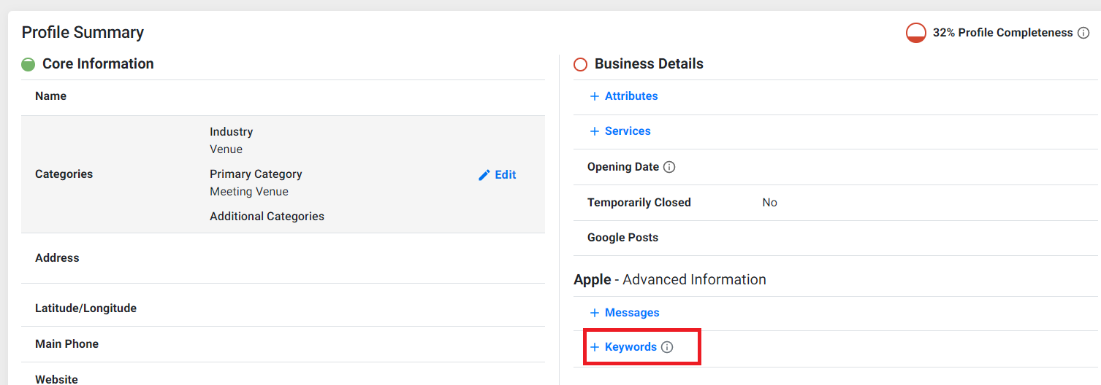
MPC > Local > Listing Status > Business Profile > Profile Summary
From the Listing Status page select the profile you wish to add Keywords to, you will be redirected to the Profile Summary page. Click on Keywords to the right of the page.
Click on ‘Add Keyword’
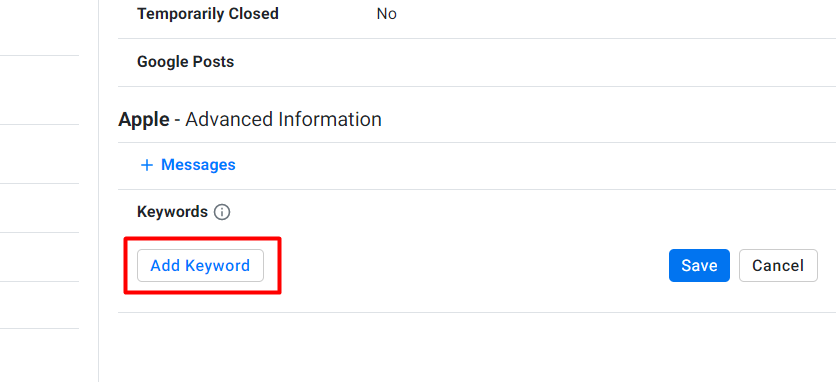
Enter the Keyword, select a Category, and the relative importance of the keyword to other provided keywords

3. Lodging Amenities – Bulk Operations
Opportunity: Update Lodging Amenities across multiple locations in bulk to save time.
Solution: We now support bulk operations for Lodging Amenities, so you can update amenities across locations and improve your chances of appearing on results for specific amenities like swimming pools, play areas, number of rooms, air conditioning, etc.
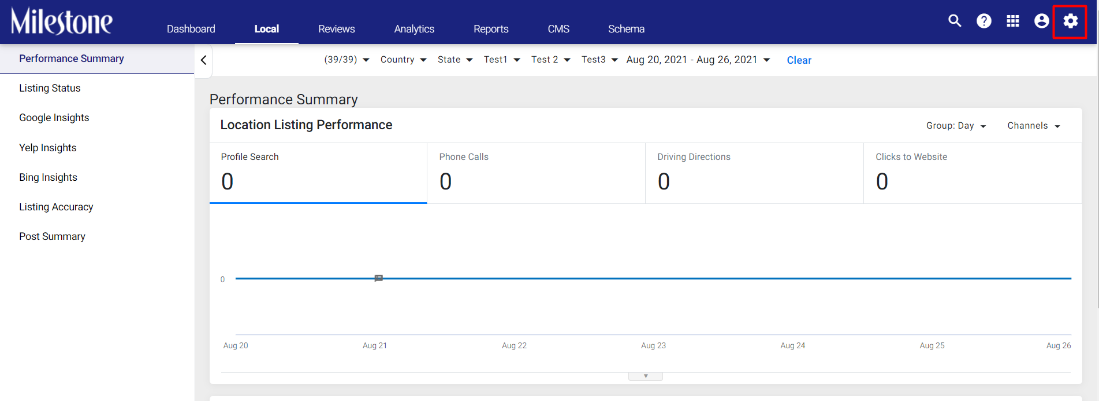
MPC > Local > Settings
From the Dashboard click on Settings icon on the top right of the screen
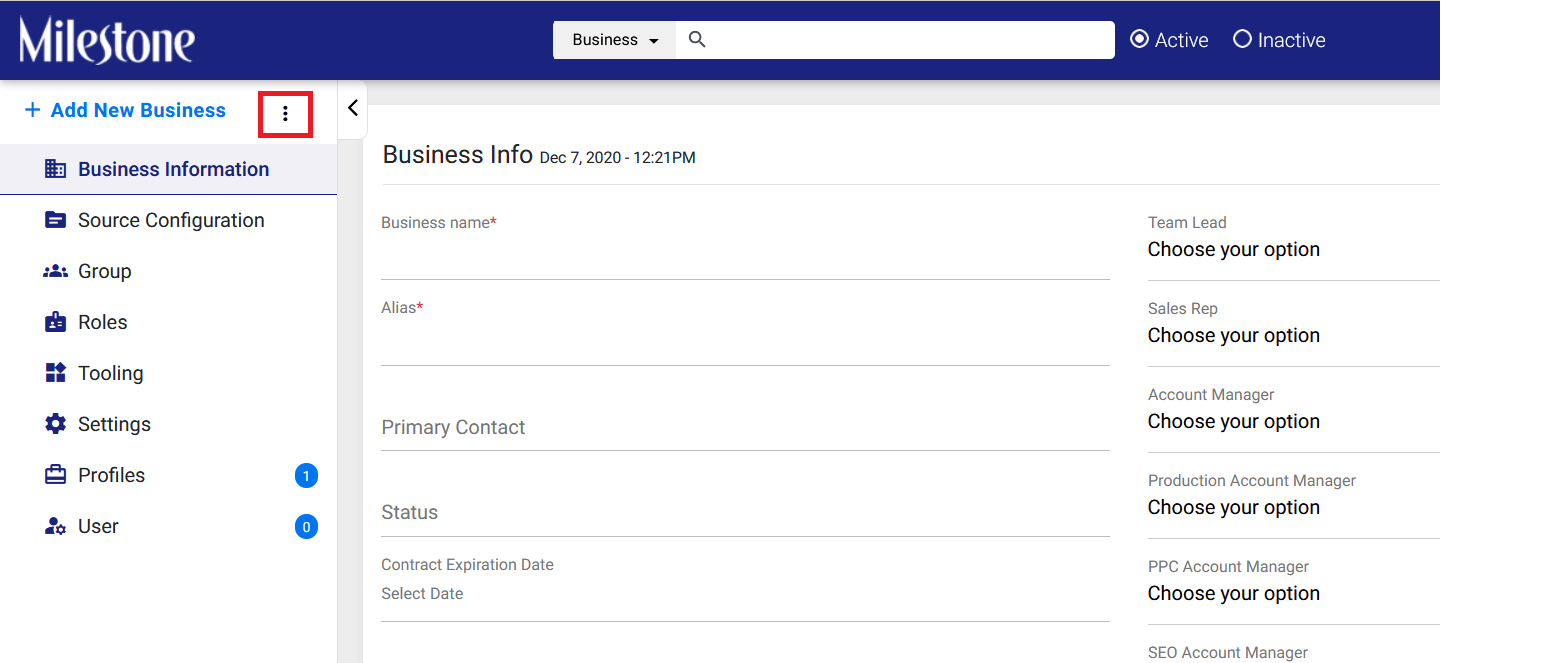
From the settings page click on the three-dot menu and navigate to the Bulk Upload/Download
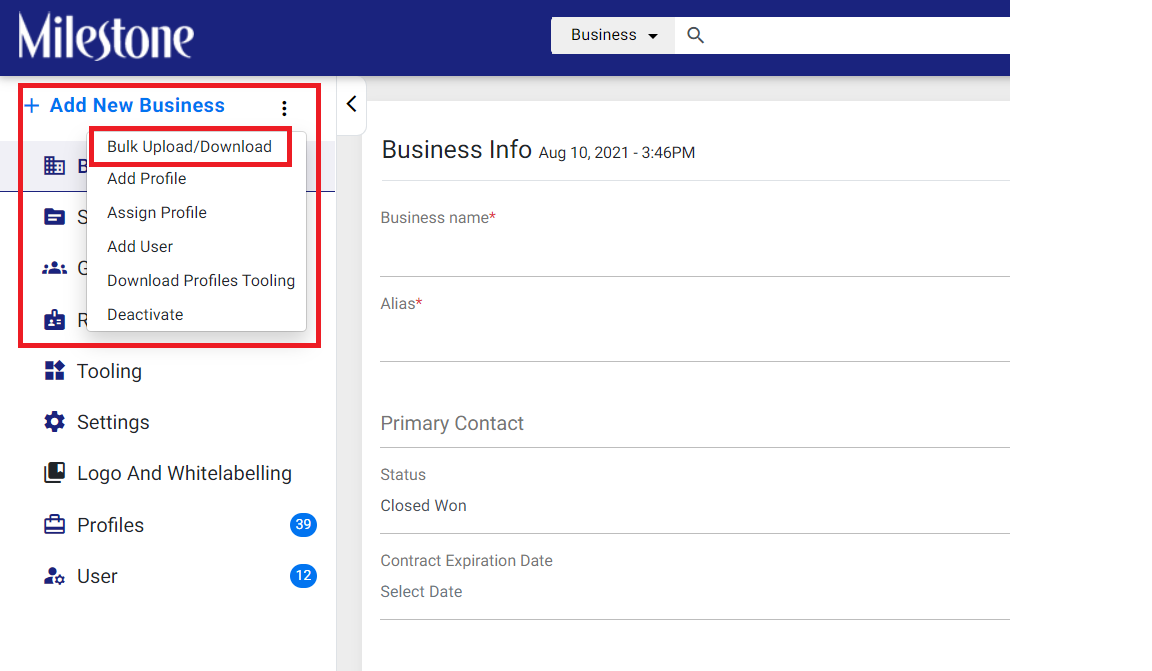
From the Bulk Upload/Download page you can download a Sample Excel by clicking on ‘Download Profile Attributes’
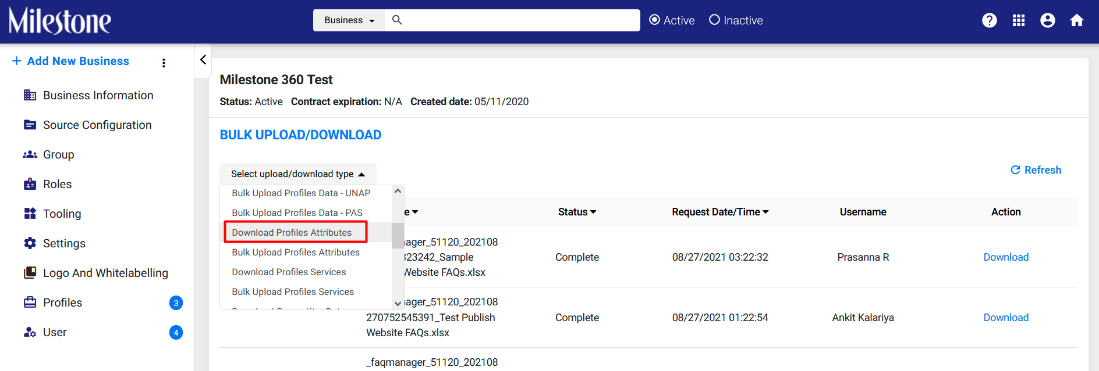
And then click on Download
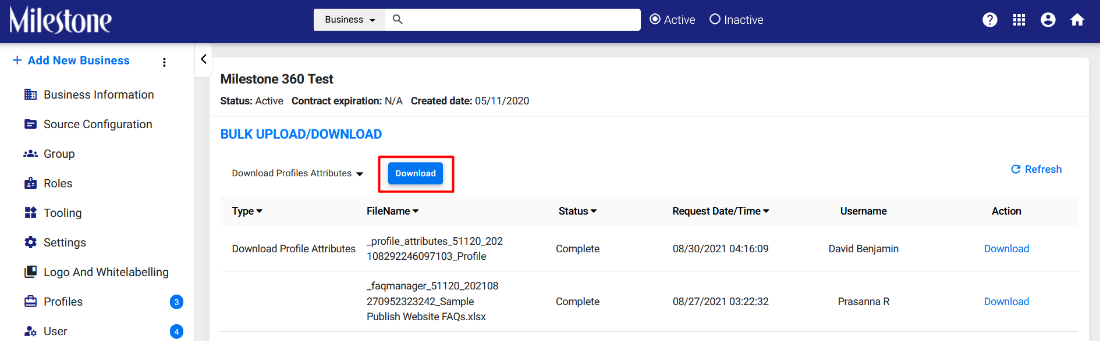
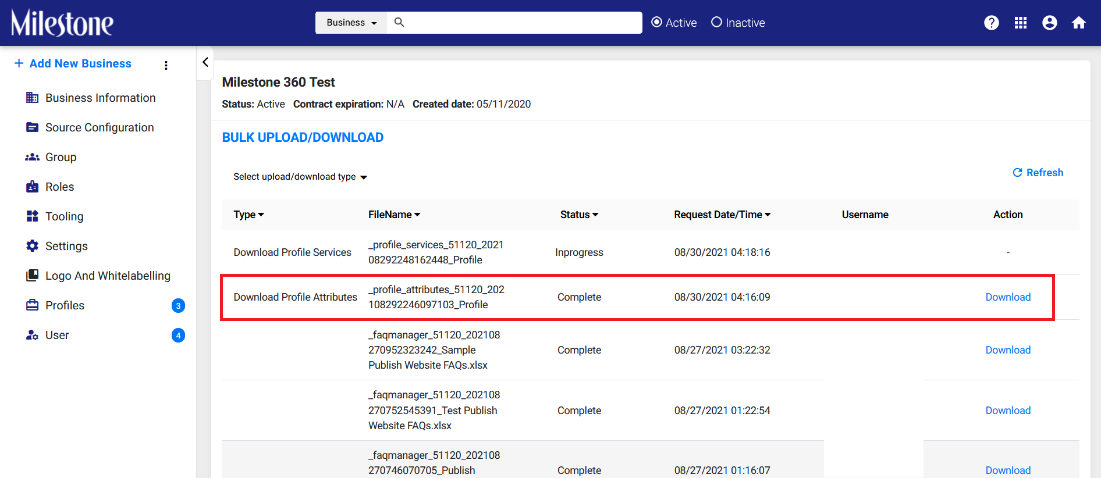
The Download Profile Attributes excel will appear in the section below. Click on Download to download a sample Excel
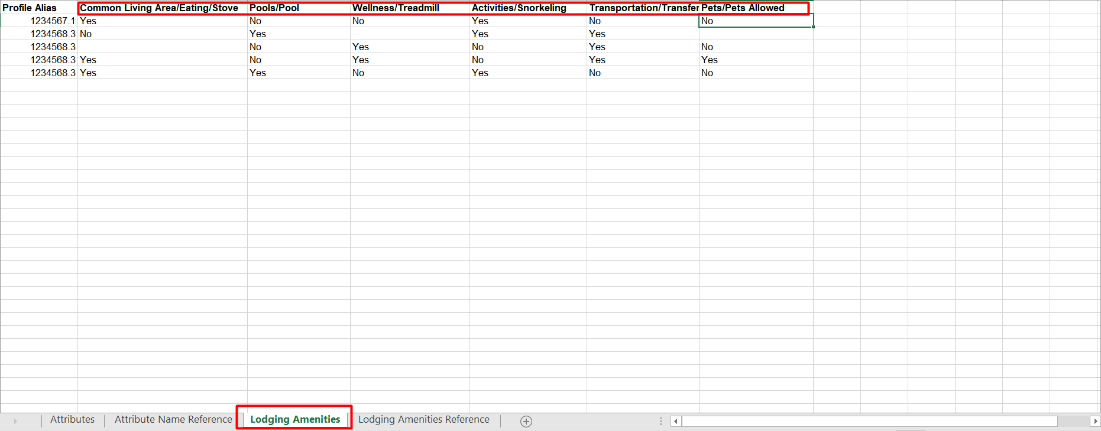
You can fill Lodging Amenities section by referencing the Lodging Amenities Reference sheet in the Excel. This displays the amenities that can be included and how they can be filled.
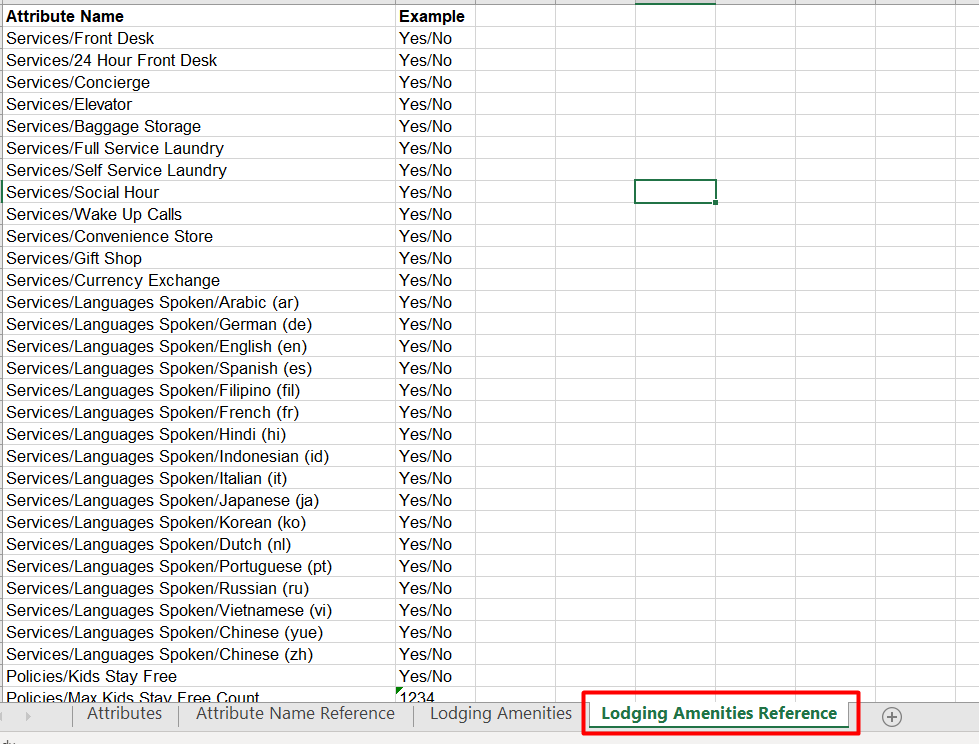
Add the amenities to the Lodging Amenities section of the excel and specify whether it is offered or not.
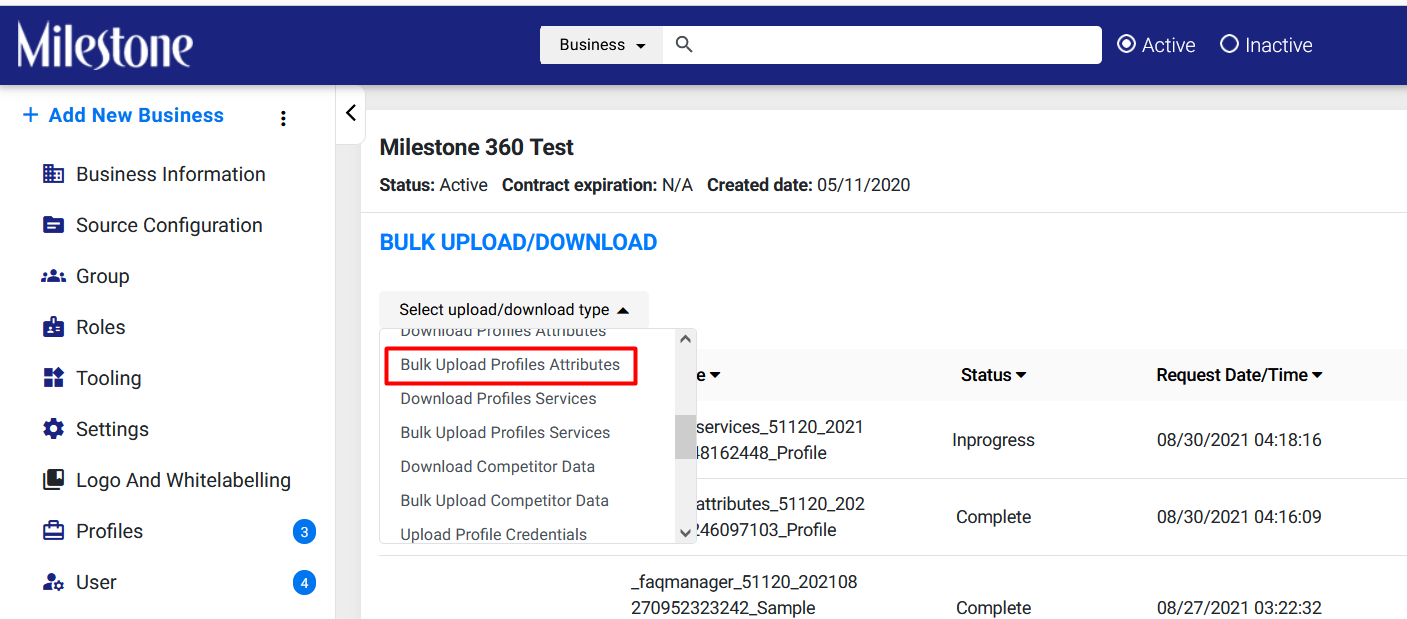
Use the Bulk Upload Profile Attributes option to upload the excel sheet
SCHEMA AND INSIGHTS
1. Page Experience Widget - Display of Good URLs and Impressions
Opportunity: See the number of pages that provide a good user experience.
Solution: The new Page Experience widget will show you the number of URLs that are providing a good page experience and the impressions they have generated.
MPC > Insights > Page Experience
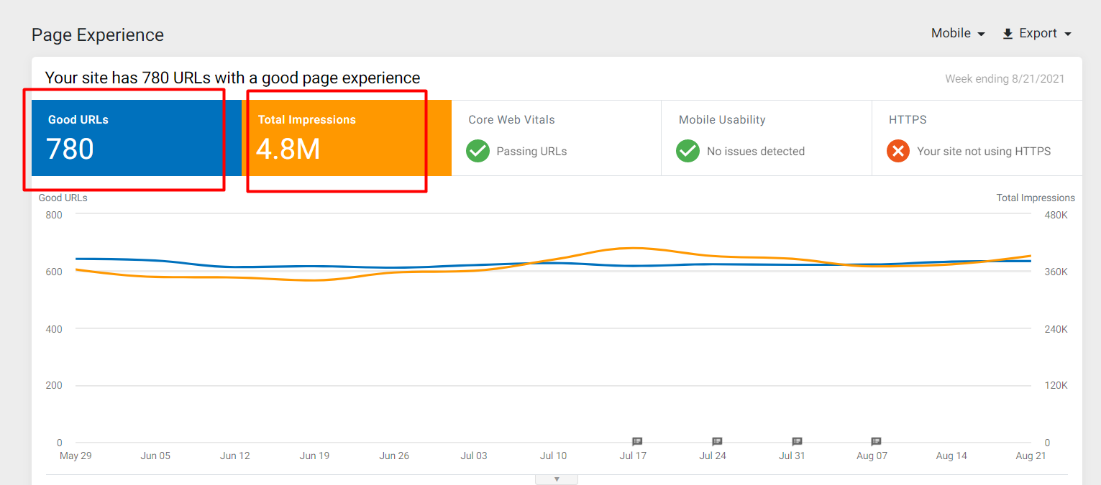
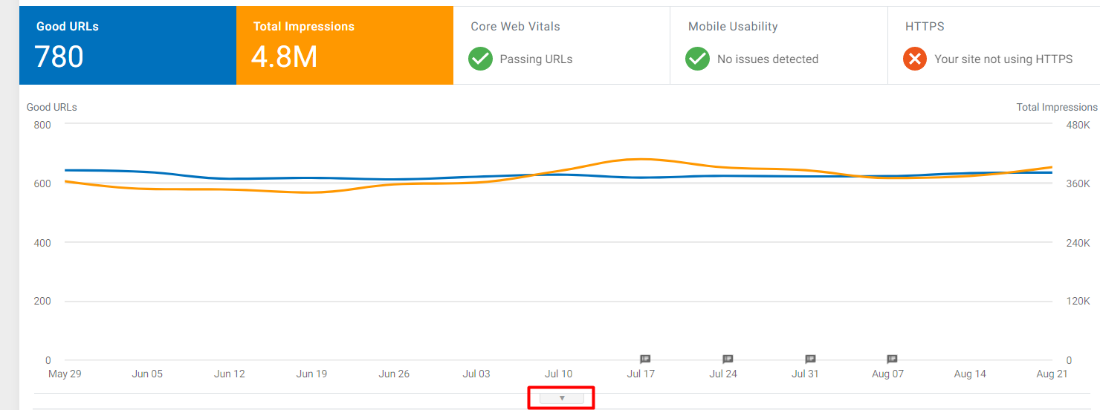
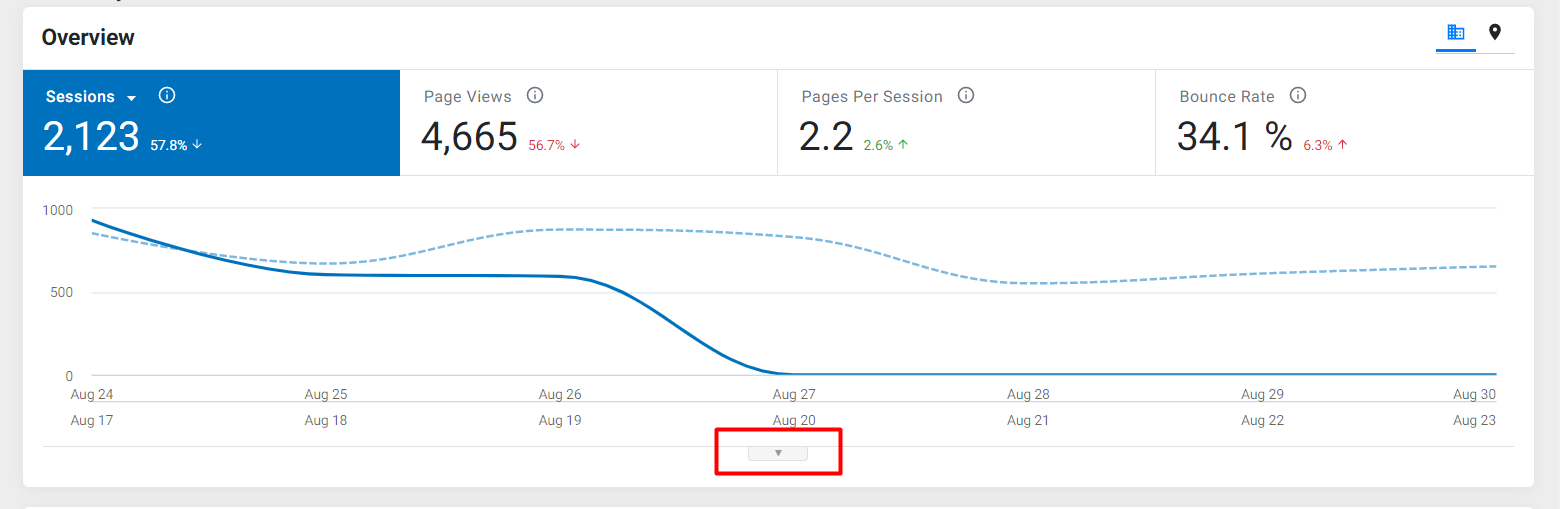
The Page Experience widget shows the number of Good URLs and Impressions generated at the top
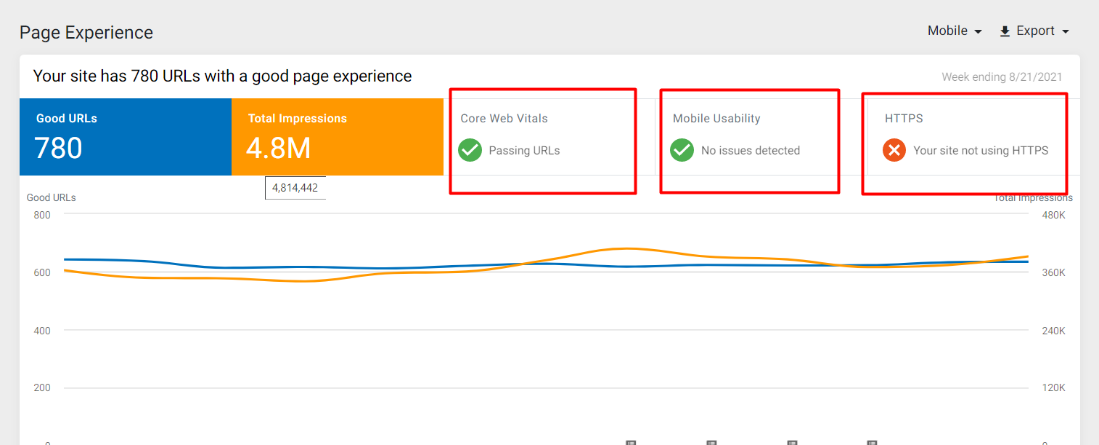
The 3 icons to the right display the Core Web Vitals, Mobile Usability, and HTTPS status of your Homepage
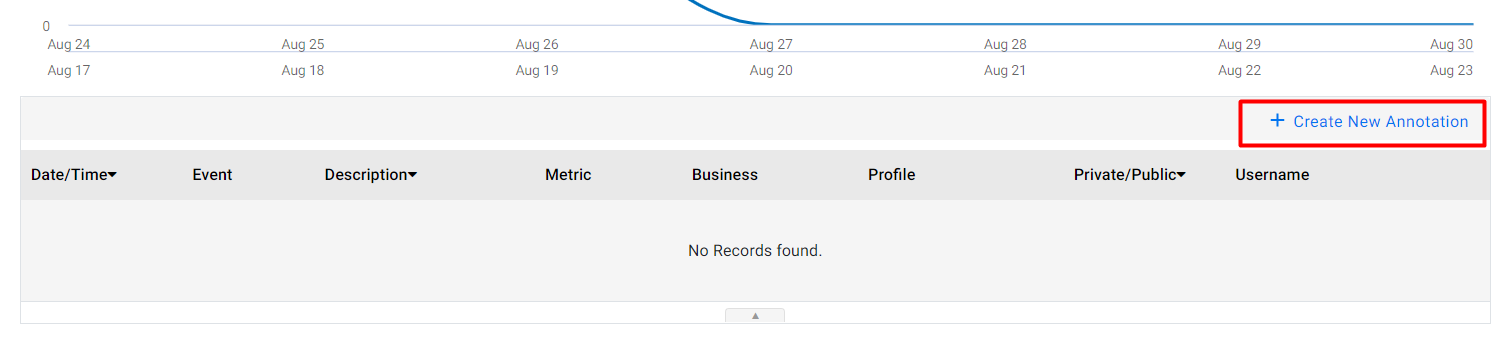
You can add annotations by clicking on the dropdown below the graph
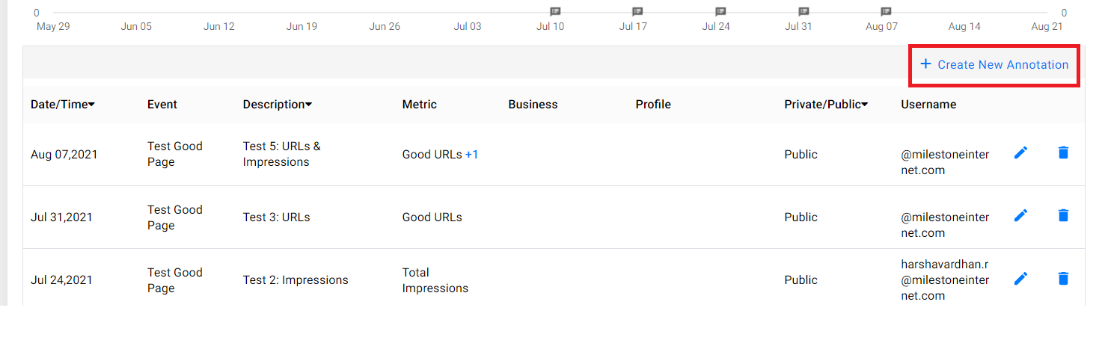
And select Create New Annotation
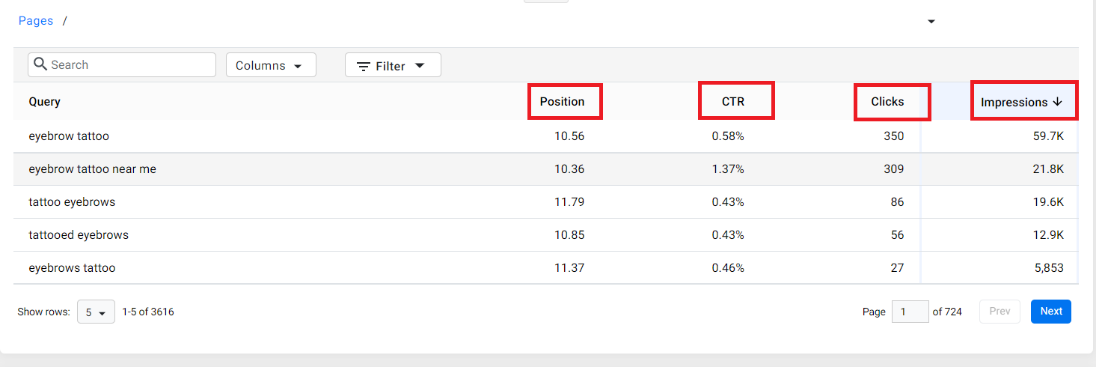
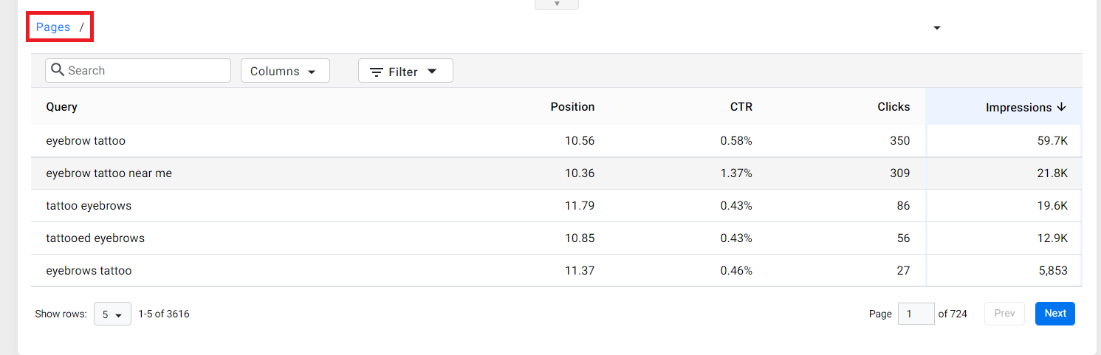
At the bottom of the widget, you will find a table layout of the URLs with the Clicks and Impressions of each URL displayed to the right

Clicking on a URL in this table will display the URL’s Position for a query, the Click Through Rate (CTR), Total Clicks and Page Impressions
You can also filter the results by clicking on Filter
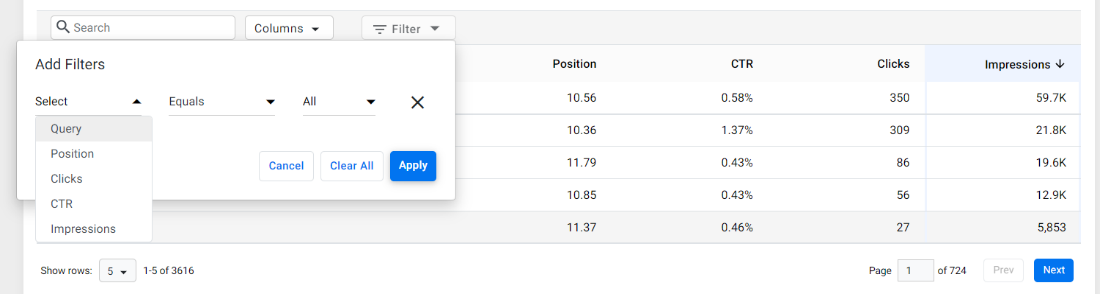
You can return to the URL table by clicking on Pages to the top left
2. Purge CDN Cache from Schema Manager
Opportunity: Purge the Content Delivery Network’s (CDN) Cache when schemas are updated/published to ensure that the crawlers view the latest updated schema when they crawl a webpage.
Solution: You can now purge the CDN cache from the Schema new settings section with the Clear CDN Cache button.
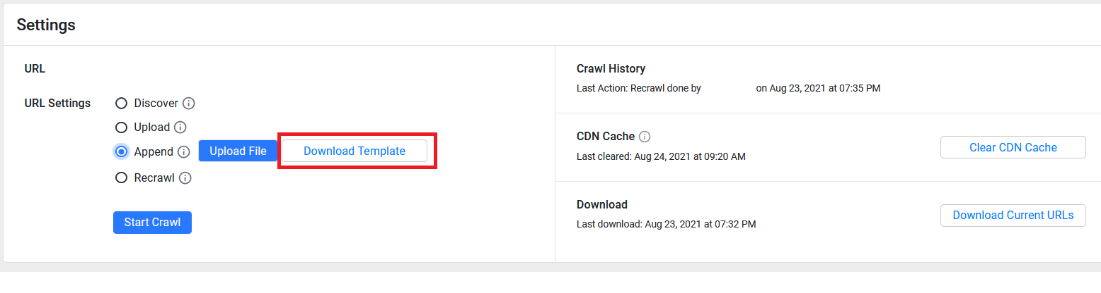
MPC > Schema > Schema Audit > Settings
On the right side of the Settings in Schema Manager you will find the new CDN Cache section. You can click on ‘Clear CDN Cache’ to clear the cache when you’ve added a new schema to the page.
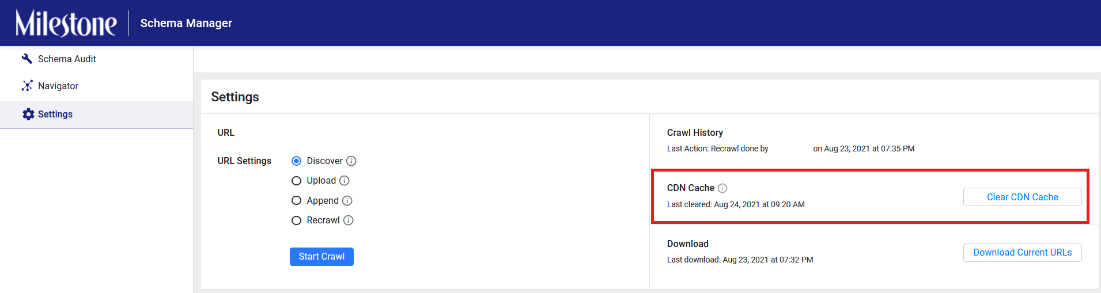
Note: Updating for CDN cache can take some time depending on the number of URLs scheduled for schema deployment.
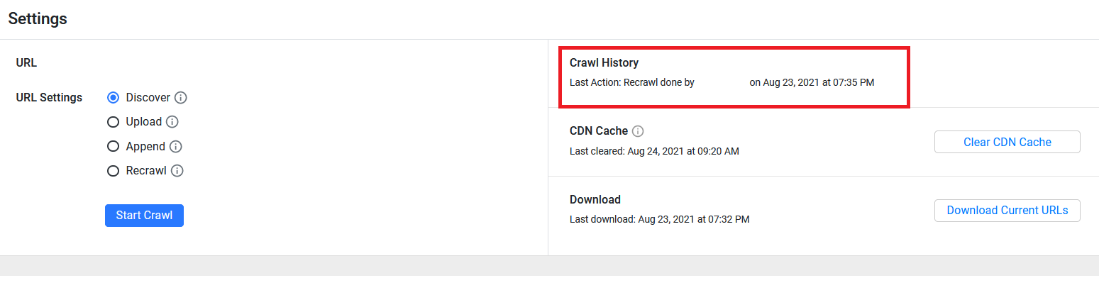
Quick last crawl details
The Crawl History shows you what was the last crawl action taken on the URLs - when was it done and by whom.
Download currently crawled URLs, upload templates (updated UI)
You can use the Download Current URLs to download the URLs that have been crawled and are getting tagged. You can also see when the last time URLs were downloaded.
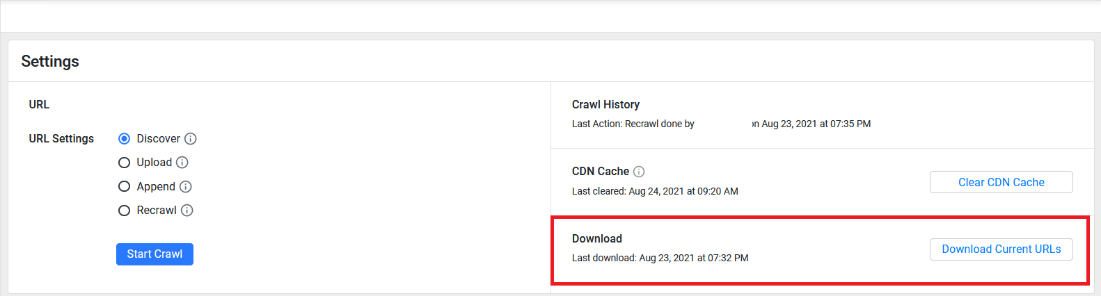
Note: The URLs which are listed under schema audit for tagging appear in the current URL list. These are those URLs which were 200 OK when they were initially crawled.
The Upload and Append options will now allow you to download templates as well.

FAQ/Voice
1. Grouped by URL view for published FAQs
Opportunity: Quickly see which FAQs were published to which URLs.
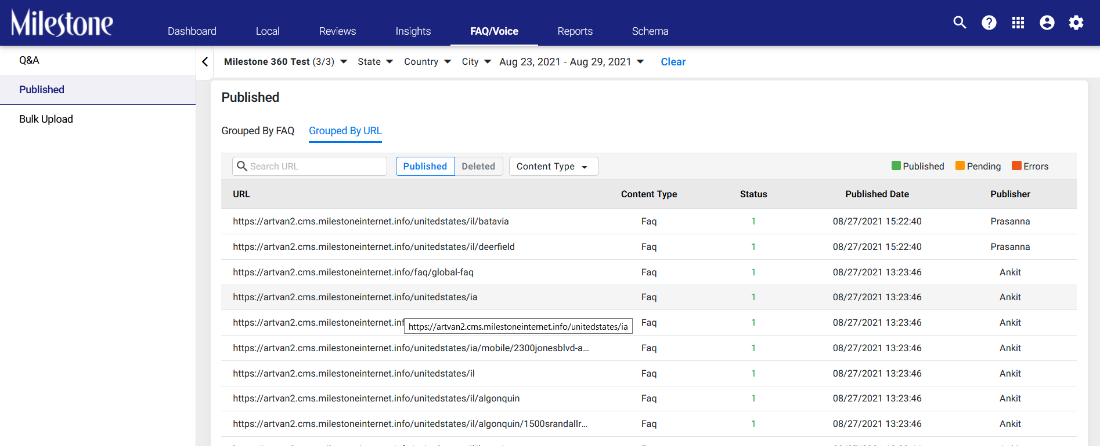
Solution: With the Grouped by URL view in the Published section of FAQ Manager you will be able to see the URLs to which FAQs were published and whether they were a ‘How to’ type of FAQ.
MPC > FAQ/Voice > Published
From the Published section of the FAQ Manager select ‘Grouped by URL’
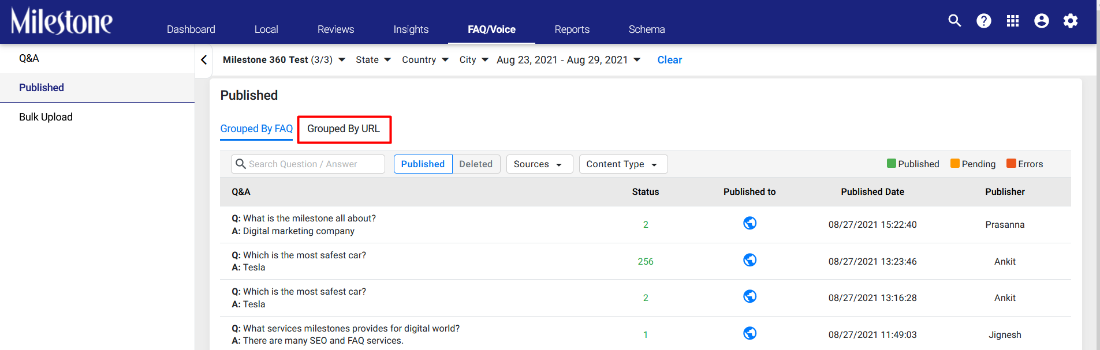
In the Grouped by URL view you will be able to see the URL, the FAQ type, the date it was published and the publisher
2. Web Monitoring for FAQs
Opportunity: Improve the reliability of pages to which FAQs are published and get alerted if there are errors present in the target URL.
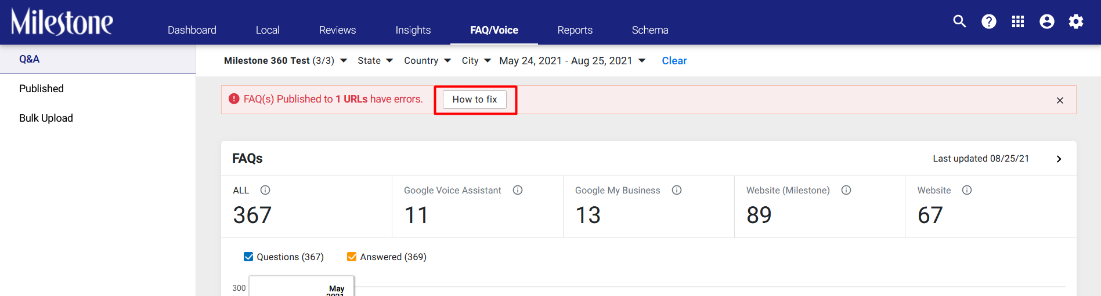
Solution: You can now see how many URLs to which FAQs have been published contain errors within the Q&A section.
MPC > FAQ/Voice > Q&A
At the top of the Q&A section you will be alerted if there are URLs that contain errors.
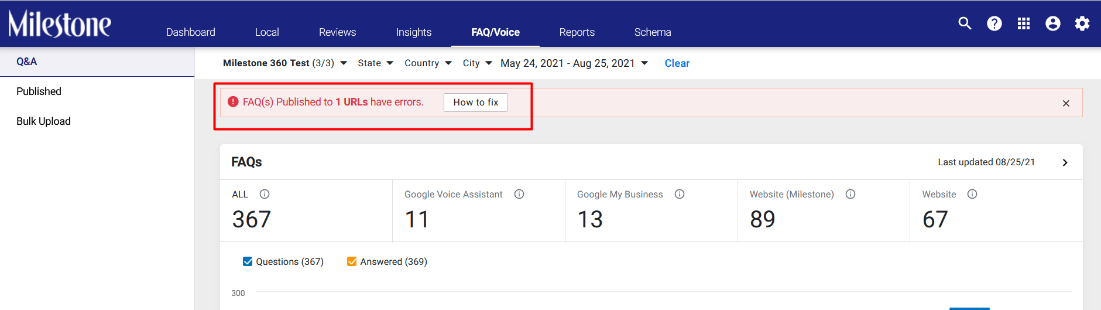
Click on How to Fix to view resources that will assist you in fixing these URLs.
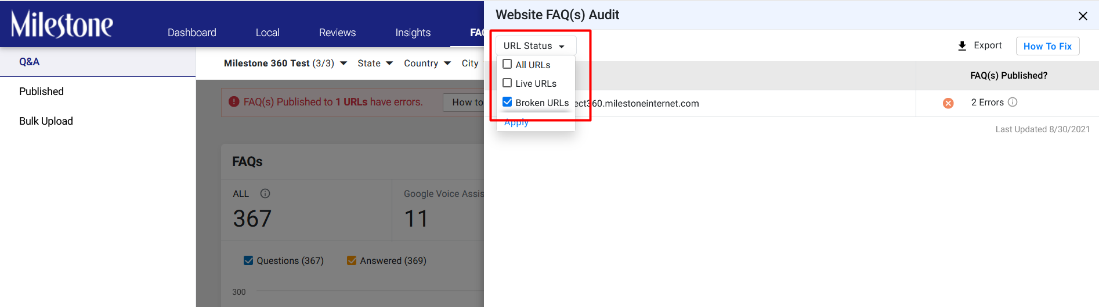
If you click on the URL count, it will display the URLs and status of published FAQ. that contain errors and the nature of the errors.

You can use the filter on the left to see all URLs, Live URLs and Broken URLs
ANALYTICS
1. Paid Media Data Upload - Additional Sources
Opportunity: Bulk Upload Paid Media Cost & Conversions data from a wider spectrum of data sources.
Solution: We have now added additional data sources to the Bulk Upload function for Paid Media Cost & Conversions. Previously only two sources were available TripAdvisor and Sojern.
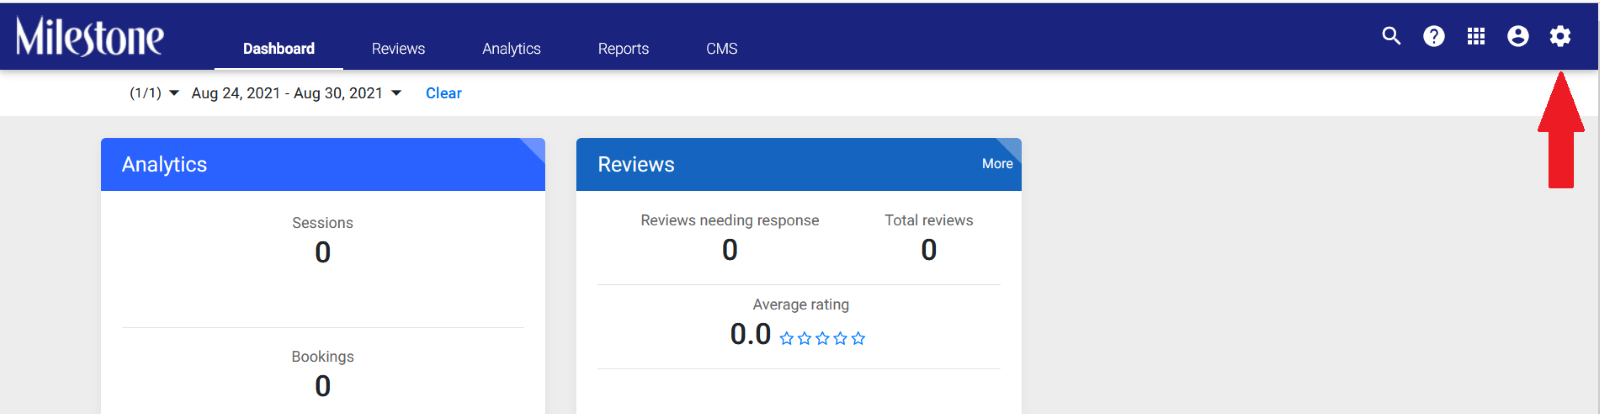
MPC > Dashboard > Settings
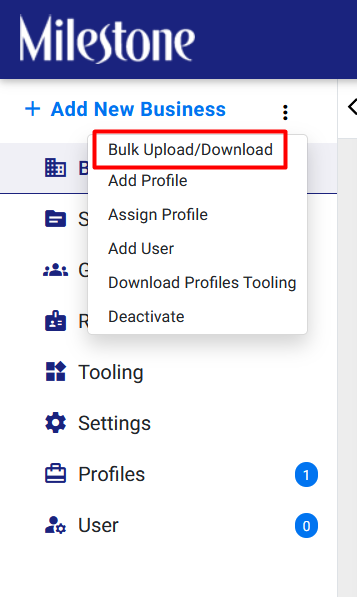
From the Dashboard click on the Settings icon on the top right of the screen
Click on the three-dot menu on the left navigation panel
Select the Bulk Upload/Download function
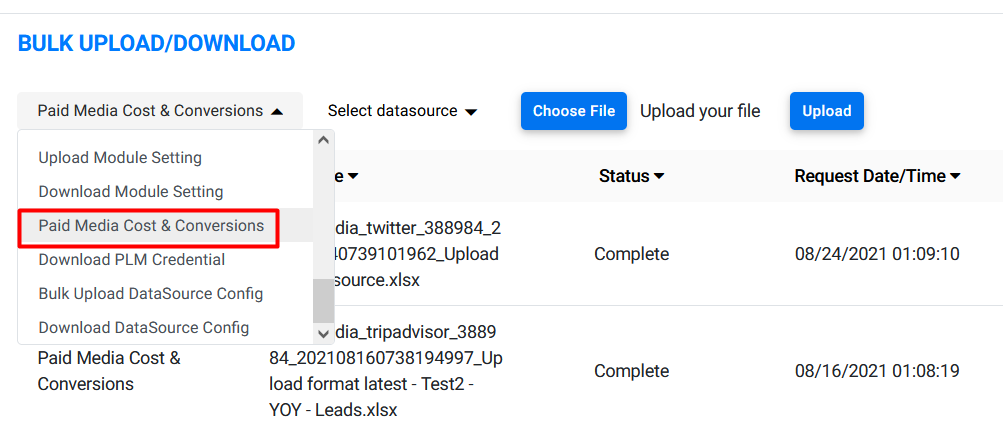
From the dropdown on the top left of the Bulk Upload/Download section select “Paid Media Cost & Conversion” and this will enable ‘Select datasource’ dropdown.
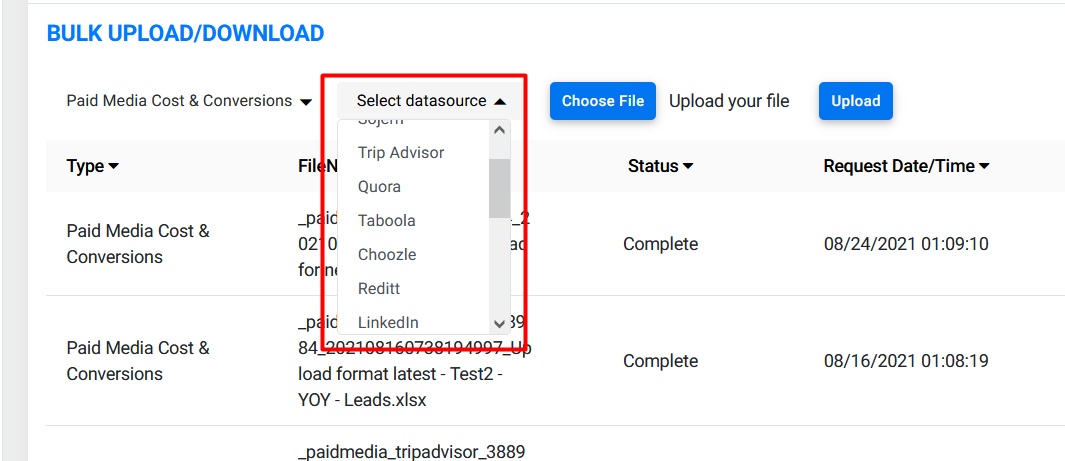
Select the data source from the dropdown
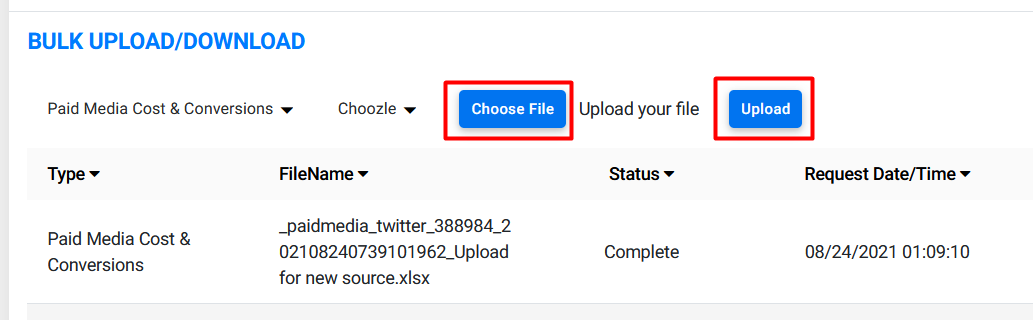
Click on Choose file and select the file which contains the data and upload the data using the Upload button
The data will be updated on the Paid Media – Revenue tab under the Reports section of the MPC
Dashboard > Reports > Analytics > Paid Media – Revenue
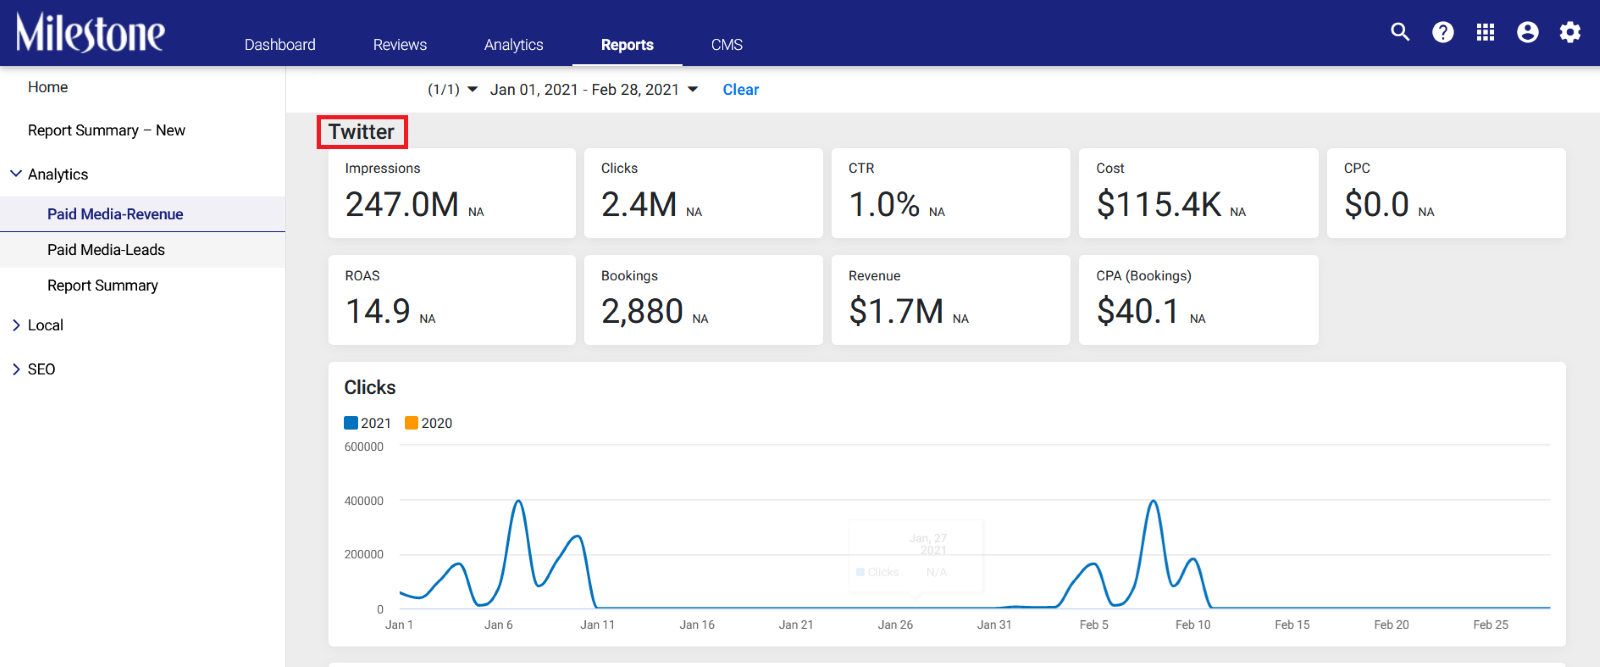
Note: Currently data will be visible only for individual channel sections in the Reporting UI preview and PDF report. Applicable for all client types (Revenue, Leads and Revenue & Leads). Overview will not show uploaded data as work is in-progress. For now, uploaded data will be populated for scorecards, line charts and monthly performance table and not at granular level like, Campaign, Ad group or Ad copy.
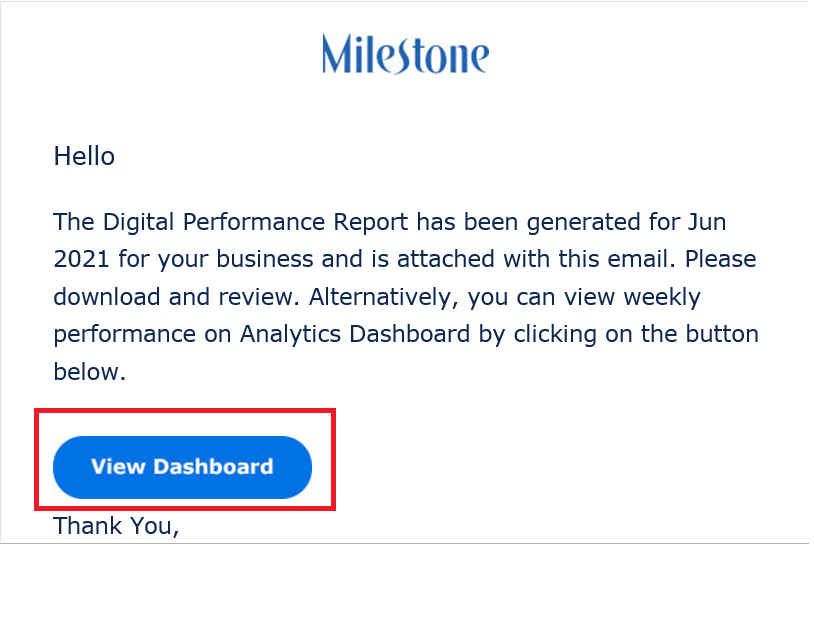
2. Standardized Email Template
We have now standardized the Email template for the Digital Performance Report. You will also be able to navigate to the Analytics page with the new Call to Action (CTA).
PLATFORM
1. Create Events for annotations
You can now create annotations for events that are not present in the predefined annotations list.
Click on the dropdown at the bottom of a widget
Click on Create New Annotation
Scroll to the bottom of the Event dropdown
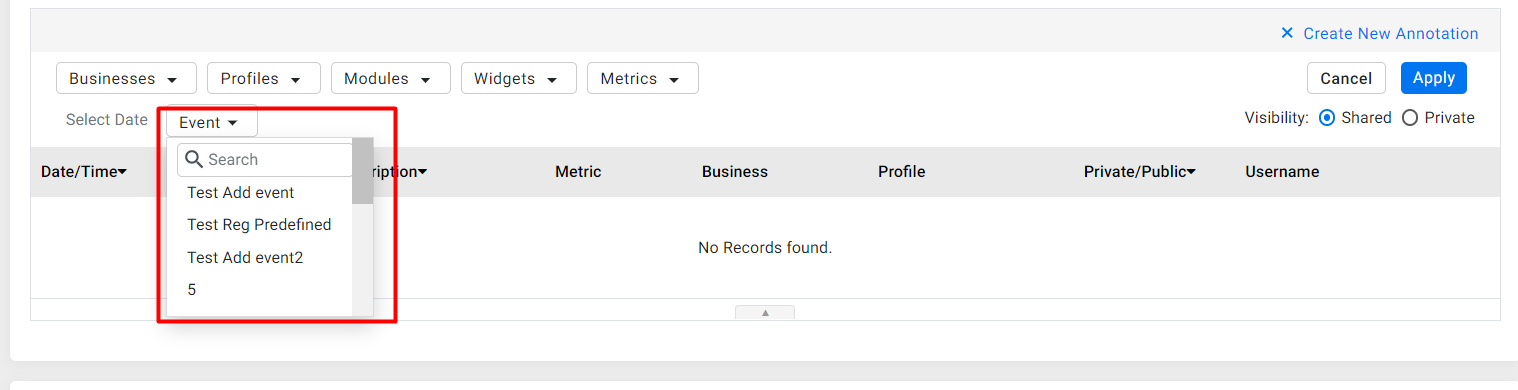
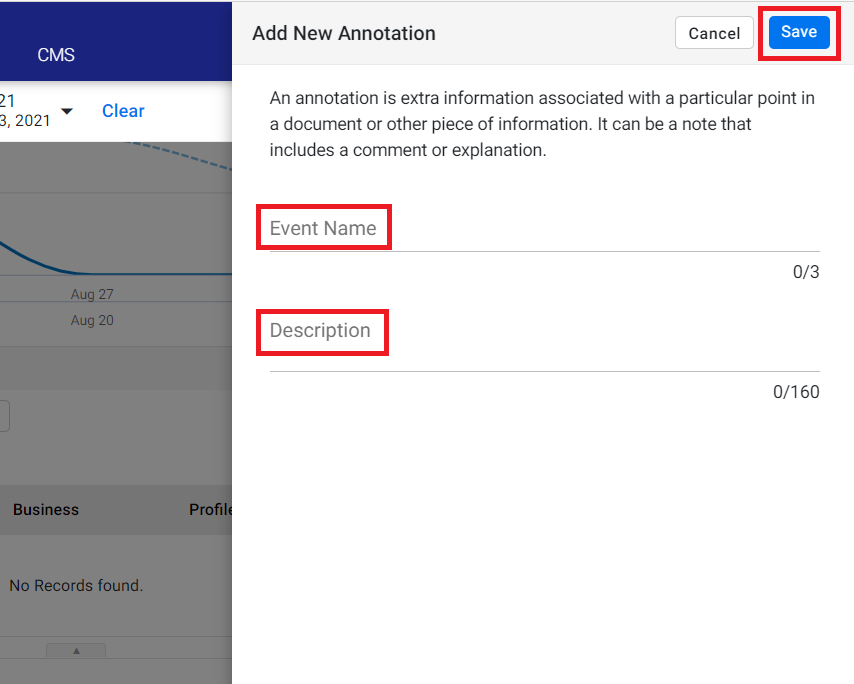
Click on Add Event. An Add New Annotation screen will appear.
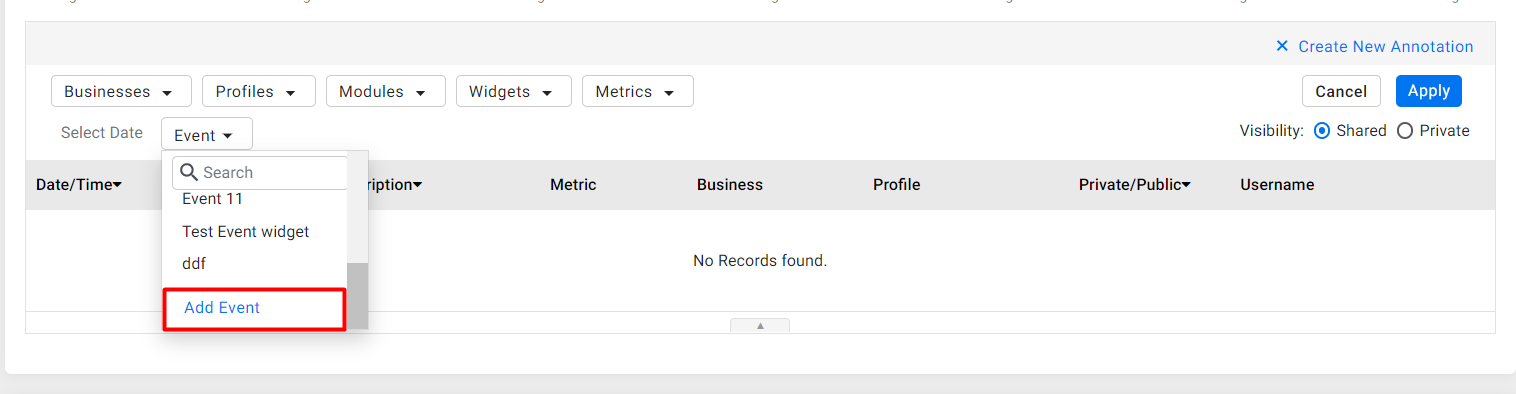
Enter the Event Name and a description of the event and click on Save