Release: Oct 13, 2022
New product releases and features updates for Milestone CMS and Loal
Milestone CMS
Bulk Upload Event Schedule
Opportunity: Providing schedules for events allows attendees to plan and come prepared. Updating schedules for events can be a time-consuming task if done manually, especially for businesses that have multiple events across multiple locations.
Solution: Milestone CMS’ Event Calendar allows you to update schedules for events using a spreadsheet, drastically reducing the time it takes to update event schedules for enterprise businesses.
Path: Milestone CMS > Manage Content > Event Calendar
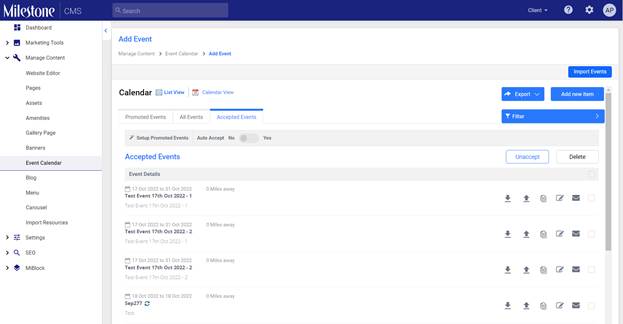
Step 1: From Milestone CMS click on ‘Manage Content’in the left navigation panel
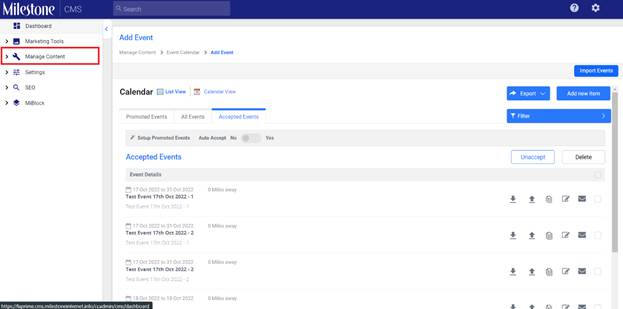
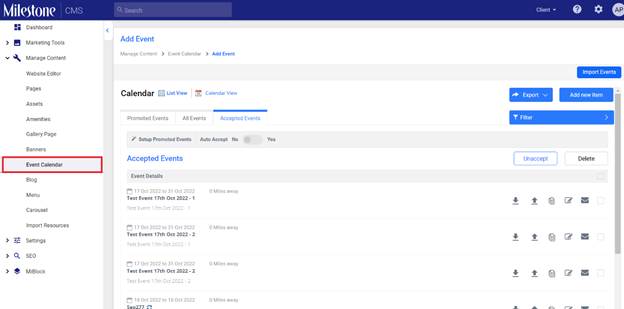
Step 2: Select ‘Event Calendar’ from the ‘ManageContent’ sub-menu
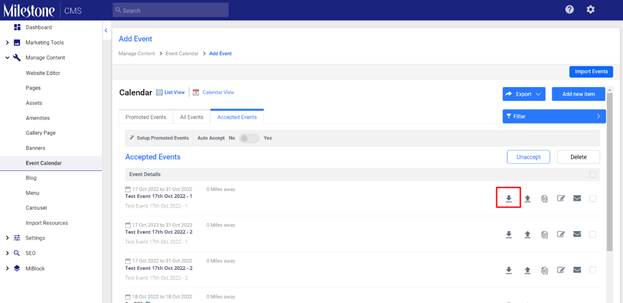
Step 3: Download the ‘Event Schedule’ file byclicking on the download button corresponding to the event
Step 4: Read the instructions tab in the spreadsheet
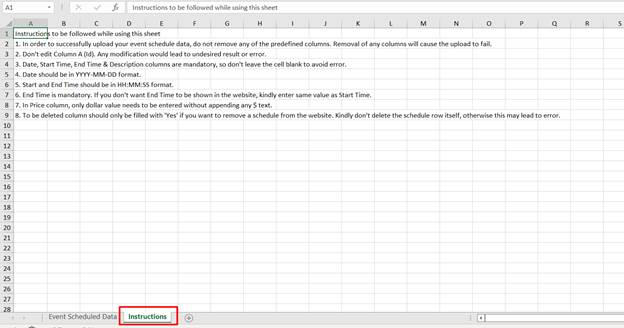
Step 5: Update the data in the ‘Event Schedule Data’tab

Step 6: You can delete existing schedules by entering‘Yes’ in the ‘To be deleted?’ column

Step 7: Upload the ‘Event Schedule’ file using theupload button

You can copy, edit and email event details using the other options in the ‘Event Calendar'

Filter Promoted Events Using Keywords
Opportunity: Promoted events are events that are being promoted around your business location. Milestone Event Calendar allows you to add these nearby events to your webpage. Some of these events may not be suitable for your customers and manually removing undesirable events is time-consuming.
Solution: The ‘Promoted Events Persona Wizard’ allows you to provide keywords for events or event types that should not appear on your Promoted Events feed.
Path: Milestone CMS > Manage Content > Event Calendar
Step 1: From the Event Calendar section click on ‘Setup Promoted Events’ to the top left
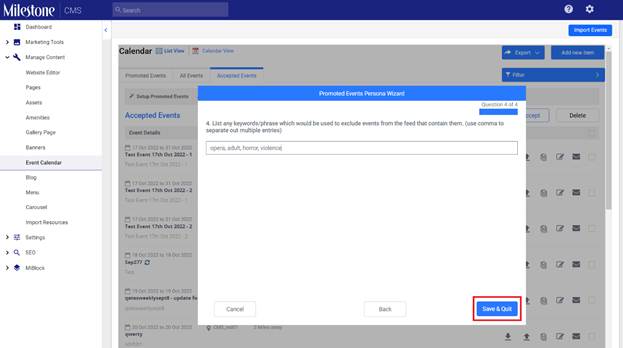
Step 2: Question 4 in the ‘Promoted Event PersonaWizard’ allows you to enter keywords separated by a comma that you do not want appearing in your Promoted Events feed
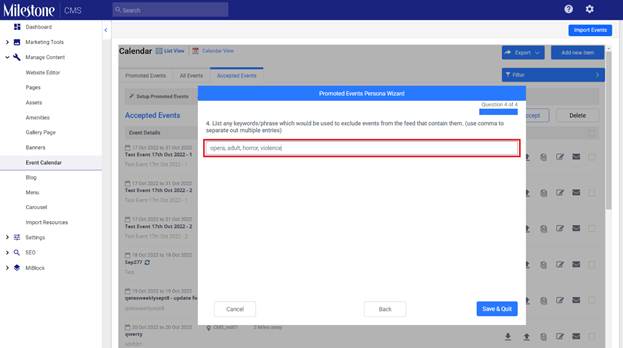
Step 3: Once you have added the keywords click on 'Save & Quit’ to save the changes
Local
Connect Sources Across Locations Quickly
Opportunity: To ensure you are receiving accurate local traffic data it is essential to ensure your locations' online presence across platforms is connected and transmitting data. Doing this across multiple locations and channels is time-consuming.
Solution: Use Milestone Local’s insights to ensure all your sources are connected and start receiving omnichannel traffic data.
Path: Milestone Local > Performance Summary > WhatInsights should I focus on today?
Step 1: Click on ‘Performance Summary' in the left navigation panel of the ‘Performance Summary’ section
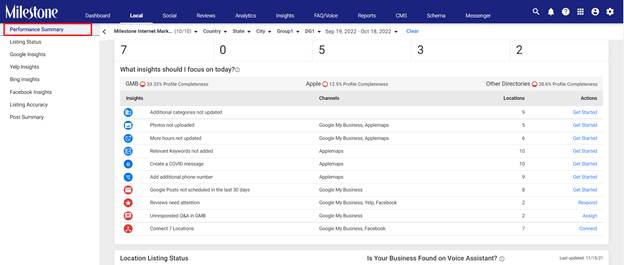
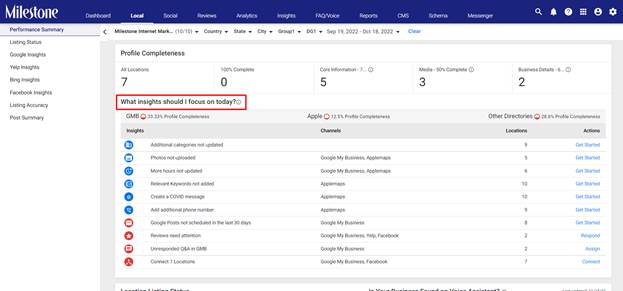
Step 2: Scroll down to the ‘What insights should I focus on today?’ widget
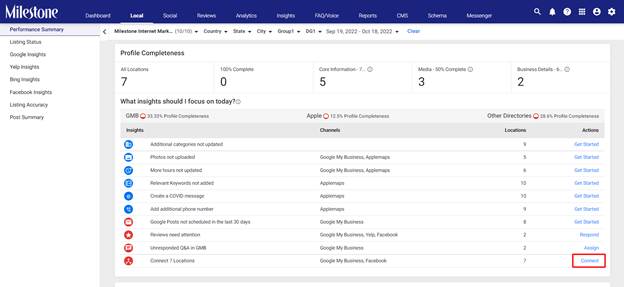
Step 3: Click on ‘Connect’ in the Actions column for connecting locations to sources
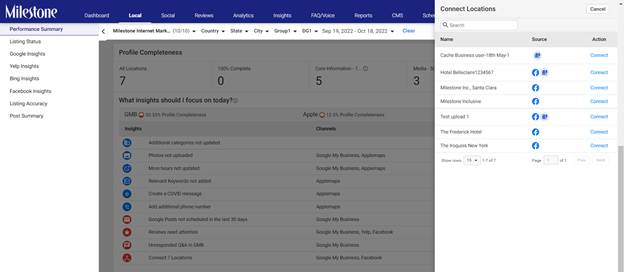
Step 4: The ‘Connect Locations’ tab displays the name of the location and the source to be connected. Click on ‘Connect’ in the Action column to connect a location to a source
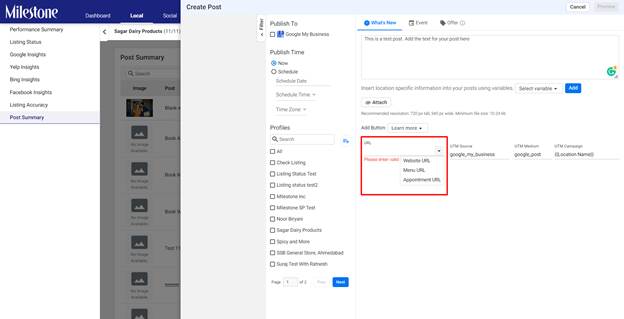
Select URLs from dropdown menu for buttons in Google Post
Opportunity: Adding Call to Action (CTA) buttons to your Google Posts is a great way to improve engagement.
Solution: You can now add a CTA button to your GooglePosts and quickly add a URL to various pages on your website.
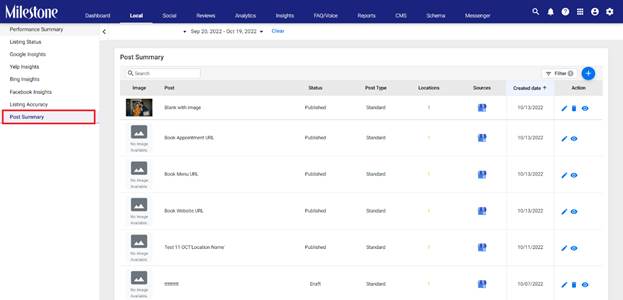
Path: Milestone Local > Post Summary
Step 1: Click on ‘Post Summary’ in the left navigation panel of Milestone Local
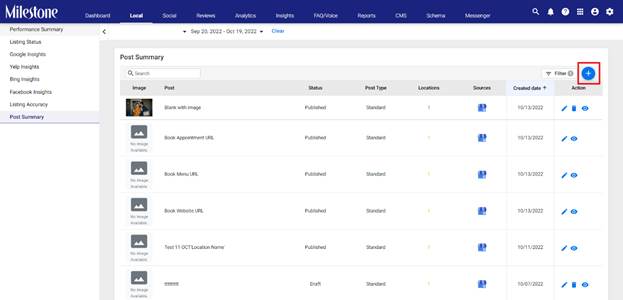
Step 2: Click on the ‘+’ button to create a new postto the top right
Step 3: Select a button from the ‘Add Button’dropdown menu to the bottom of the ‘Create Post’ section
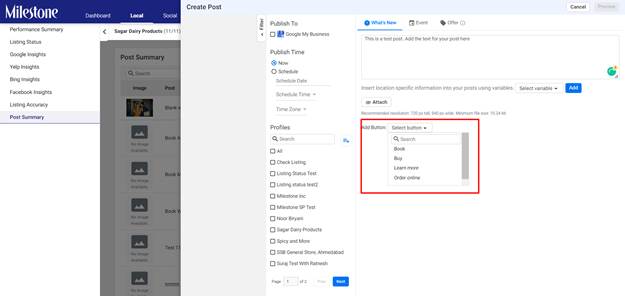
Step 4: Enter the URL you wish to connect the button to or select a URL from the dropdown menu