Release: Dec 17, 2020
This latest Milestone Product update comes with big updates in Local & CMS - Revamped Local Profile Summary, added Service Area, CMS Dynamic Content Editor
Quick Summary Video
Watch this short 4-minute video that summarizes the big items in the release. Scroll down for detailed updates.:
Local & Reviews
1. Addition of Service Area Business Type
Opportunity: In various industries like hotels, Retail and service, etc., it’s a common practice for location-based businesses to offer services out to designated 'service areas' nearby. [e.g. A popular eatery that offers deliveries to certain areas]. Earlier MPC did allow businesses to enter their local office details but did not have provision to accommodate these service areas and promote them locally.
Solution: Businesses can add up to 20 service areas (Maximum number allowed by GMB) or place IDs for each business location
The addition of the service areas on Presence Cloud will be reflected directly on the GMB profile of the business location, improving the business’s relevance for ‘near me’ searchers on Google.
Let’s now show you how you can enable the service area functionality and add service areas to a business profile.
Settings > Profile > Click on ‘Edit’ on the Profile > Profile Information
The first step is to enable the service area functionality. To do this, follow the path and click on the service area box.
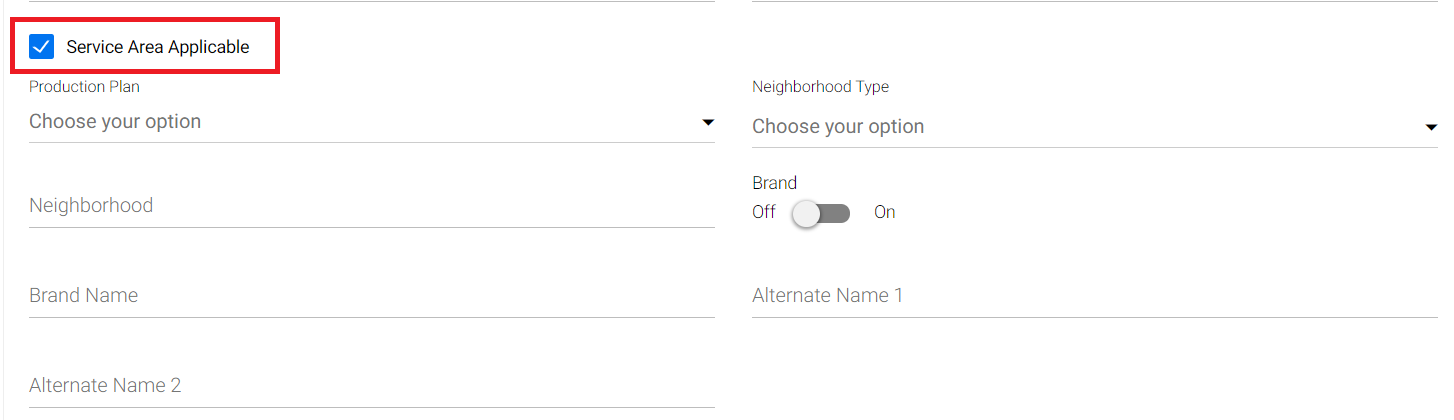
Click on the ‘Service Area Details’ drop-down and choose whether you wish to enter the service area for a ‘Customer Location Only’ or ‘Customer and Business Location’.

Enter the Service area name and click on ‘Find. Google’s API will give you 5 options to choose from. Choose the service area from the list.

Click on the 
2. Local Profile Summary UI Revamp
Problem: UI wasn’t user-friendly and business profile edits could only be made in the ‘Settings’ section.
Solution: Improved UI that displays profile completeness and allows users to make business information additions and updates on screen.
Local > Listing Status > Click on a listing to view the ‘Profile Summary’ screen
Let’s take you through this new fresh and cool on-screen editing ‘Profile Summary’ screen.
Overall Profile Completeness score and Completeness score of the fields – Core Information, Media and Business Details.
Once you’re on the ‘Profile Summary’ screen, on the top-right of the screen you will see the Profile Completeness score. Here, the completeness score of the profile is 89%.

Breakdown of Profile Completeness Score:
Core Information – 50%
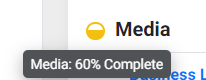
Media – 20%
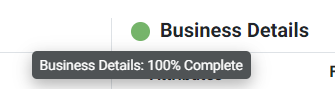
Business Details – 10%
Recency or Fresh Content (Google Posts & Short & Long Descriptions) - 20%
For each field, you will see the completeness score on the top-left of each widget.
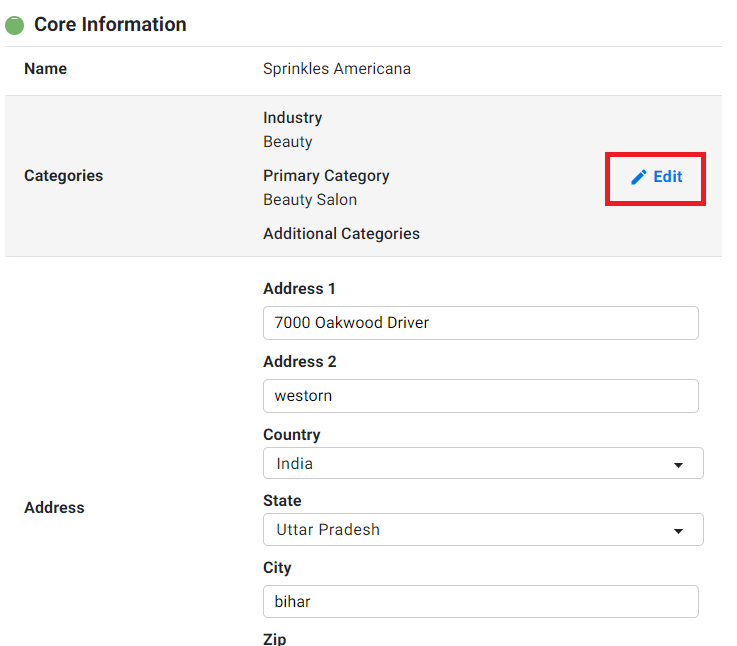
Core Information:

Media:
Business Details:
Making Profile Summary on-screen edits
Core Information:
For each field in the Core Information of the business location, to make additions or updates, you now just have to click on the ‘Edit’ button next to the field. Make the updates and click on ‘Save’.
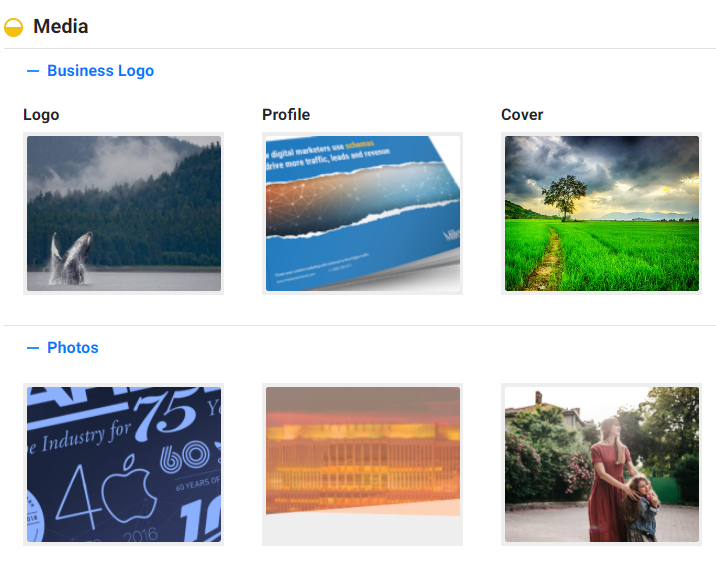
Media:
The Media section displays the Business Logo, Profile and Cover Images as well as Photos of the business.
To change the Business Logo, Profile and Cover Image, simply click on the image, choose an image and click on ‘Open’ to change the image.

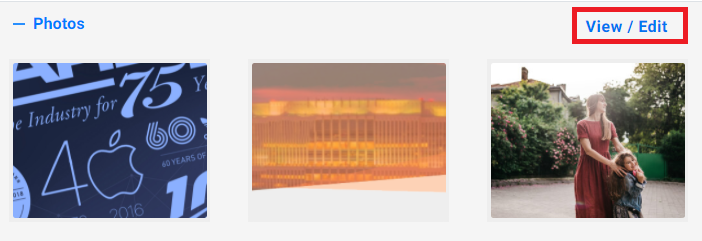
To view or add business photos, click on ‘View/Edit’
Here, you can choose to ‘Add Image’ or ‘Add Link’. Once you have chosen a photo or added a link, click on ‘Apply’ to include the photo in your business gallery.

To delete a photo from the gallery, click on the photo and click on ‘Delete’.

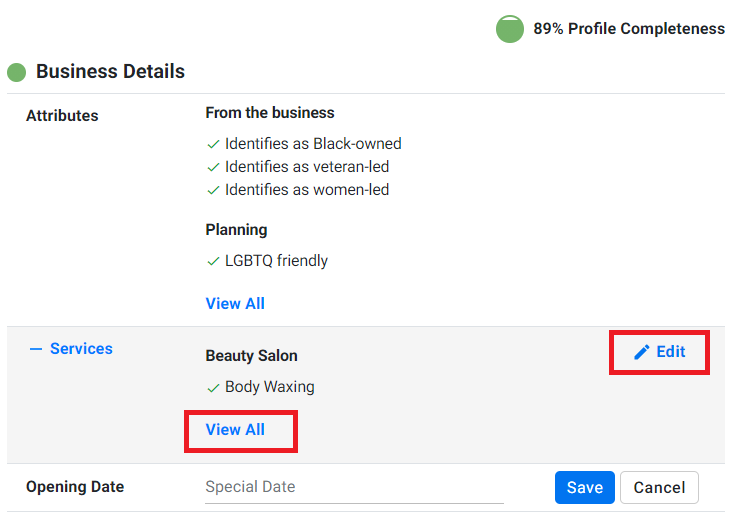
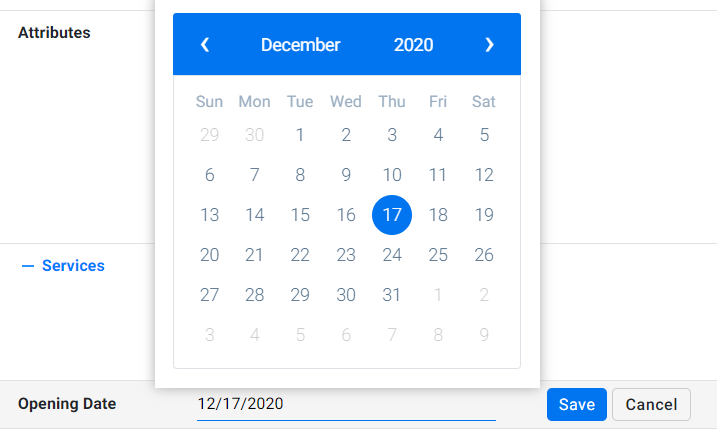
Business Details:
This section allows the user to view business attributes and services and set the ‘Opening Date’ of the business. To view the attributes and add/remove attributes, click on either ‘Edit’ or ‘View All’.
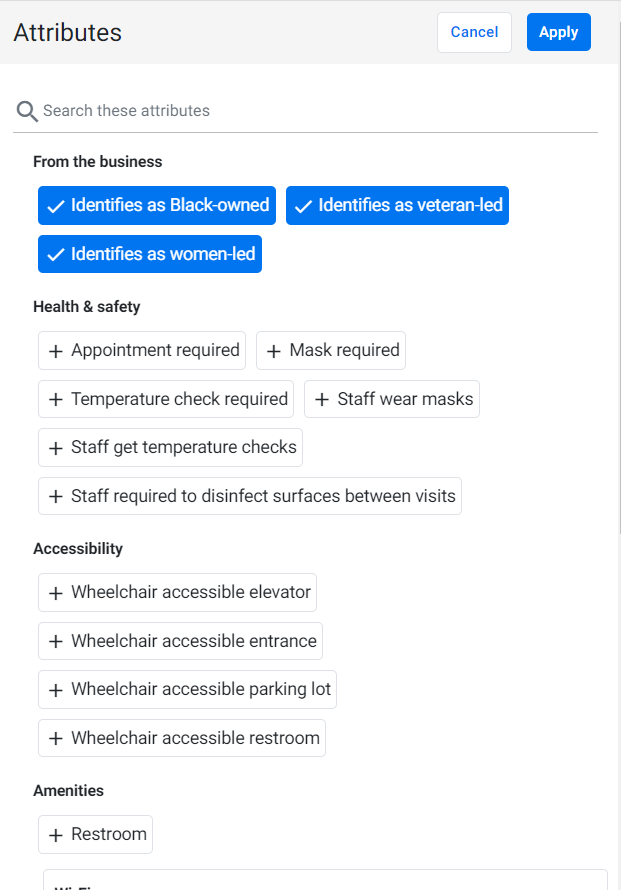
To add an attribute, click on the attribute and it will be highlighted in blue. If you wish to remove an attribute, click on it, it will turn to grey to signify that is has been de-selected. Click on ‘Apply’ to make updates to your business’s attributes.
To select the ‘Opening Date’ of your business, choose a date and click on ‘Save’.
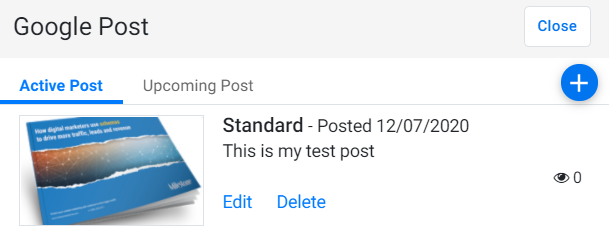
Viewing and Creating Google Posts
You
can now view all your business location’s Google Posts and choose
to create a new post as well. To do so, click on ‘View All’
against ‘Google Posts’.
You can view published posts under ‘Active Post’ and choose to ‘Edit’ or ‘Delete’ the post. You can also view scheduled posts under ‘Upcoming Post’.
Click on 
3. Monitored listing - Waze
This release now includes local listing management for Waze, a popular navigation app. Waze is available as a monitored, audit only listing on our Local Platform.
CMS
1. Dynamic Page Content Editor
Opportunity: Create an ease of flow when editing paragraphs in pages
Solution: With the Dynamic Content Editor, users can edit each paragraph within a page separately – giving them a better handle over the look and feel of the page and website.
To edit a paragraph within a page, simply click on the ‘Edit’ button.
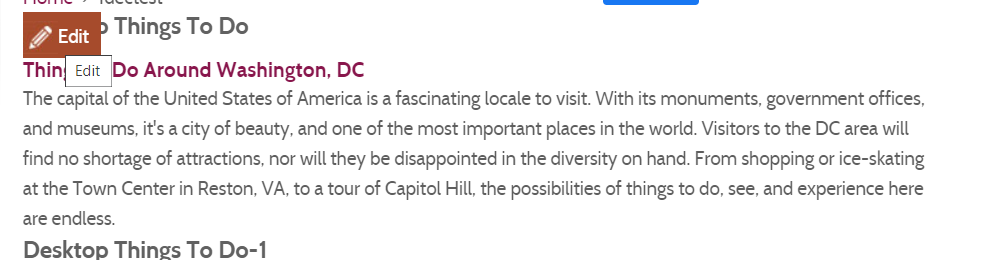
Make the changes to the paragraph and click on ‘Save’.

Follow the same process to edit each paragraph within a page.
Note: Programming team has to set up the feature for respective clients for them to have access to this feature