Release: July 12, 2023
Learn about the latest releases from Milestone Local and how you can use generative AI for your posts across channels.
Milestone Local:
AI-Generated Google Posts
Opportunity: Leveraging the power of generative AI to create posts across Google, Facebook, and Apple can have a significant impact on your business’ visibility, brand awareness, customer engagement, website traffic, customer targeting, and much more.
Solution: Milestone Local leverages the power of generative AI, allowing you to create and publish posts across business locations and channels. Using Generative AI to draft posts can multiply the effectiveness of your online strategy, and drastically reduce turnaround time. This functionality is available as an add-on. If you wish to start using it, please contact your Customer Success Manager.
Path: Milestone Local > Post Summary
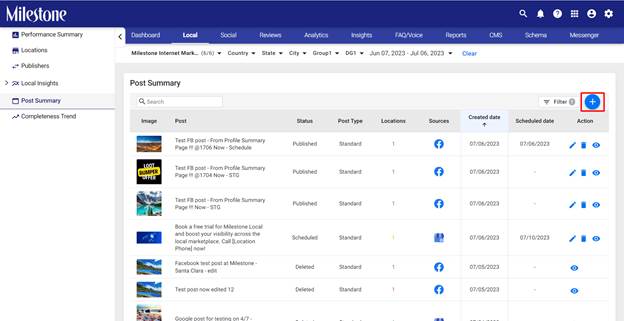
Step 1: Click on ‘Post Summary’ in the left navigation panel of Milestone Local.
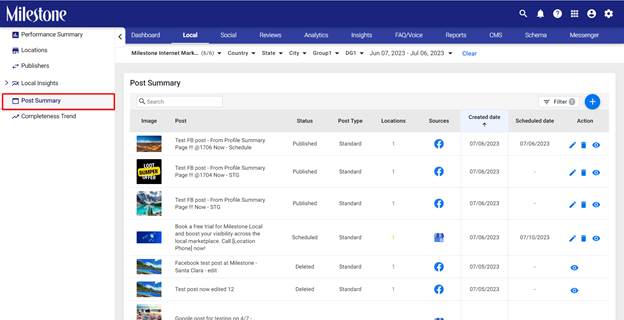
Step 2: To create a new post click on the ‘+’ icon to the top right of this ‘Post Summary’ section.

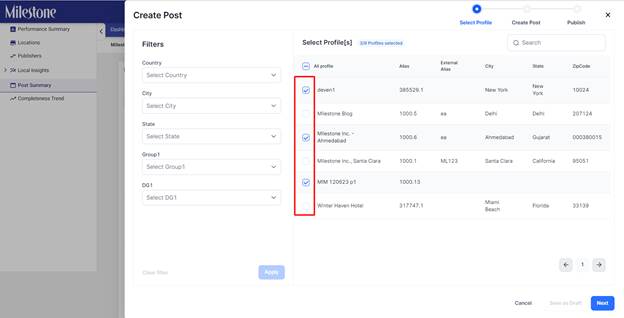
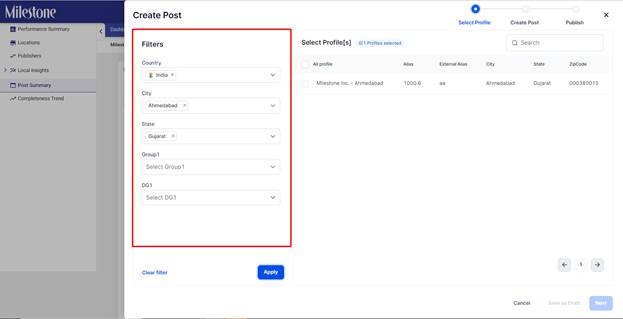
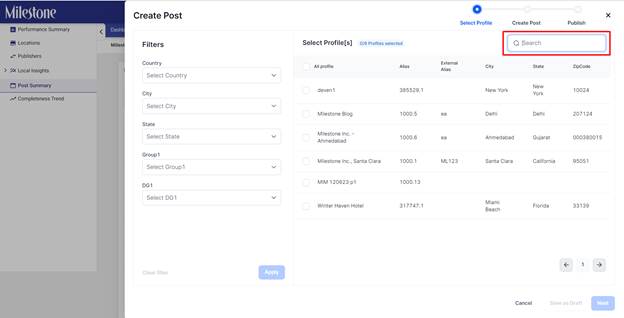
Step 3: In the ‘Create Post’ section, you can use the ‘Filters’ to find specific business profiles you wish to make the post for.

The search bar to the top right can be used to find specific business profiles as well.

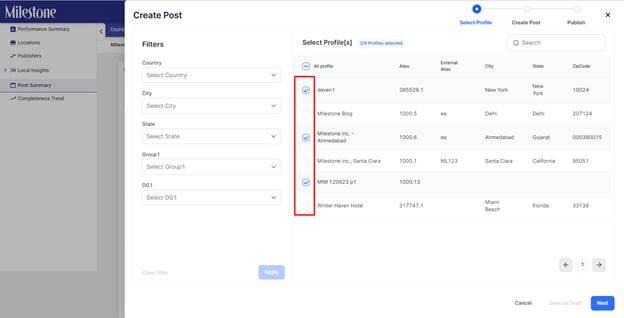
Select multiple profiles by clicking on the check box corresponding to them.
Select all profiles by clicking on the ‘All Profiles’ option to the top.
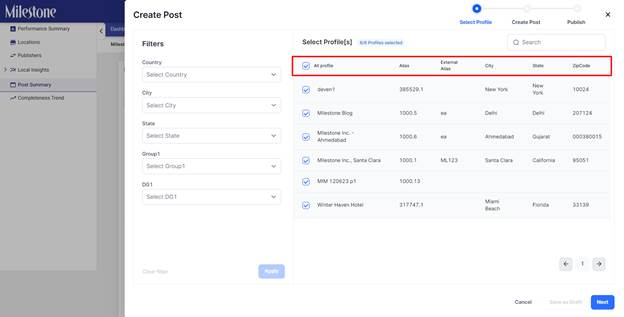
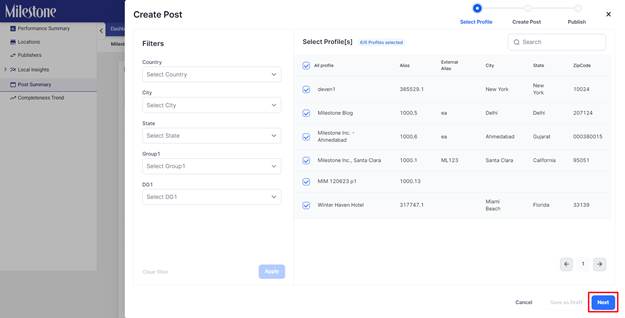
Step 4: Once you have selected the profiles click on ‘Next’ to the bottom right.

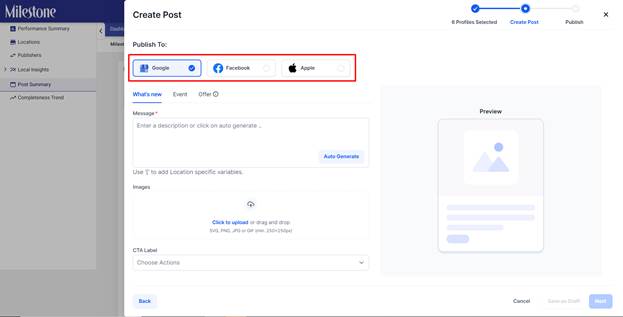
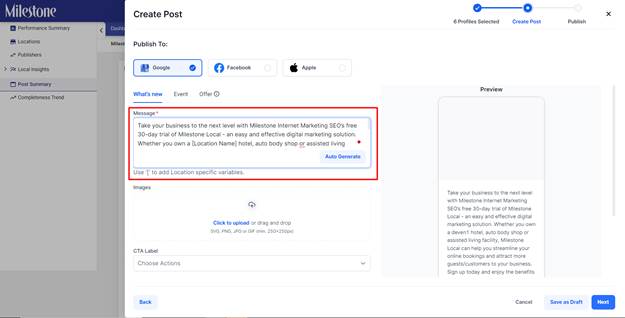
Step 5: Select the channel you wish to publish the post to. In this case, let’s select Google.
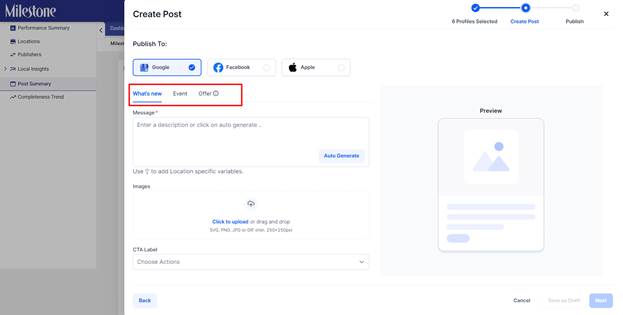
Step 6: Select the post type. You can select between,‘What’s new’, ‘Event’, and ‘Offer’.
What’s New: What’s New posts are generally to engage with customers on new offerings by businesses.
Event: Event posts are used to inform customers about upcoming events. Event posts have a start and end date.
Offer: Offer posts are used to inform customers about limited time offers and discounts that they can avail. Offer posts have a start and end date.
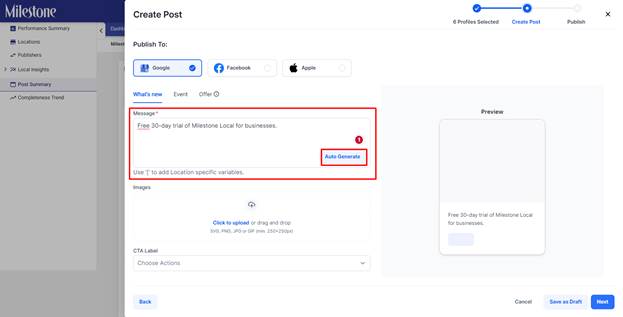
Step 7: Type a custom message into the box, or just add prompts that you wish to be included in your posts and click on ‘AutoGenerate’ to use Generative AI and create posts.
Step 8: In the ‘AI Generation’ section choose up to 3 message tones and the language you wish to make the post in.
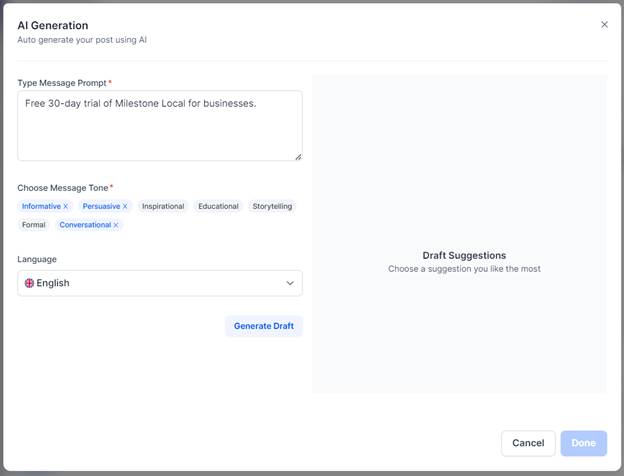
Step 9: Click on ‘Generate Draft’ to generate AI drafts for the posts. The suggested drafts will appear to the right, selectedthe one most suitable and click on ‘Done’.
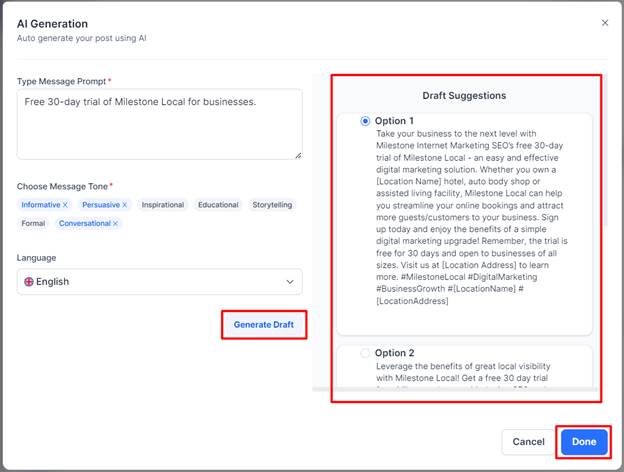
Make edits if required to the AI-generated draft in the ‘Message’ section.
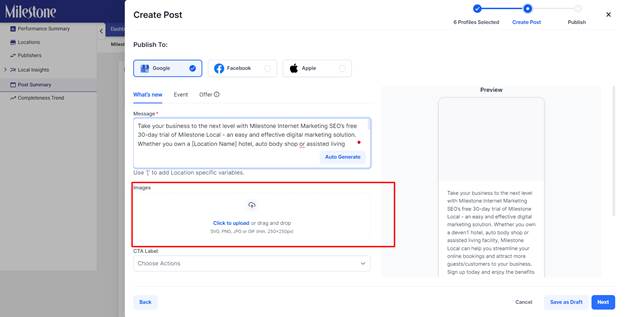
Step 10: Upload an image for the post from the ‘Images’ section.
Step 11: Add a Call to Action (CTA) label for the post from the dropdown menu.
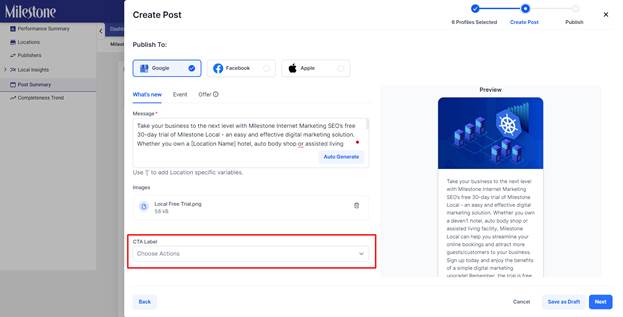
If you add a CTA label to a post you will need to provide the link for the CTA button. Use the URL field to enter a custom URL or select from existing URLs.
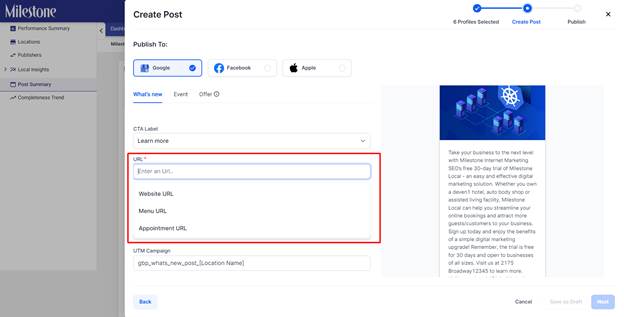
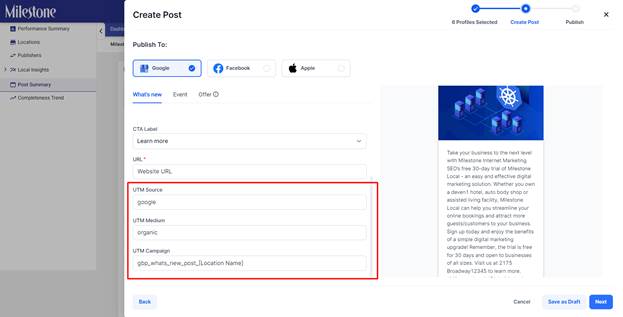
Add UTM details to receive traffic data for the post.
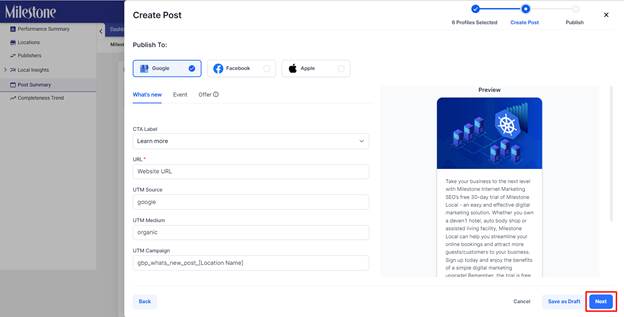
Step 12: Preview the post to the right of the screen. If satisfied, click on ‘Next’ to the bottom right.
Step 13: There are 2 publishing options, you can choose to publish the post instantly using the ‘Now’ option or ‘Schedule’ the post for a future date and time.
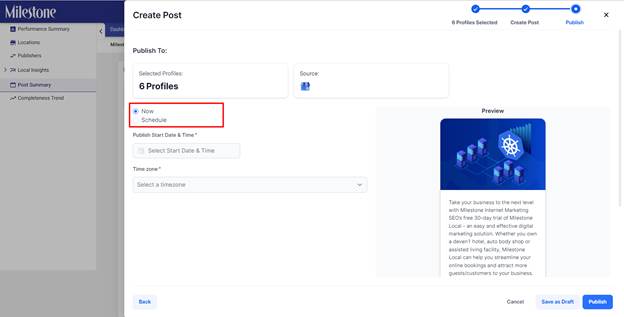
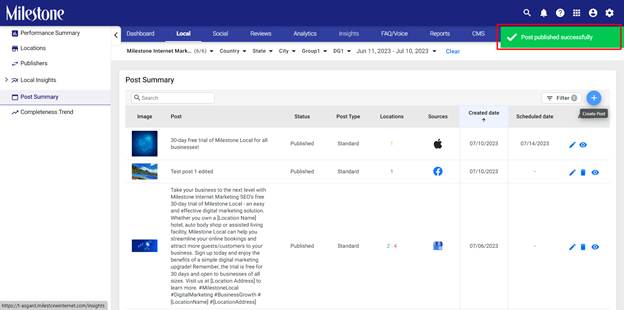
Step 14: Click on ‘Publish’ at the bottom right to publish the post.
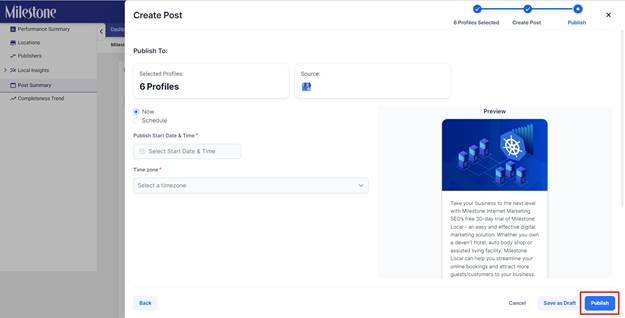
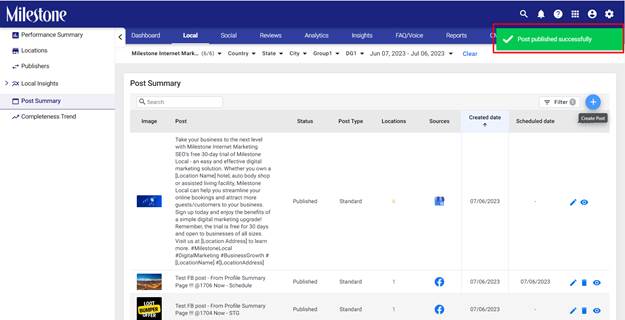
You will be prompted about the publish status of the post.
Apple Showcase
Apple Business Connect’s Showcase allows you to create a Showcase and get discovered on Apple Maps, Wallet, Siri, and more. Apple Business Connect functionalities are available to businesses that have delegated Milestone on Apple Business and have a minimum of 25 locations. To learn more about using this functionality contact your Customer Success Manager now!
Step 1: Click on ‘Post Summary’ in the left navigation panel of Milestone Local.

Step 2: To create a new post click on the ‘+’ icon to the top right of this ‘Post Summary’ section.
Step 3: In the ‘Create Post’ section, you can use the ‘Filters’ to find specific business profiles you wish to make the post for.
The search bar to the top right can be used to find specific business profiles as well.
Select multiple profiles by clicking on the check box corresponding to them.
Select all profiles by clicking on the ‘All Profiles’ option to the top.

Step 4: Once you have selected the profiles click on ‘Next’ to the bottom right.
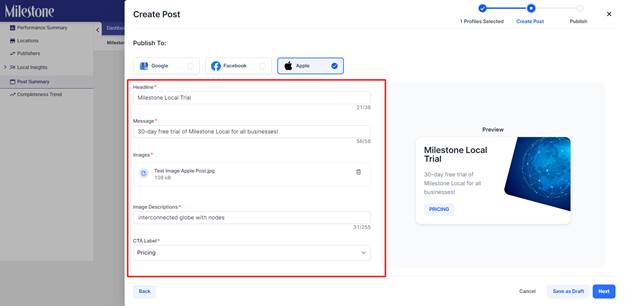
Step 5: To create a post of Apple select ‘Apple’ as the source from the top of this section.
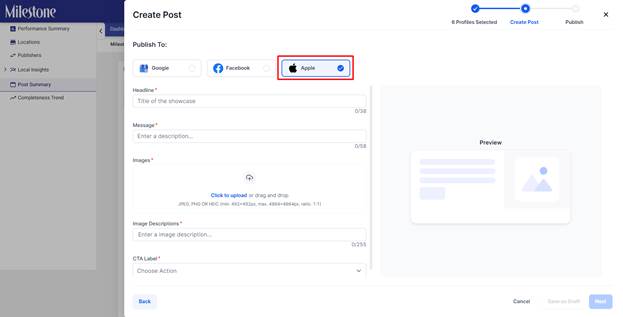
Step 6: There are 5 mandatory fields that need to be filled for Apple posts. Images are mandatory for Apple posts. A minimum resolution of 490 x 490 pixels and a maximum resolution of 4864 x 4864 pixels is advised for images.
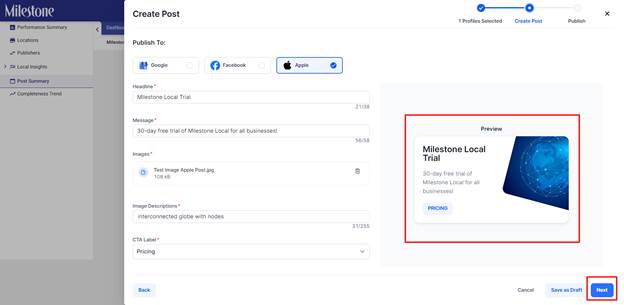
Preview the Apple Showcase post to the right, and if satisfied click on ‘Next’.
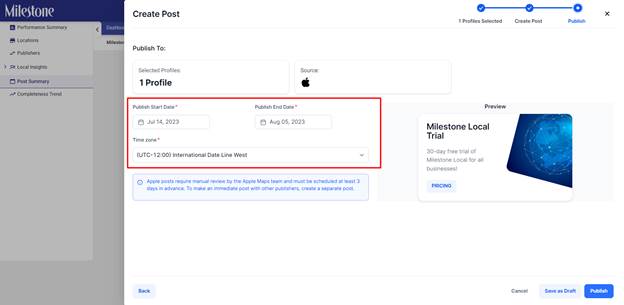
Step 7: Apple posts require a minimum of 3 days for a manual review by the Apple Maps team. Immediate posts are not possible. So you are required to add a publish start and end date along with the time zone.
Step 8: Once you are ready click on ‘Publish’.
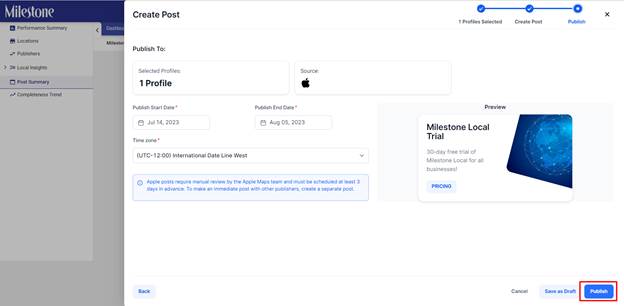
Upon publishing the post you will be notified of the successful publishing of the post.