Images & Videos
Milestone Presence Cloud’s Local module not only ensures that your UNAP (URL-Name-Address-Phone) data and other business details such as your special hours, attributes, and so on, are consistent across all local directories. It also lets you publish your images and videos to these directories. From Local’s Profile Summary page, you can centrally manage all your images and videos for each of your locations.
Add an Image or video to Local Profile Summary
To access the Profile Summary, click on the profile on the 'Locations' tab.
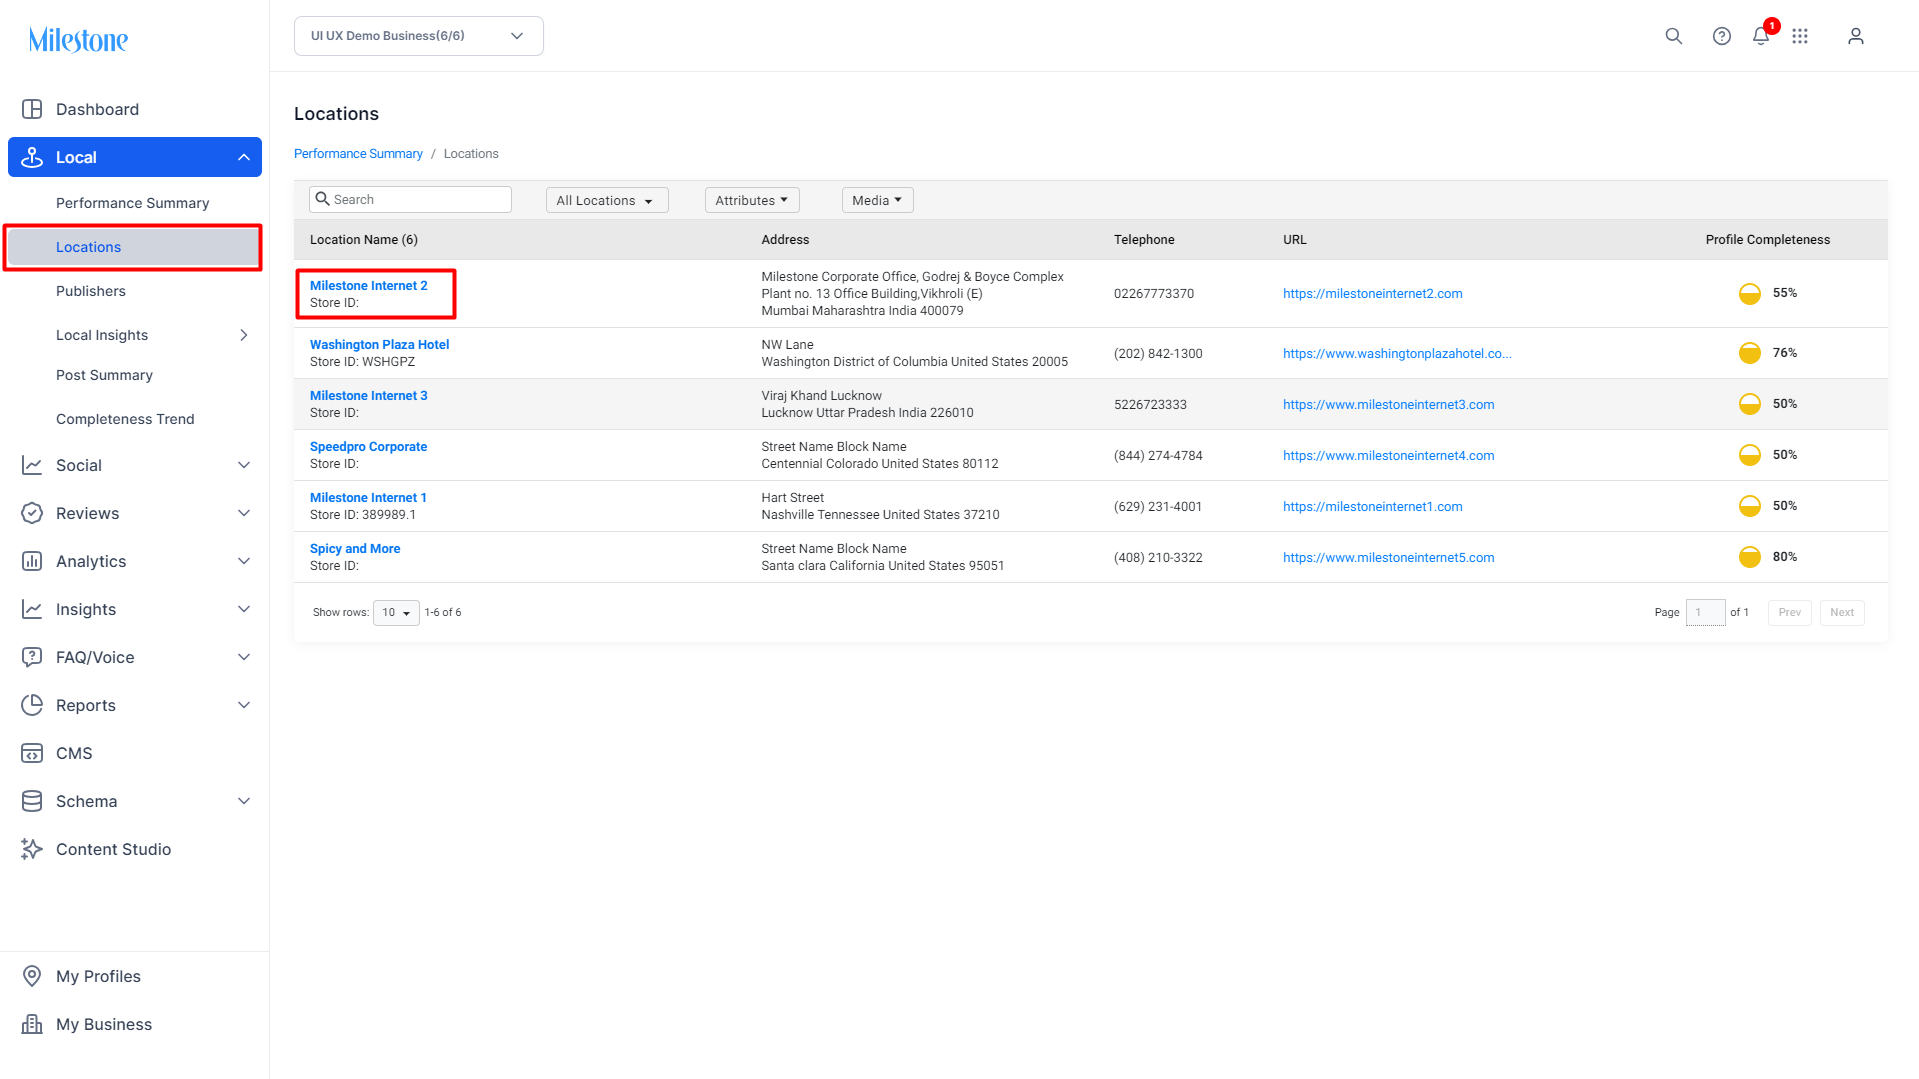
On clicking on the name of the profile (location), you shall be navigated to the Profile Summary page:

The Profile Summary page summarizes all information that gets synced to various local directories. The Media section is where all images and videos relevant to the profile get captured. Click on the + sign to add an image, or if there is an existing image, click on the image and choose a new image. Click on ‘Apply’ to save your change.
The following section will appear:
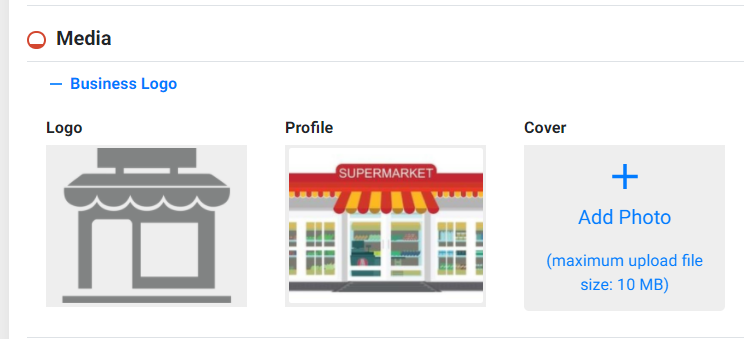
From this screen you can do the following tasks:
1. Add logo
2. Add Profile photo
3. Add cover photo
4. Add more images and videos
Important: File size of images or videos should not exceed 10 MB.
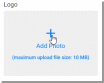
To Add Logo / Profile / Cover images:
Adding a Logo, Profile or Cover image follows a similar process. Here we will show you how to upload a logo. You can repeat the same process for the Profile or Cover images.
Click on the + sign in Logo section, select logo and upload.
Click on + |
Select Upload Image |
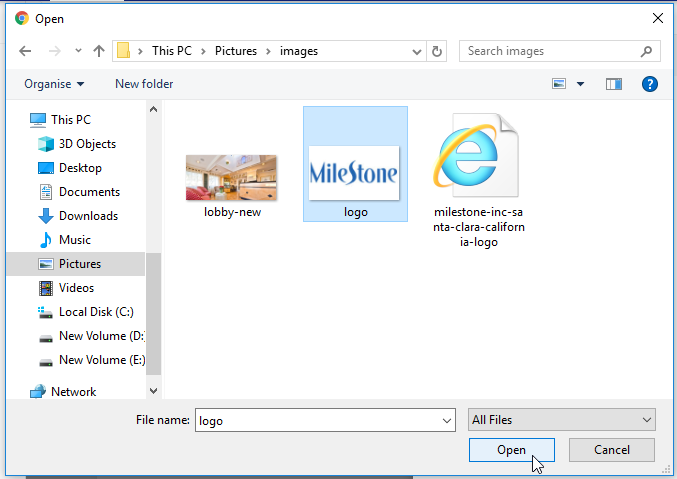
Once the image gets uploaded, the image shall be displayed under logo:
To replace an existing logo/profile/cover image:
To replace an existing logo/profile/cover image, click on the image. You shall be prompted to select another image. Once you select it, the new image shall replace the previous one.
To add images or videos other than logo/profile/cover images:
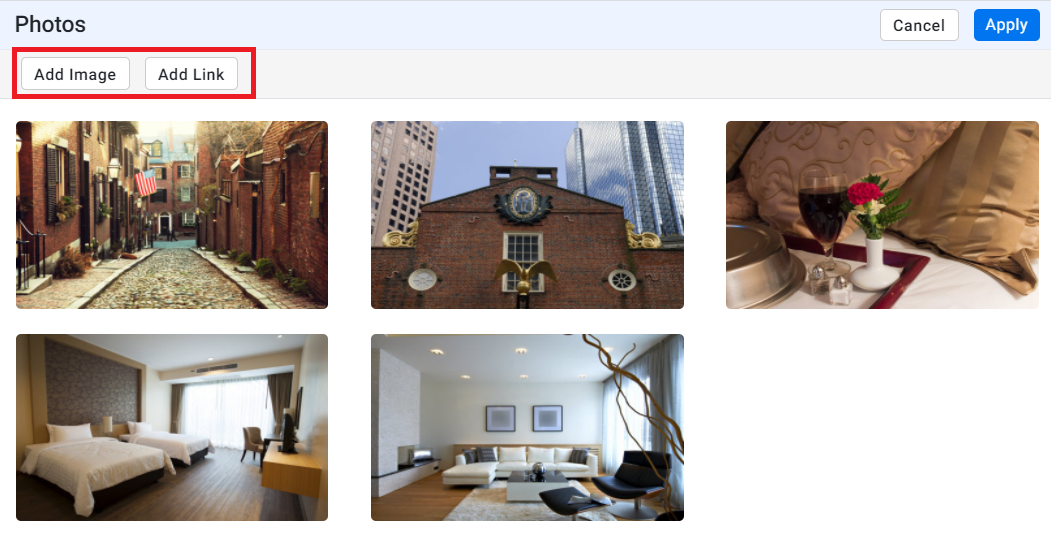
Click on ‘View/Edit’
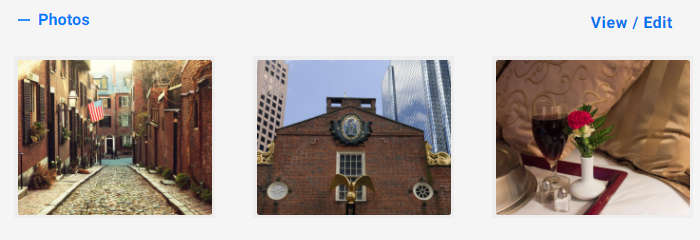
The following option to add an image will appear - Either upload an image by clicking on ‘Add Image’ or by clicking on ‘Add Link’. Once you have either uploaded an image or added a link, click on ‘Apply’ for the image to be added to the gallery.
To replace or delete an additional image:
To replace an image in the additional section you first need to delete the image and then add on the image. Click on the image and click on ‘Delete’.
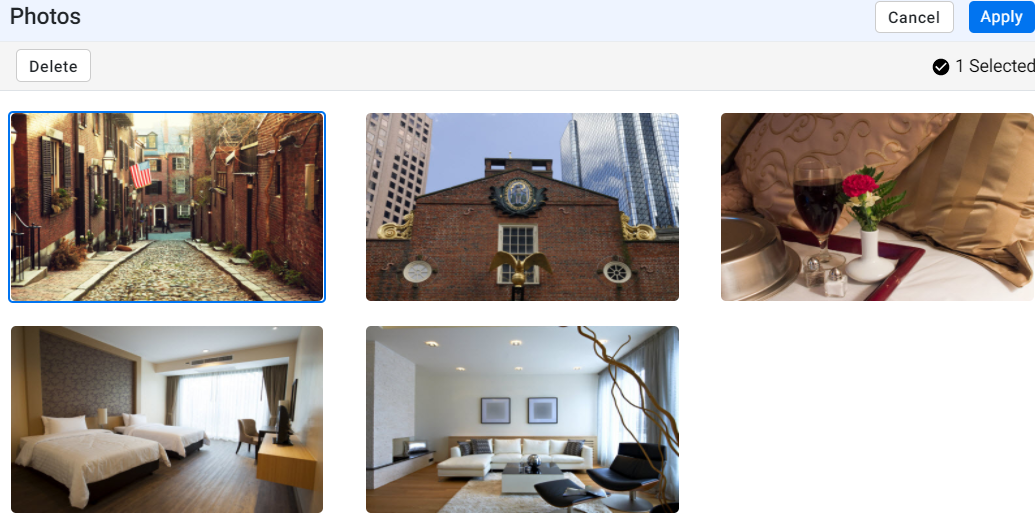
Now, you can proceed to upload the new image using the same process mentioned above.
Once done, do not forget to click on ‘Apply’ to save all changes: