Key Screens
Settings
This screen lets you configure Schema Manager to discover your website pages, upload your web pages, recrawl pages to include fresh content, and append or add new URLs while retaining the existing URLs that have already been crawled. Once the Schema Manager has been connected to your website, you can choose how you want to fetch the page URLs from the below options:
- Append: Add new page URLs while retaining the existing page URLs.
- Recrawl: Recrawl the existing pages to update the webpage schema.
- Discover: Allow Milestone to automatically analyze the website to discover webpages that require schemas.
- Upload: Milestone Schema Manager allows you to upload URLs and assign groups to similar URLs to add webpage schemas to them.
- Delete: You can upload a list of URLs that you want to delete webpage schemas for to Milestone Schema Manager.

You also need to select the user agent – desktop or mobile. Once done, click on ‘Start Crawl’ to initiate fetching of URLs in Schema Manager.
Note: Only once pages have been crawled can any action of tagging, generating, and publishing of schemas be carried out. Your existing live schema is not affected for recrawled pages. If there is a content update in the pages after recrawl, it is recommended to review and republish the schema so that the web page always has the schema referring to the latest content.
To the right you can see the following options;
Crawl History: This displays the last action carried out in the URL Settings.
 URL Grouping: This allows you to group URLs that have similar content. You can download the template for URL grouping from here, add the URL list and groups and upload it here.

Download: You can download a list of the current schemas present on Milestone Schema Manager along with the schemas deployed on them, the number of errors, the number of warnings, the URL Health, the status of the schemas, the last action carried out along with the date and time.

‘Tag Schema’ screen:
Once URLs are fetched, they will appear in this tab. Along with the URLs, the tab displays schemas deployed, Errors / Warnings & schema publish status. Click on Actions to open schema editor and add / edit schemas.
Once the schemas have been published, you can continue to monitor the health of these schemas from here.

Milestone Schema Manager groups similar pages based on URL and page element structure. The grouped URLs are shown in blue, such as:4

If you click on the group, you shall be able to view all URLs grouped under this:

To Ungroup URLs select the group and click on 'Ungroup' at the top of the Tag Schema section.

To add a schema click on ‘+'.

To edit an existing schema click on ‘!’ . This shall open the web page in the Schema Editor.

Schema Editor
The first-time user will see a set of the most prominent schemas under the ‘Choose a Schema type to start with’. The user can choose from the list of schemas displayed or use the search bar to find the most relevant schema to start with.

Select the schema type enter the properties and apply schema:
Once you choose the schema type, the editor will display the most relevant properties. 
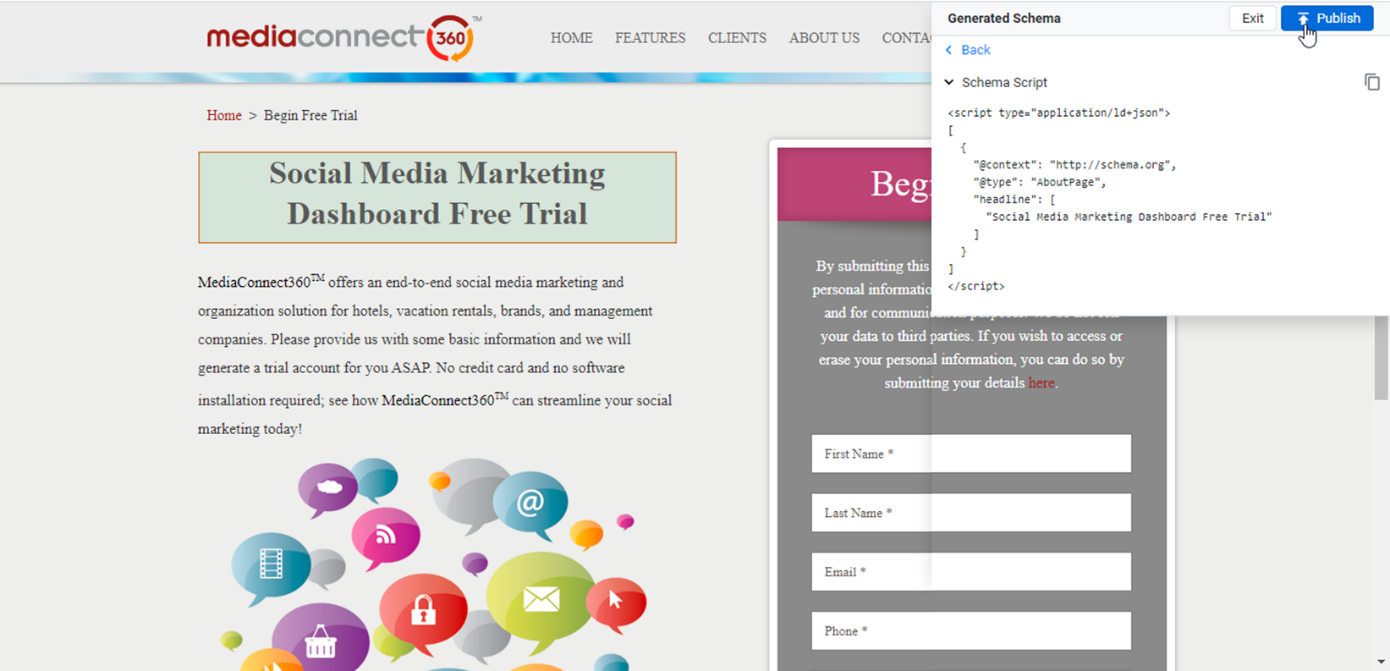
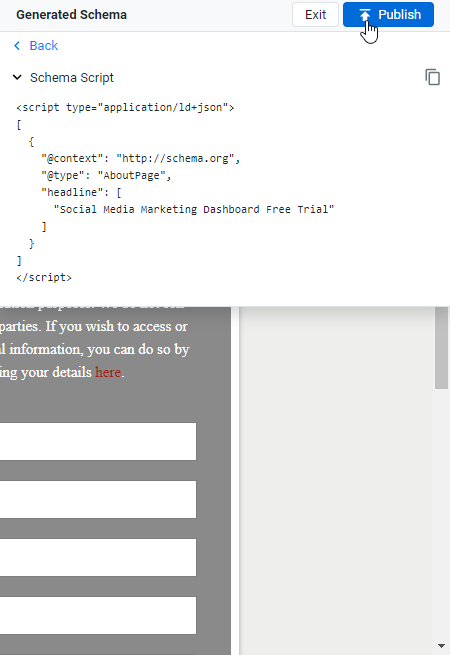
Generate schema block & Validate by clicking on ‘Save & Generate’:

Publish to site:
You can publish only if there are no schema errors.
Now that you know about the key screens, check out and deploy your first schema.
Schema Home screen
Schema Analysis
The Schema Analysis provides you with a quick overview of schema deployment across your web pages and the actions you need to take on existing schema pages.

The data tiles at the top of the screen provide you with numerical data on
Total URLs: The number of URLs crawled.

URLs with Schema: URLs that have structured data.

URLs without Schema: URLs that do not have structured data.

Schema Errors: The number of pages that are displaying an error.

Site Errors: The number of pages that have technical or schema script validation errors.

Warnings: Pages that have schema validation warnings or content changes since the schema was last updated.

Unique Schema: The number of unique schemas deployed across all pages crawled.

Schema Completeness
The chart provides you with a visual representation of the number of URLs with schema deployed versus URLs without schema deployed.

What actions do I need to focus on?
The ‘What Actions Do I Need to Focus On?’ section insights into Errors, Warnings, and Unique Schemas. By clicking on the data tiles, you will be able to view insights for each.
Click on ‘View’ to start taking actions to resolve the error/warning.

The Actions section displays the URLs for which the error/warning is present, the status of the schema, details of the error/warning
You can use the searchbar to the top right of the Actions section to find specific URLs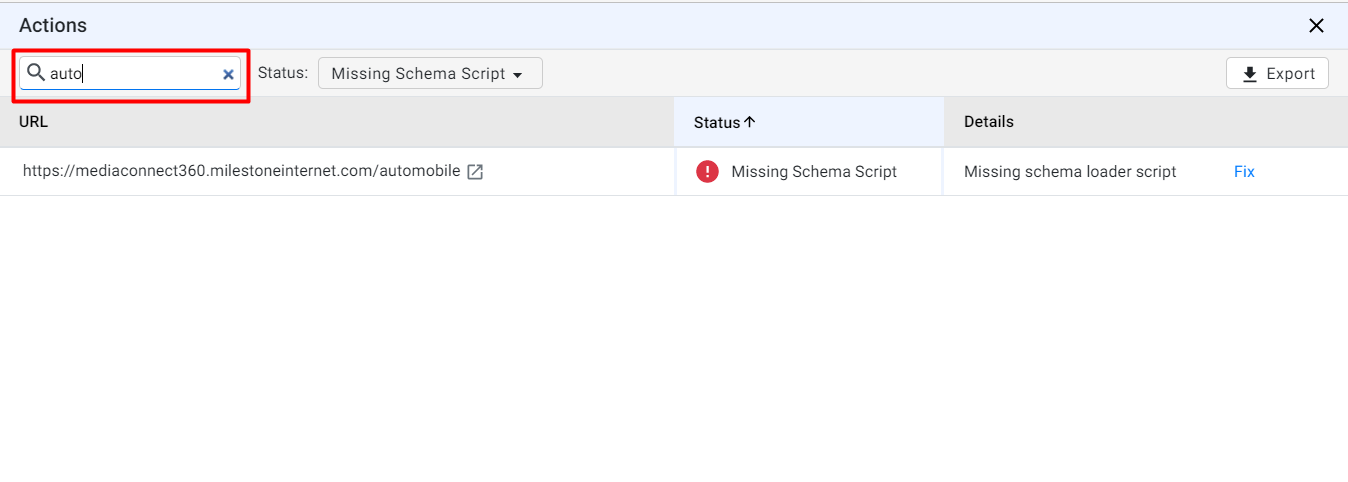
You can filter results using the ‘Status’ dropdown menu to the right of the search bar to filter results by Status
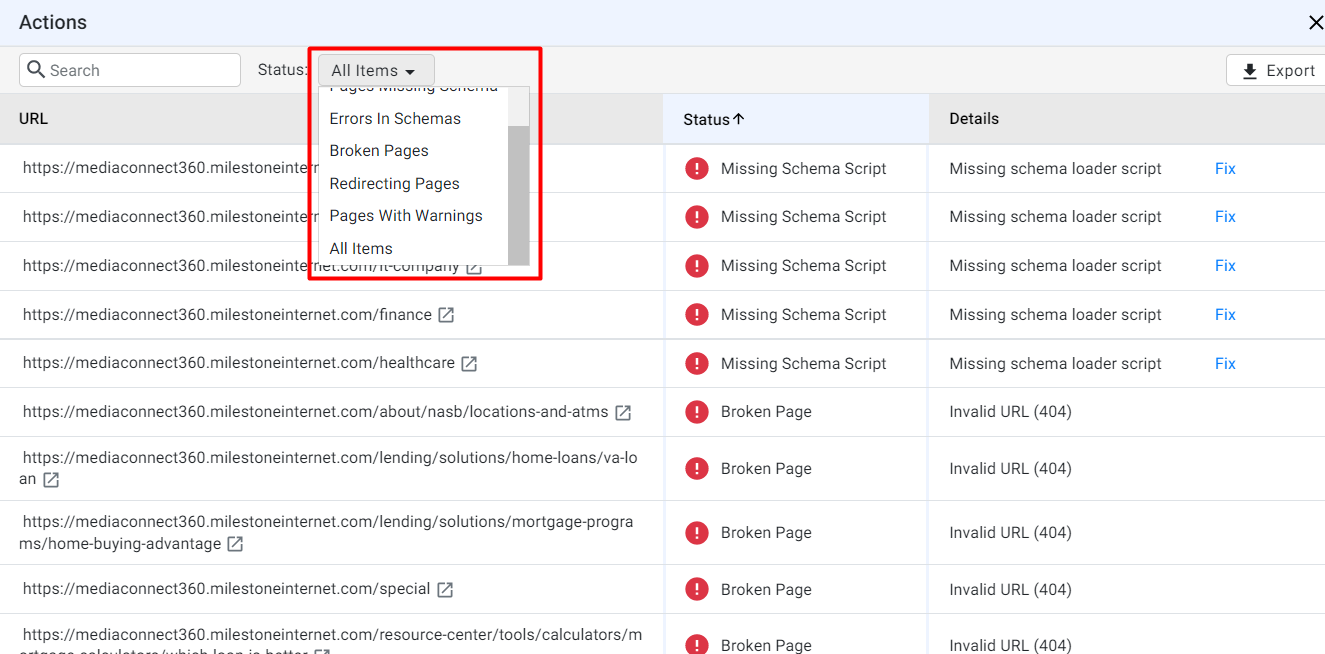
To take actions to resolve the errors/warnings click on ‘Fix’ 
The Schema Visibility screen gives you insights as to what search engines know about your website and the total universal search results.
What Search Engines know about you
This is based on the type of schemas that you have deployed on your website. The widget tells you in detail what the search engines know about your website.

Schema Distribution
The Schema Distribution section provides you with a quick overview of the health of the Schema deployed across your pages.
The graph provides you with a visual representation of Errors and Warnings occurring in schema deployment across URLs.

To the top right you can click on the ‘table’ icon to get a tabular view of the health of your schema across pages

You can use the column dropdown menu to include or exclude columns in this section
