Release: June 28, 2023
Learn about the latest release from Milestone CMS and Insights!
CMS
MIBlock User Interface Update
Milestone CMS is evolving. In our effort to standardize our design language and provide users with a seamless experience, we have made a few changes to Milestone CMS’ MiBlocks. The new User Interface (UI) is more intuitive, allowing users to quickly edit and update MIBlocks for their pages.
Editing
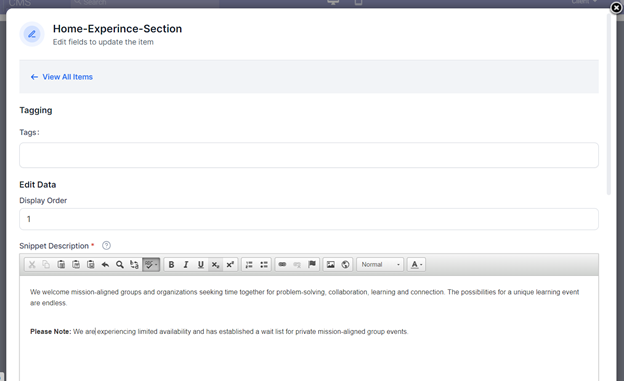
To edit page content hover over the content block you wish to edit and click on the edit icon that appears at the top.

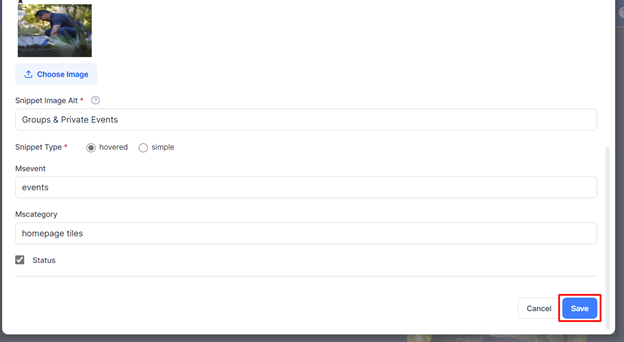
From the Edit screen, you can edit content within the content block. Enter details that pertain to a block, the most common being the Title, Description, CTA link, and so on.
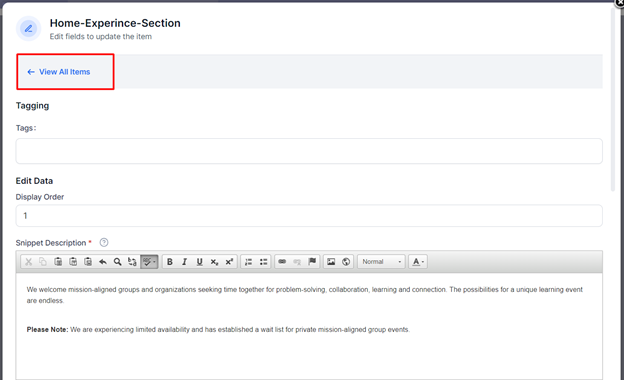
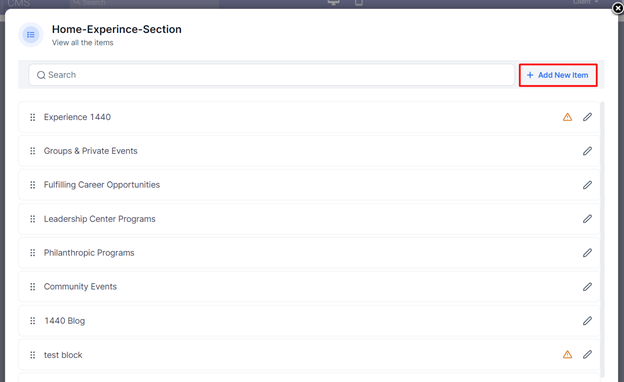
View All Content Blocks
You can view all the content blocks present in a page section by clicking on ‘View All Items’ at the top of the edit section.
In addition, you can drag and drop the blocks based on how you’d like them to be displayed on your webpage.
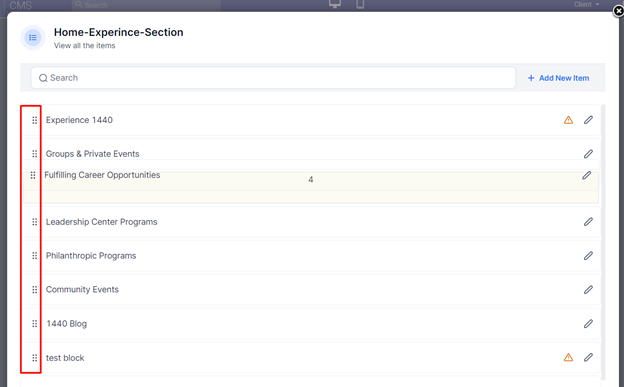
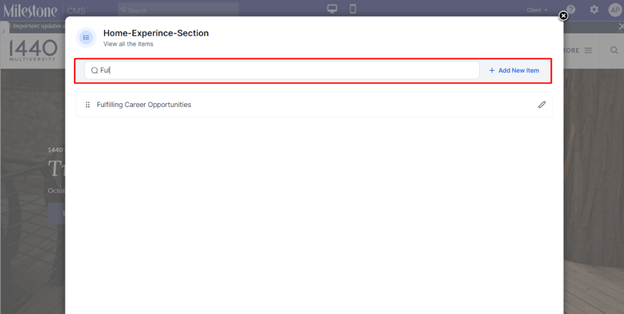
Enter the name of the MIBlock item and press ‘Enter’ in the search field to quickly find items from the list.
Activating/Deactivating a content block
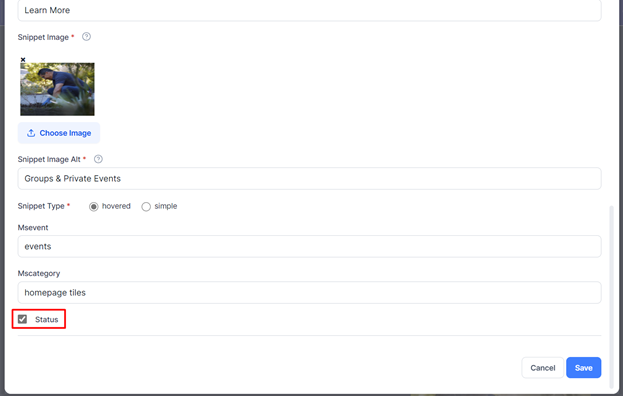
You can activate or deactivate a content block from the page by selecting or deselecting ‘Status’ in the edit section
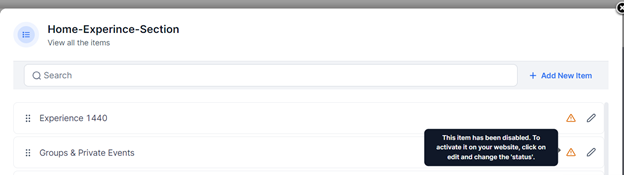
When a listing has been deactivated using the ‘Status’ button, it will display a warning in the item list for the MIBlocks.
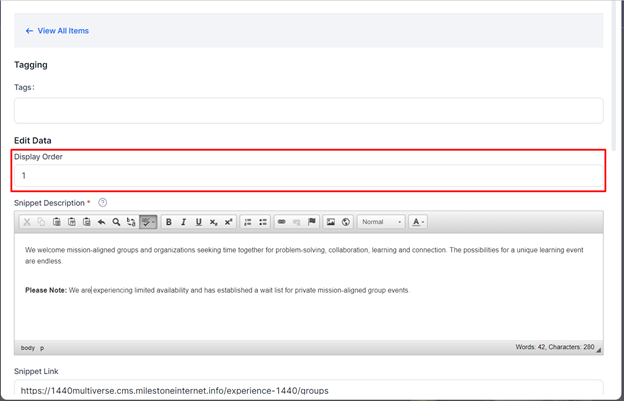
Choosing the display order
If you have multiple content blocks in a page section, you can change the display order of the selected content block by entering the position you wish to display it.
Adding a content block
You can add a content block to the page section by clicking on‘Add New Item’. You can add a block only if it is permitted based on the layout section that you are editing.
Saving
Once you have made the desired changes click on ‘Save’ at the bottom of the edit section
Quickly update and edit the content on your web pages using Milestones Content blocks now!
Insights
Manual Crawl Enabled
Opportunity: Crawling URLs for a website periodically helps assess the health of your website and content, its visibility on search, the load performance, and much more.
Solution: Milestone Insights allows you to trigger a crawl whenever you wish. You can recrawl your existing URLs, append the list of URLs on your website and crawl any new pages added or simply discover new URLs by recrawling the entire website.
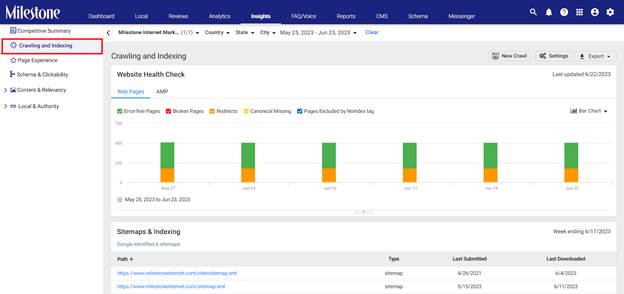
Path: Milestone Insights > Crawling and Indexing> New Crawl
Step 1: Click on ‘Crawling and Indexing’ in the left navigation panel of Milestone Insights.
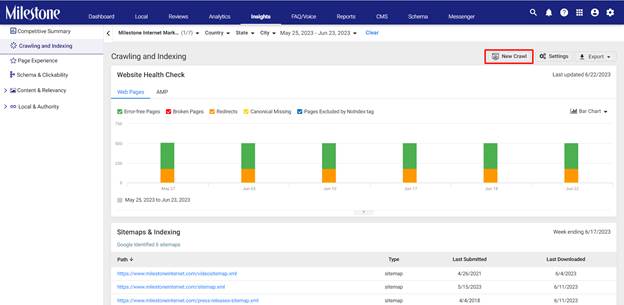
Step 2: Click on ‘New Crawl’ to the top right of the ‘Crawling and Indexing’ section.
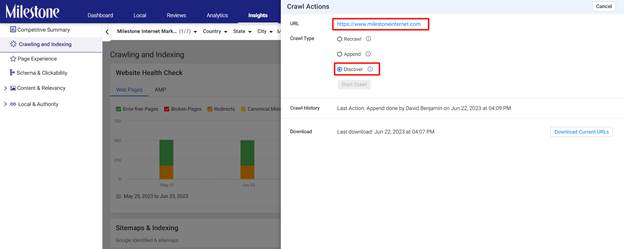
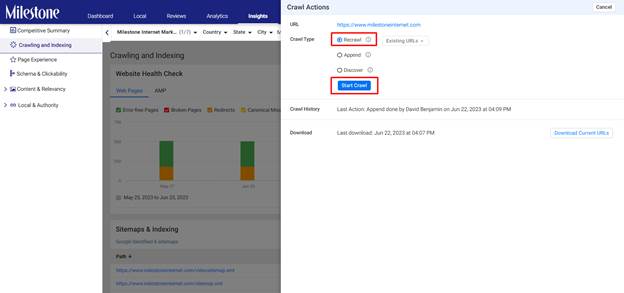
Step 3: From the ‘Crawl Actions’ section you can choose between three types of crawl actions.
Recrawl
The ‘Recrawl’ option recrawls the existing uploaded URLs to check for changes in content or broken schema. Select the ‘Recrawl’ option and click on ‘Start Crawl’ to initiate a new crawl.
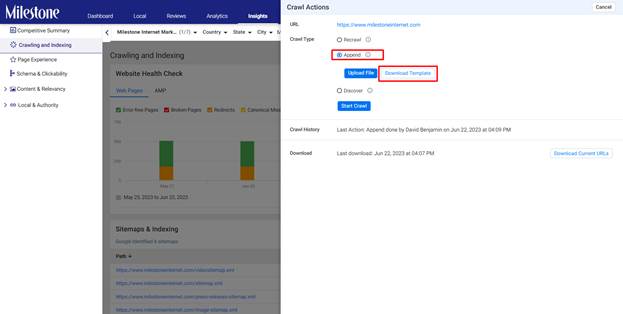
Append
The ‘Append’ option allows you to add a list of new URLs to be specifically crawled. This saves time as it does not crawl the existing URLs for the website and only the new ones.
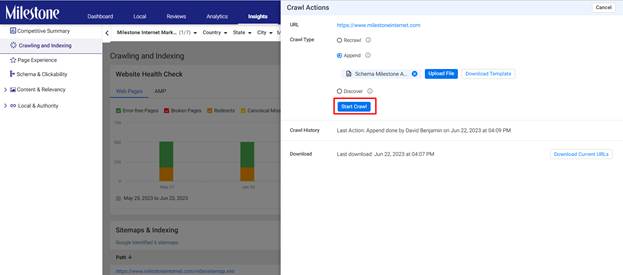
Step 1: Select ‘Append’ as the crawl option and download the template using the ‘Download Template’ button.
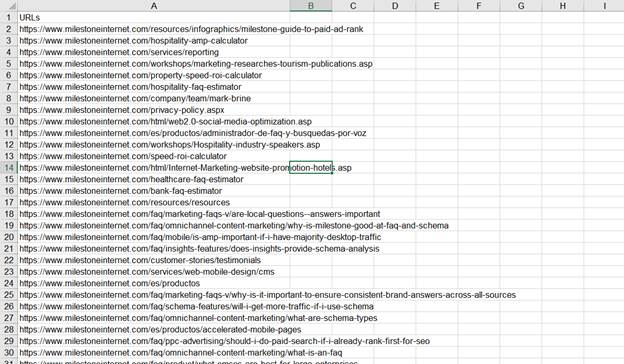
Step 2: Add the list of URLs to the template file and save it.
Step 3: Click on ‘Upload’ in the ‘Crawl Options’section and upload the spreadsheet with the new URLs.
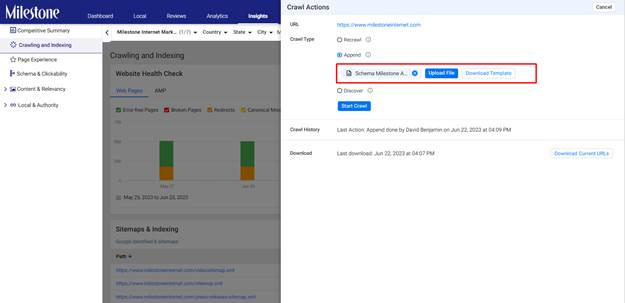
Step 4: Once uploaded click on ‘Start Crawl’ to initiate the crawl.
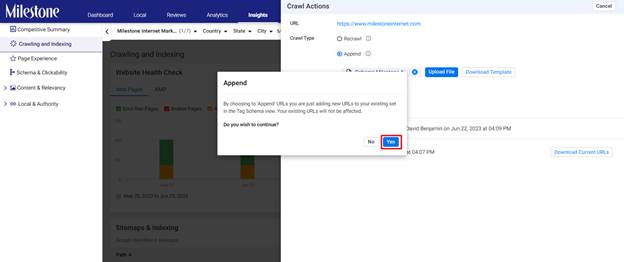
Step 5: You will be prompted as to what this action means, if you wish to continue with the crawl click on ‘Yes’.
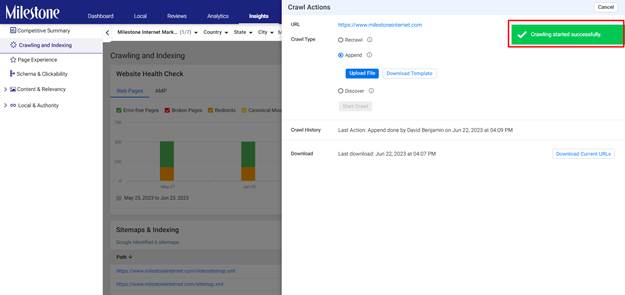
You will be notified if the crawl has been initiated successfully.
Discover
The ‘Discover’ crawl option crawls the entire website via the source URL to the top of this section. This is slightly time-consuming as it recrawls the existing URLs and any other new or additional URLs on the website. Select the ‘Discover’ option and click on ‘Start Crawl’ to initiate this type of crawl.