Release: Jan 20, 2021
Schema Manager
1. Global Schema
Opportunity: Define Global schemas that can be used across all the URLs of the website when required.
Solution: You can now tag a schema as global and it can be used in the future across all URLs of the website.
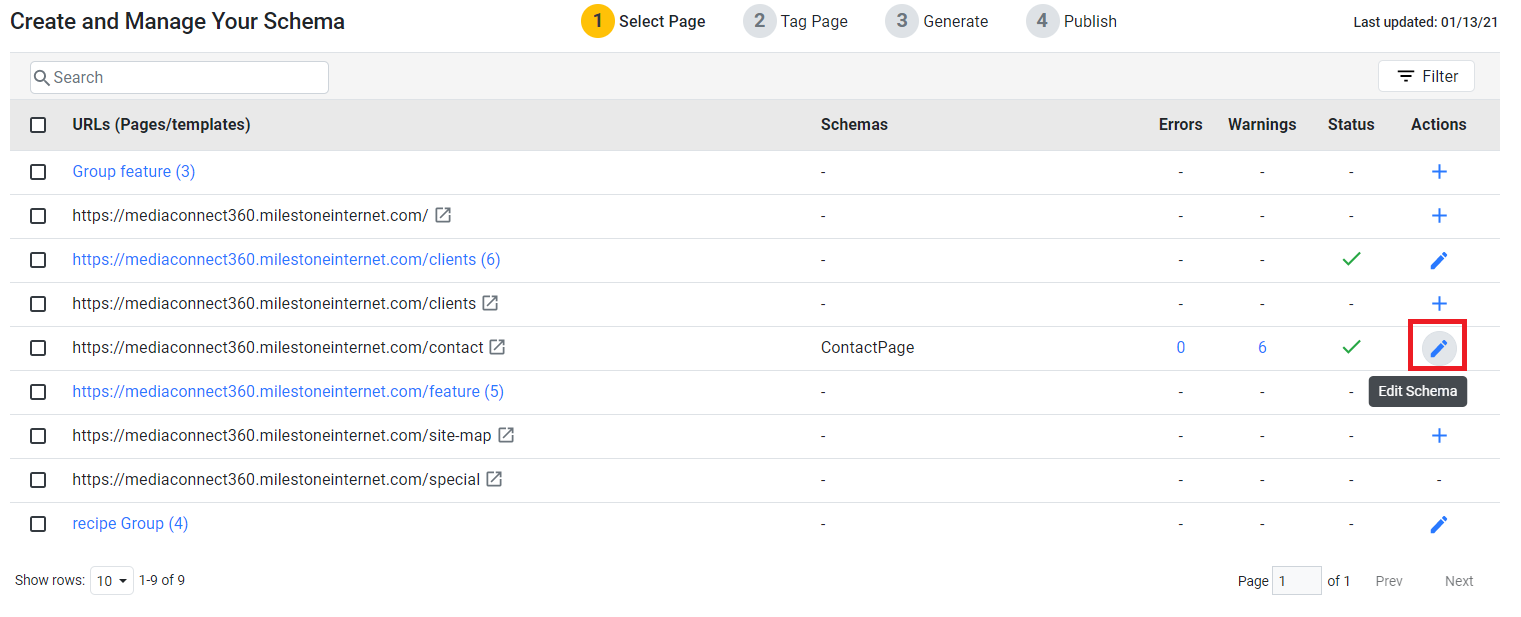
Let’s start with adding a global schema to a URL that has contact information. Click on ‘Edit Schema’ on the page that has the ‘Contact Page’ schema.
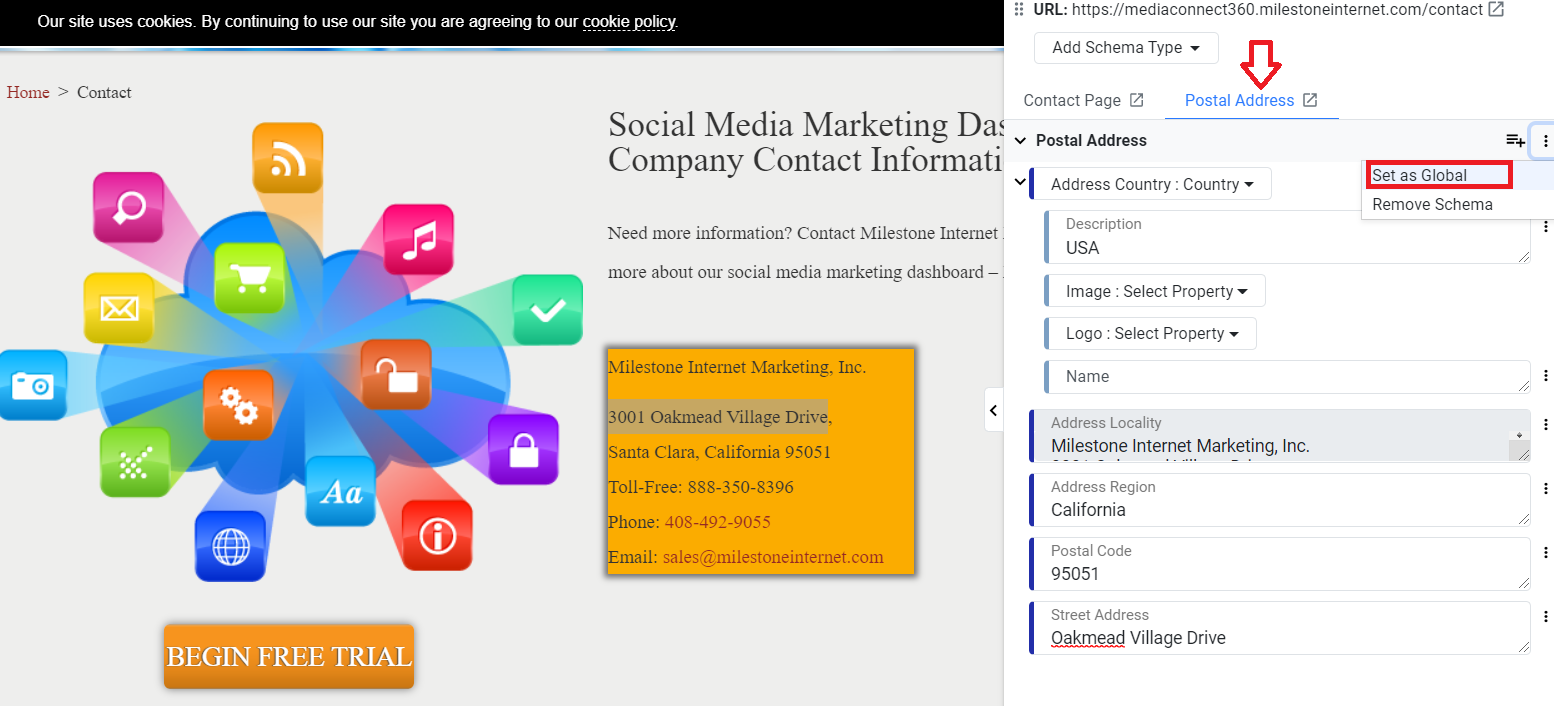
Add the ‘Postal Address’ schema and enter the properties such as Description, Locality, Region, etc. Click on ‘Set as Global’ once
all the required fields have been entered.
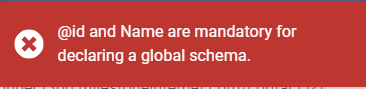
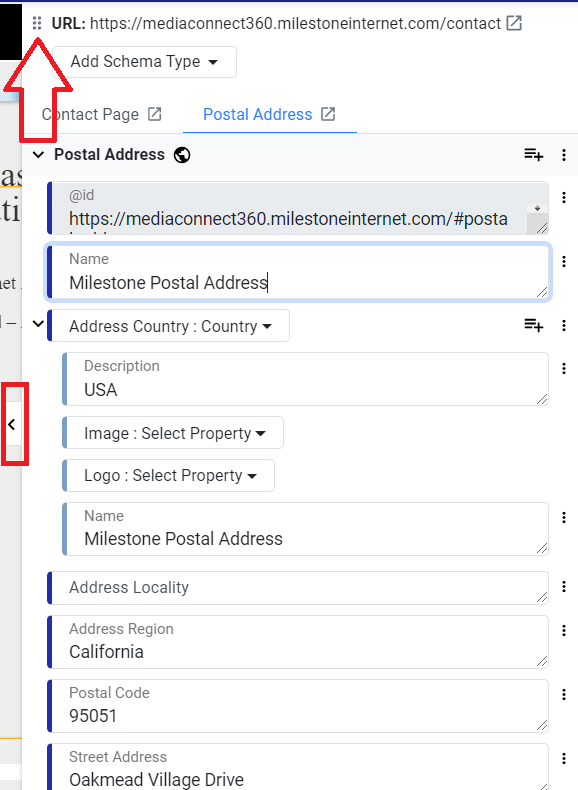
Now to set the schema as global, you will have to first add @id (a unique identifier for schemas) and the name. If not, you will see a message like this.
To do so, click on ‘Add property’, choose @id and enter the URL along with #postal address as shown in the image.
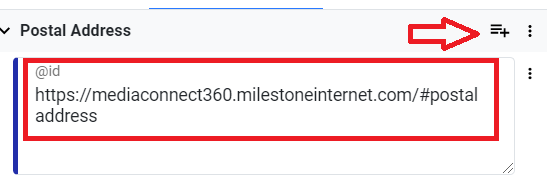
Note: Please ensure that @id property value is unique and has not been used in any other schema.
Next, click again on ‘Add Property’ and choose ‘Name’. Enter the name of the schema property as ‘Milestone Postal Address’.

Once you’ve added the two fields (@id and name) click on ‘Set as Global’.

You will
immediately see the global icon and a notification requiring you to
save to use the schema globally anywhere. Click on ‘Save’ to
declare the Global Schema.

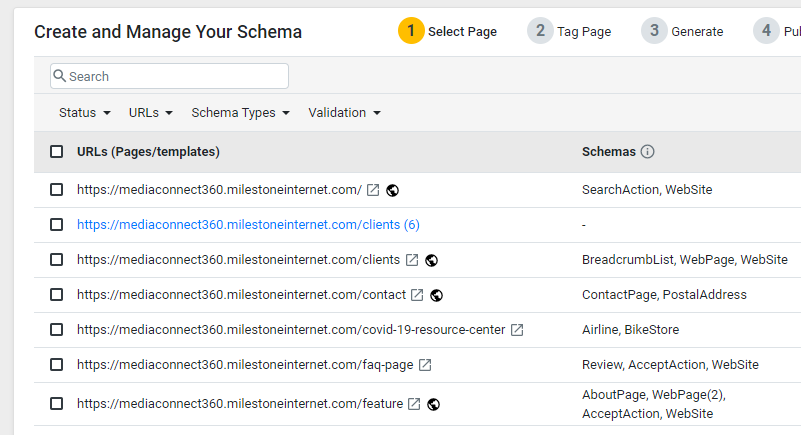
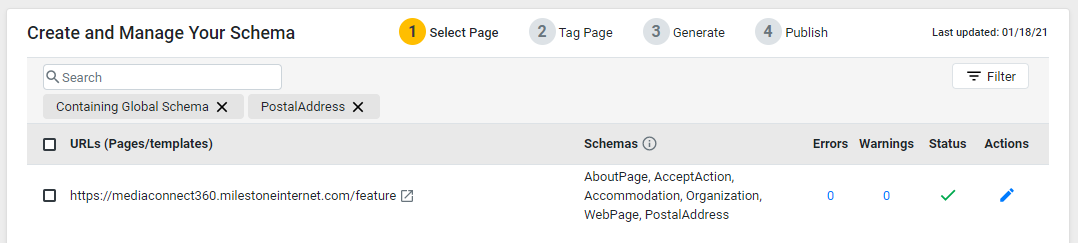
Now back on the ‘Schema Audit’ page you will see that a Global schema appears against the URL for you to easily identify that it has one or more global schemas defined.
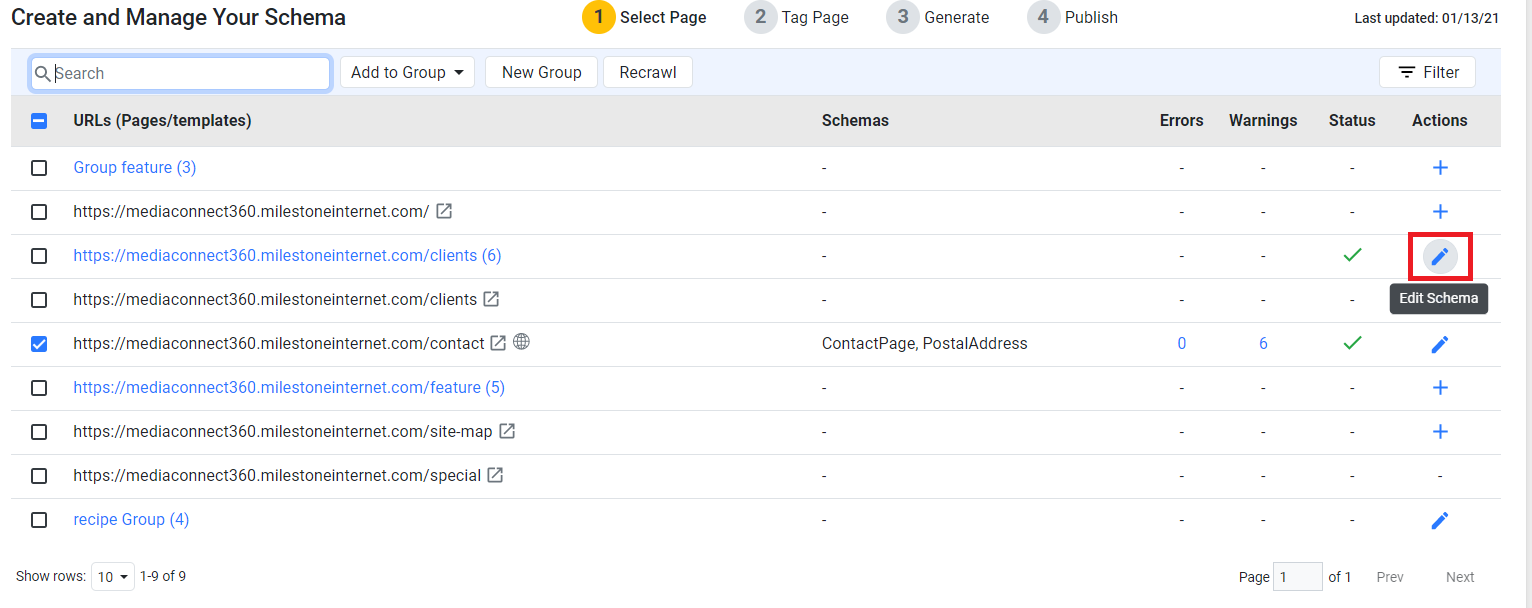
Now let’s show you how you can reuse a global schema. Click on ‘Edit’ on a URL where you want to refer to the global schema that you just created.
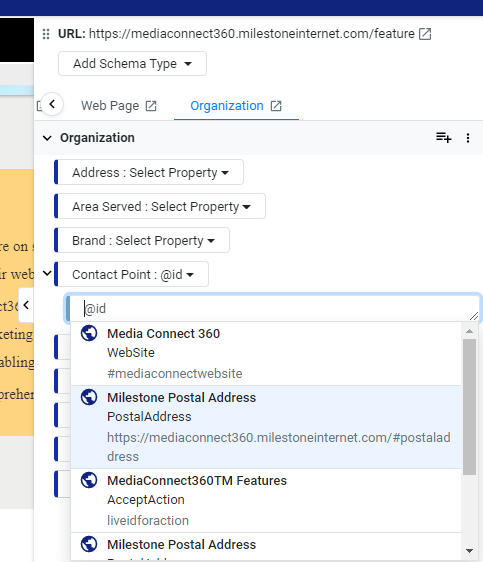
Choose the Schema type for the page (i.e. organization) and click on Contact Point property and select @id type. When you click on @id, the list of
all available global schemas is displayed. Select the Postal Address
global schema (‘Milestone Postal Address’) that you just created
in the previous step as a reference.
Now enter other necessary properties for Organization schema and click on ‘Save and Generate’. You can observe that the Generated Schema preview that the referred global schema ‘Milestone Postal address’ also appears along with other tagged schemas.

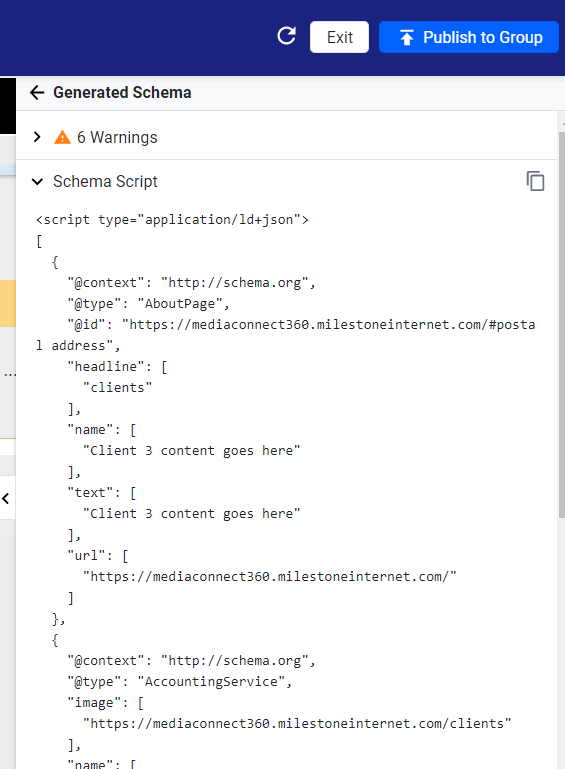
This referred global schema also appears under schema column and is visible upon save/publish of the concerned URL.

Once you have published global schemas, you can use the ‘Filter’ option on the ‘Schema Audit’ page to filter pages that are ‘Declaring Global Schemas’ and those that are ‘Containing Global Schemas’.
Choosing ‘Declaring Global Schemas’ will display pages that have one or more saved/published global schemas whereas pages that have referred one or more global schemas (and saved/published) will be displayed if you choose to click on ‘Containing Global Schemas’.

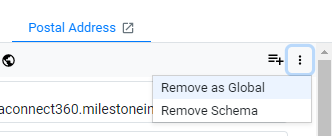
You can remove a
schema as global by simply clicking on ‘Remove as Global’.
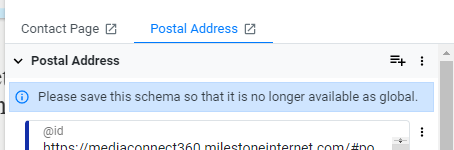
You will be asked to save so that the schema is no longer available as global.
Note: If you have referenced a global schema in one or more URLs, you will need to remove those references before you can remove a schema as global.
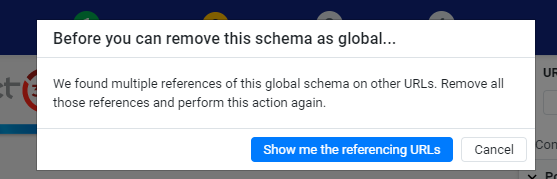
Clicking on ‘Show
me the referencing URLs’ will take you the list of URLs referring
the schema that you want to remove in a separate tab.
To remove a referred Global schema, simply click on Remove Referred Schema as shown below and save/publish.

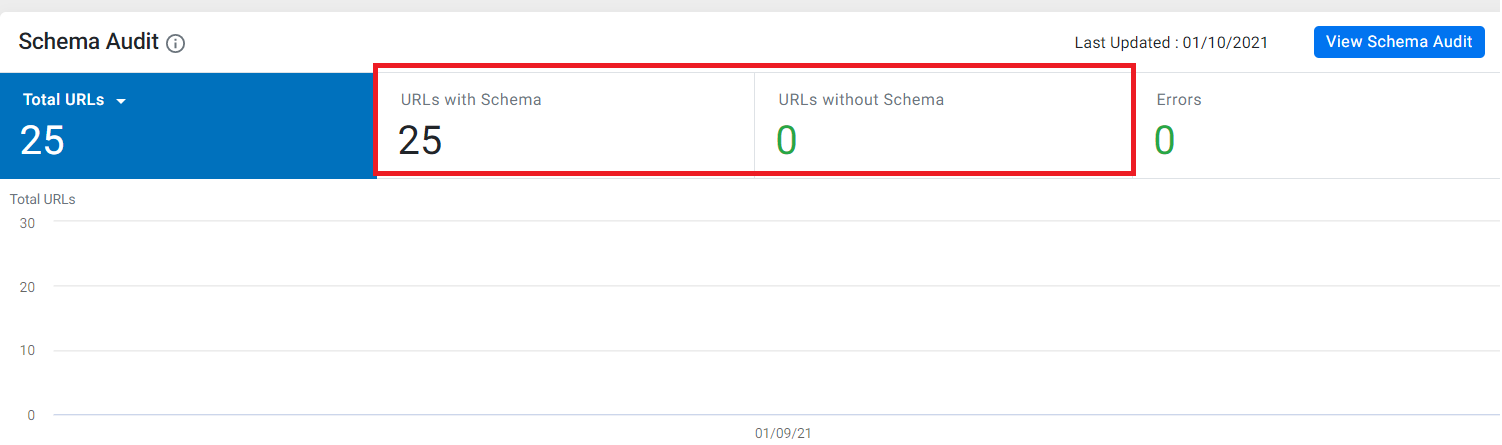
2. Schema Audit widget KPIs to be based on milestone deployed schema
Opportunity: Improve accuracy of the number of URLs with and without schema
Solution: The Schema Audit widget’s ‘URLs with Schema’ KPI will display only Schema Manager deployed schemas and not other schemas that were previously deployed on the website. Similarly ‘URLs without Schema’ KPI will show all URLs without any Schema Manager deployed schemas.
3. Addition of Schema Performance Categories
Opportunity: Display the best performing schema combinations and categories
Solution: Businesses can now choose ‘Categories’ to view which schema categories and combinations and working the best for them
Schema > Reports > Search Performance
Choose ‘Categories’ from the drop-down options
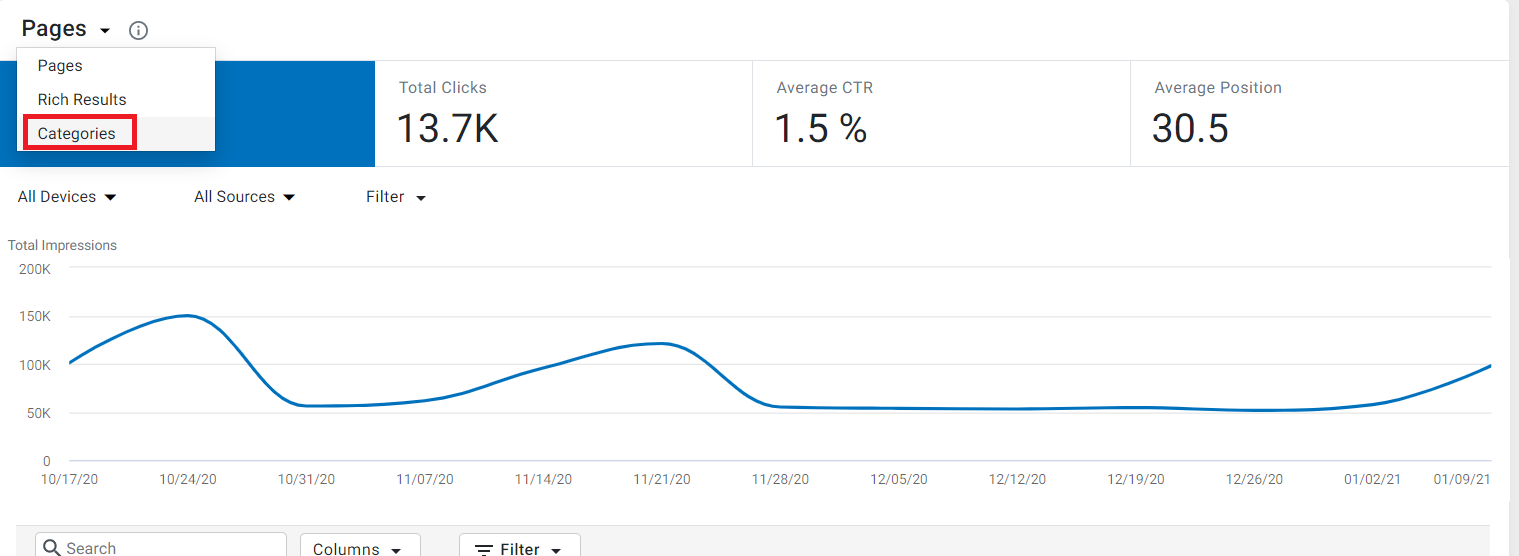
The page will display the schema categories in combinations that are working best for the website in terms of position, CTR, URL clicks and impressions. You can also export the report by clicking on ‘Export Excel’.

4. Improved Schema Editor with wizard-based workflow
We now have an improved UI to improve the workflow of users using Schema Manager. Take a look at some of these changes:
i. Schema workflow step indicators
The
Schema Workflow now has clear step indicators en-route to publishing.
The indicator ‘Select Page’ indicates that the user has to select
a website page to start tagging. Click on ‘Edit Schema’ once the
page is selected to move on to tagging Schemas.

On
the website on-screen editor page, you will see the ‘Tag Page’
indicator to suggest that the user needs to tag schemas on the page
of the website. Choose your schema types, tag other properties such
as the Title and Description and click on ‘Save & Generate’
and the indicator will move to ‘Generate’.
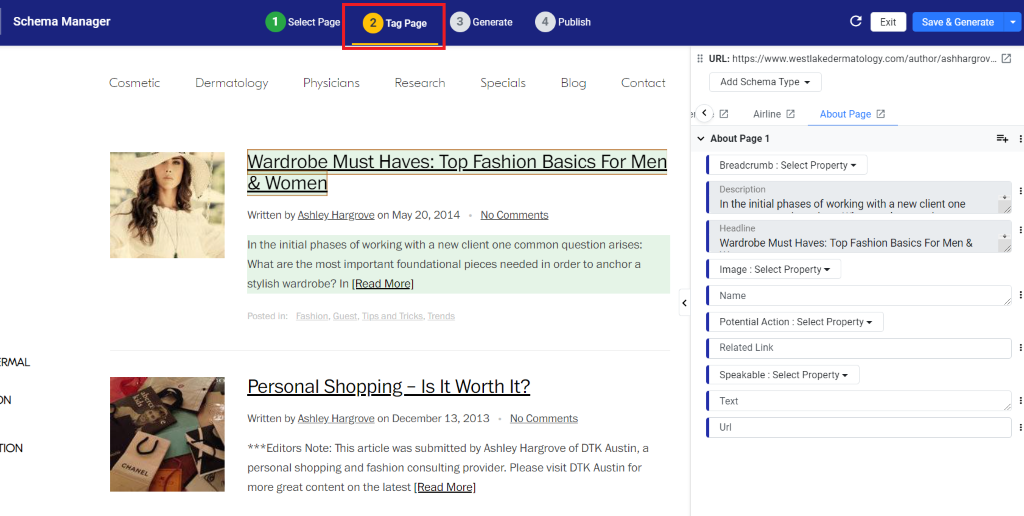
Once the schema has been generated, you will see the ‘Publish’ indicator highlighted to suggest that the last step is to click on ‘Publish’.
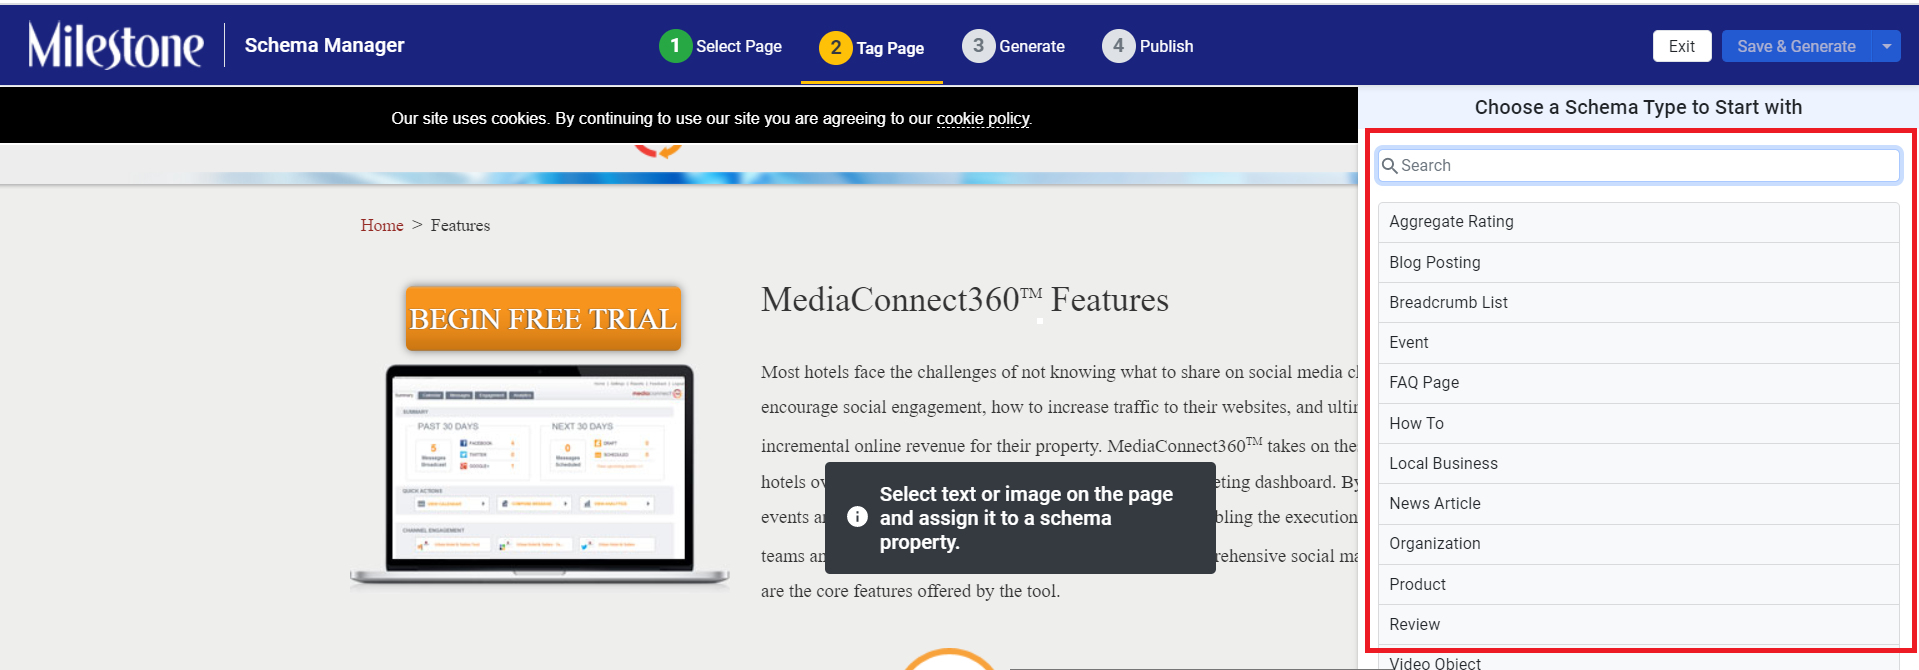
ii. Schema Manager Editor Welcome Screen
The first-time user will see a set of the most prominent schemas under the ‘Choose a Schema type to start with’. The user can choose from the list of schemas displayed or use the search bar to find the most relevant schema to start with.
iii. Moving the Schema editor on the page:
You can use the drag and drop feature to move the schema editor across the page to have better visibility of the website items that you are tagging. Click on the 4 dots to drag and drop the editor. You can also move the editor from left to right or vice versa by clicking on the arrow.
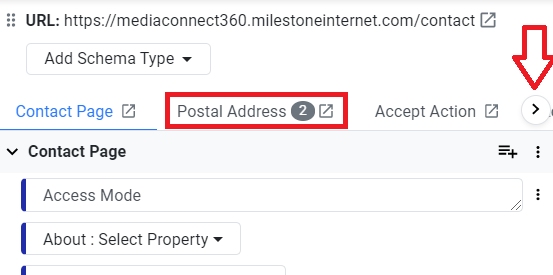
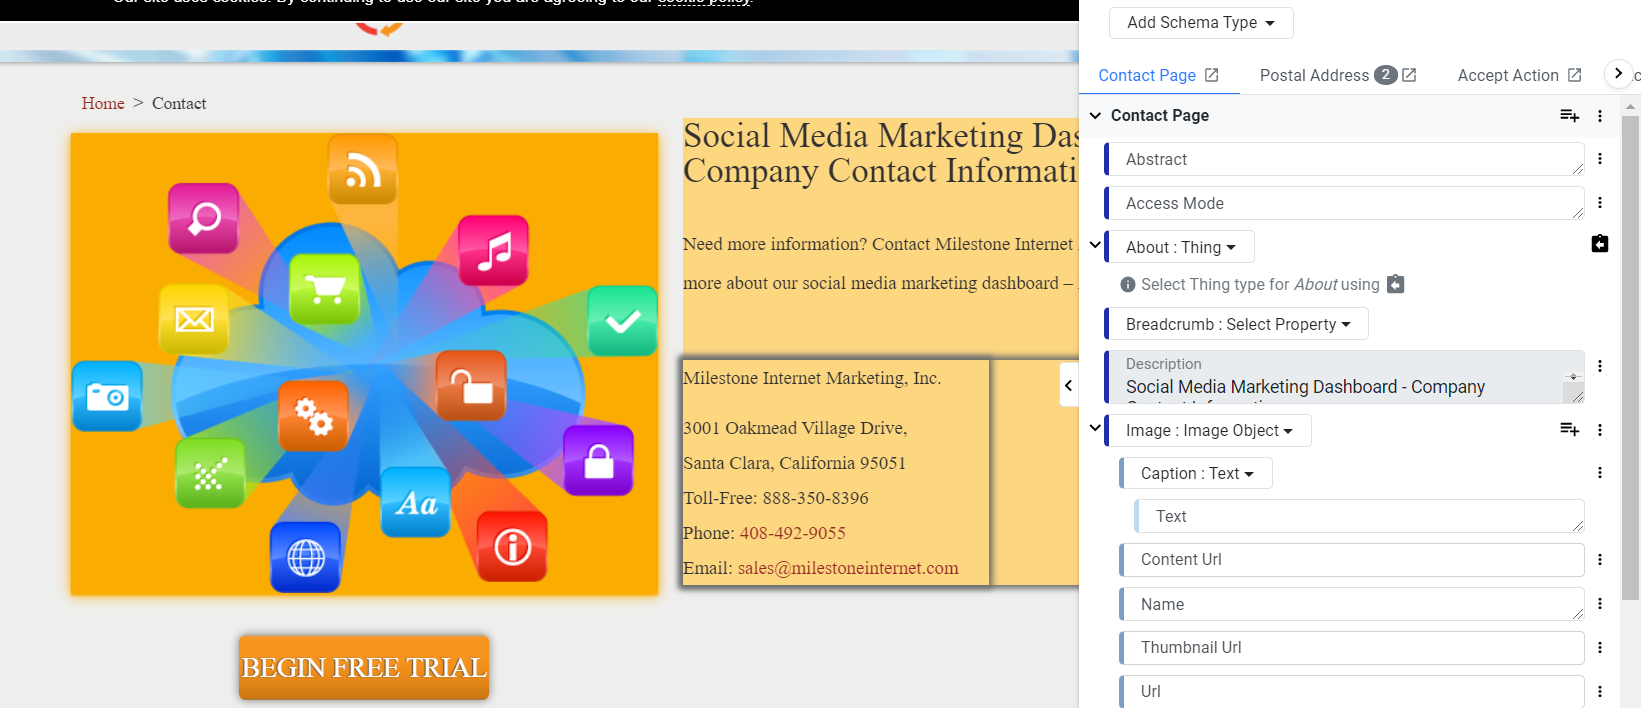
iv. Viewing all the schema types that you have added to the page:
If you have added multiple schema types on the editor, use the arrow to navigate (left or right) to view all the schema types. In addition, if you have added 2 of the same schema types, a number will be against the schema type. In the example below, the schema type Postal Address was added twice.
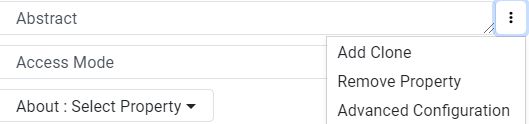
v. Recommended properties and adding properties
Just like how the editor displays a list of prominent schema types for first-time users, when you choose a schema type, the editor automatically displays the recommended properties. You can even choose to add a property.

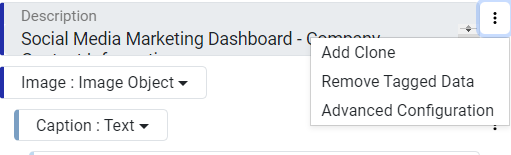
Click on the 3 dots against the property and you have the option of removing the property, add a property clone or use advance configuration such as X-path.
vi. Highlighting tagged elements on the website
The property that you are currently tagging will be in the highlighted in the brightest color (bright orange here) while elements that are already tagged will be in a duller shade for the user to distinguish what elements of the page that has been already tagged.
To remove a tagged data, click on the 3 dots by the property, and click on ‘Remove tagged data’.
vii. Advanced tagging of properties
Against some properties you will see a drop-down to further go into detail as to what you wish to tell the search engine. By clicking on it, you will have options such as this.
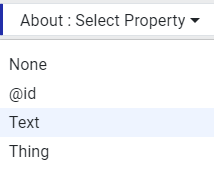
By choosing ‘Thing’, you have to then describe what the ‘Thing’ is. To do so, choose a ‘Thing type’.
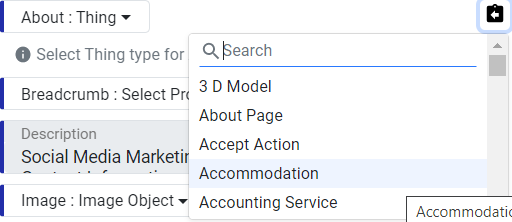
Now for example if you chose ‘Accommodation’, then you will have to fill the required details as in the image.

Local & Reviews
1. Annotations for Local
Opportunity: Allow the business to know key actions that were carried out for their profiles on the performance widgets
Solution: We have now added annotations to the graphical representations of the performance widgets on Local to allow the business to know exactly the date of the key actions carried out to improve their local performance
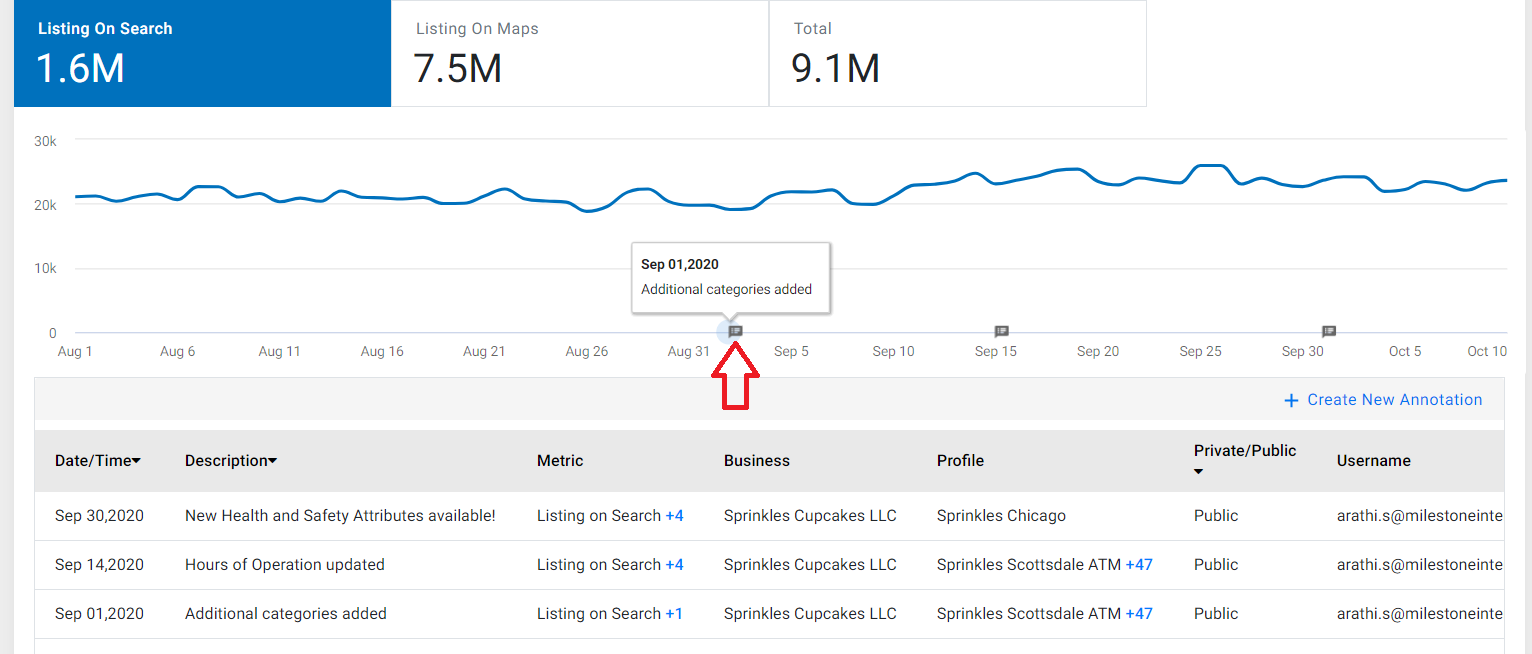
The annotations will be placed on the date the action was carried out with a description of the action. In addition, click on the drop-down to view the date of the annotation, description, metrics it is added to, business and its profiles, whether it is added for private or public purposes, and the username.
To create an annotation, click on
Using the drop-downs, choose the business, profiles, modules, widgets, and the metrics you wish to add the annotation to. Use the modules drop-down if the annotation is common across products, for example, Local and Analytics products. Now select the date, add the annotation text, choose the visibility and finally click on ‘Apply’ to add an annotation.
2. Addition of 3 more Insights to the Profile Completeness widget
Opportunity: Offer additional insights to businesses to improve their recency score and relevance on search
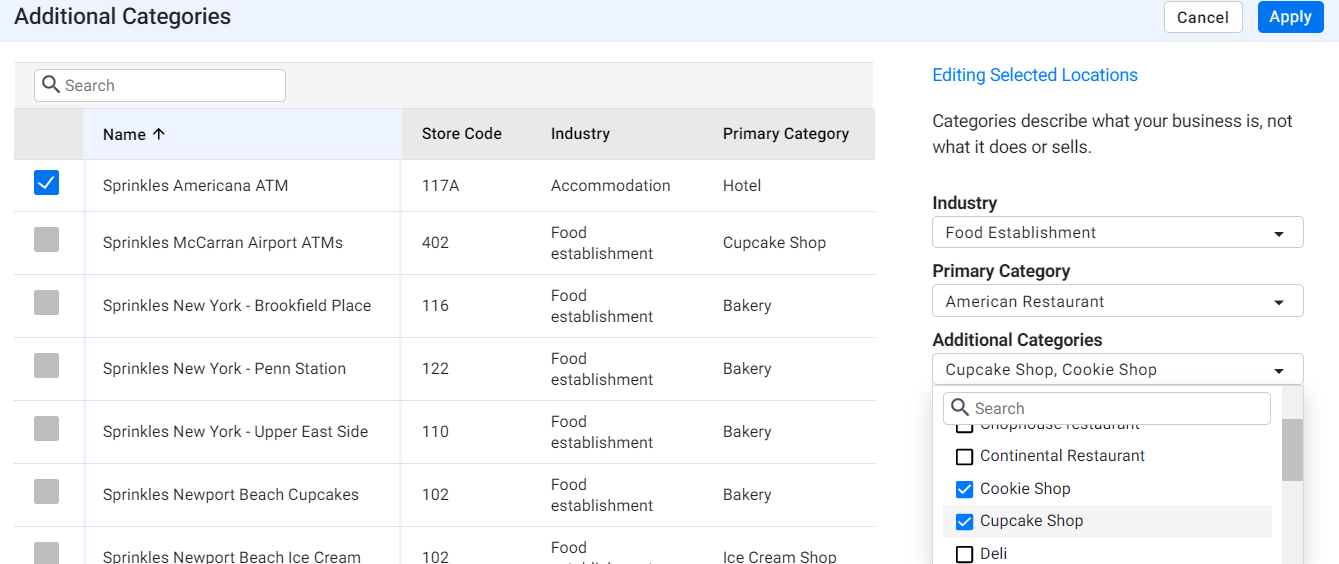
Solution: We added 3 more insights that have clear call-outs to update business categories, additional categories, and photos of the locations of the business.

Click on ‘Get Started’, choose the business locations and select the business and additional categories for the locations that need to be updated. Click on ‘Apply’ to update the category.
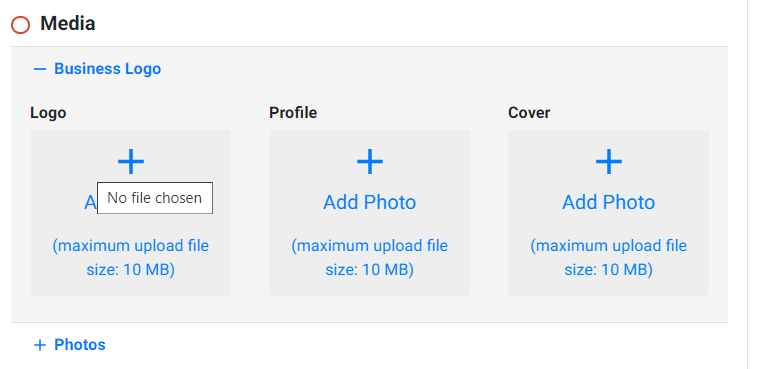
Similarly, click on ‘Get Started’ to update photos, choose the business location and update the photos of the business location on the Profile Summary screen.
3. DuckDuckGo Crawler Added
We have now added a DuckDuckGo crawler to monitor and flag any inconsistencies (UNAP) of the business locations on the directory.
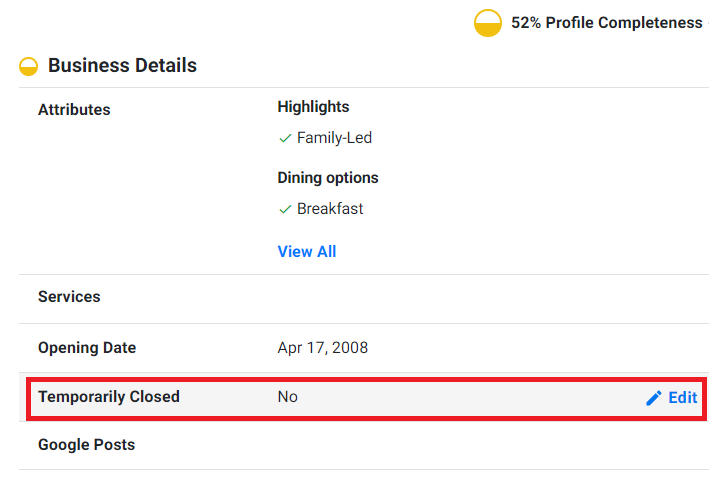
4. Temporary Closed field added to the Profile Summary screen
We have also added the ‘Temporary Closed’ field under ‘Business Details’ on the Profile Summary screen. Click on ‘Edit’ and choose the date to mark a business location as temporary closed.
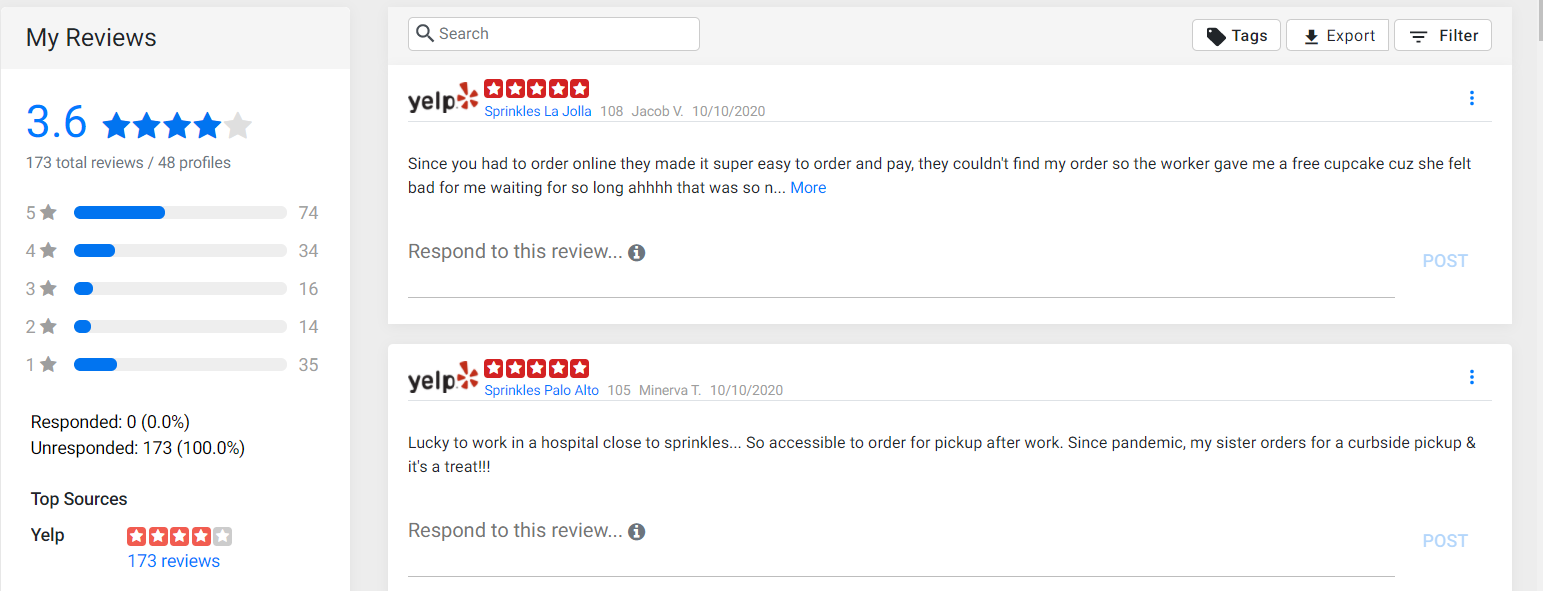
5. Yelp Real Time Reviews
Milestone Local can now fetch Yelp Reviews and display it on the platform in real-time. Click on ‘Reviews’ to view the real-time reviews.
Analytics
1. Additions to Paid Media Reporting PDF
We have made the following additions to the Paid Media Reporting PDF:
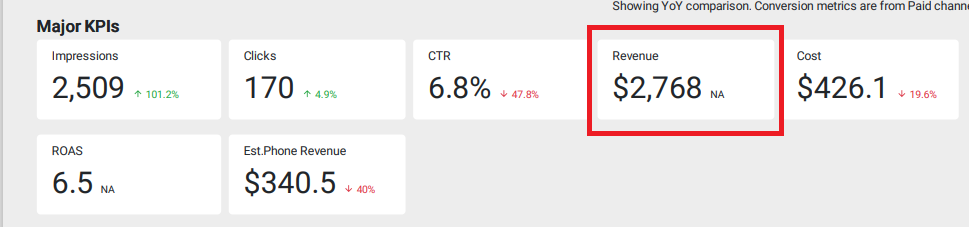
- Addition of Meta Ads as a channel and display data of key performance metrics
Businesses can now track the performance of their Meta Ads which will be tracked on the Paid Media Report.
- Along with the Google Ads data, you will see the inclusion of Meta Ads in the revenue data:
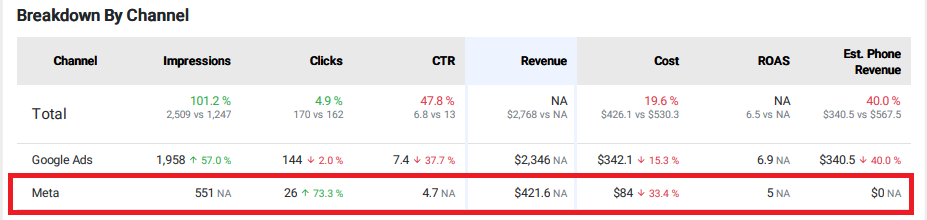
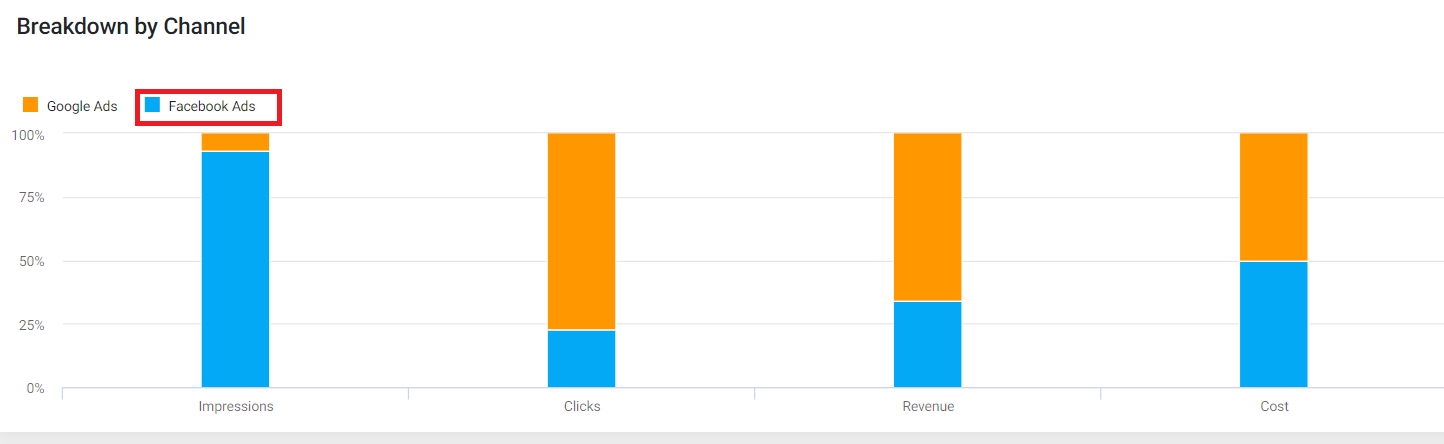
- In the Breakdown by Channel widget, you will see Meta Ads added as a separate channel:

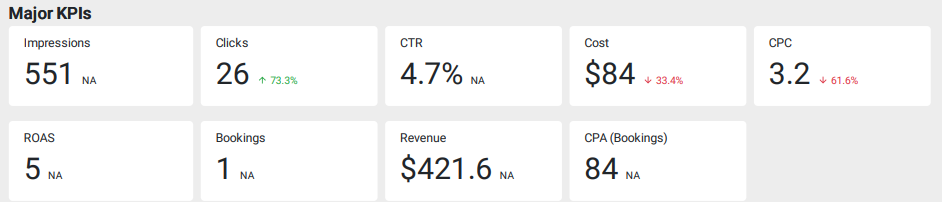
- Major KPIs to track the performance of Meta Ads
- Addition of Facebook Ads as a Channel in the Paid Media Report
Businesses can now track the performance of their Facebook Ads which will be tracked on the Paid Media Report.
- Inclusion of the Facebook Ads data along with Google Ads in the Overall Performance Summary widget

- Facebook Ads can be viewed as a separate channel in the Breakdown by Channel widget
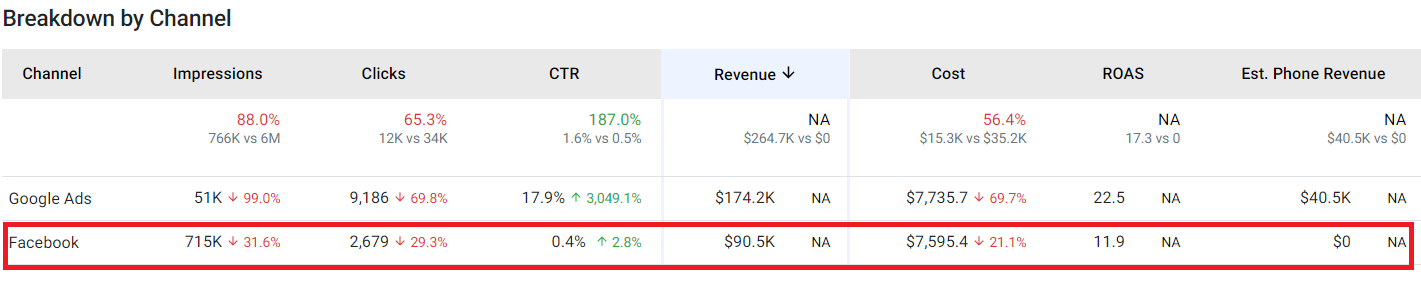
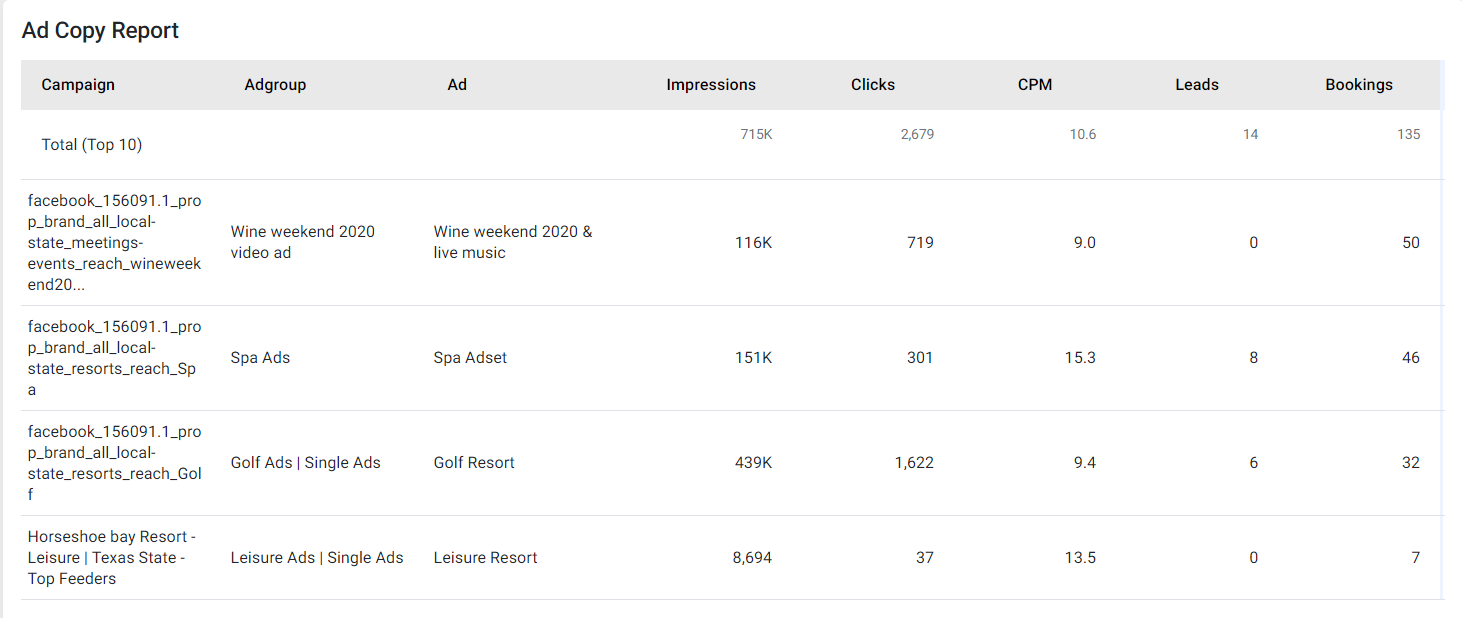
- Separate widget to view key performance metrics of Facebook Ads

- Inclusion of Facebook Ad metrics in the Ad Copy Report